
DOWNLOAD THE APP


Customer Services
Copyright © 2025 Desertcart Holdings Limited
DOWNLOAD THE APP


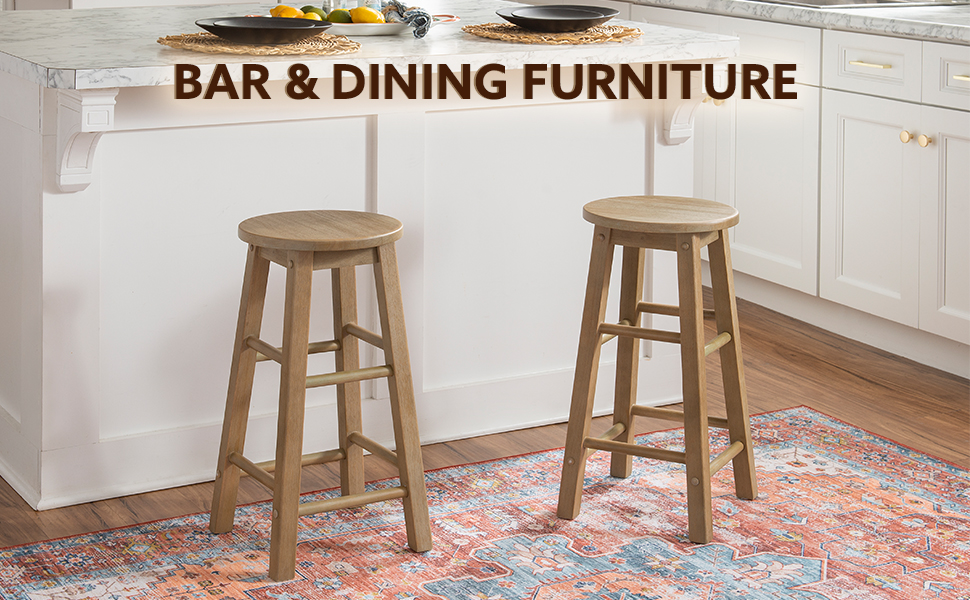
🪑 Sit in Style, Stand Out Naturally
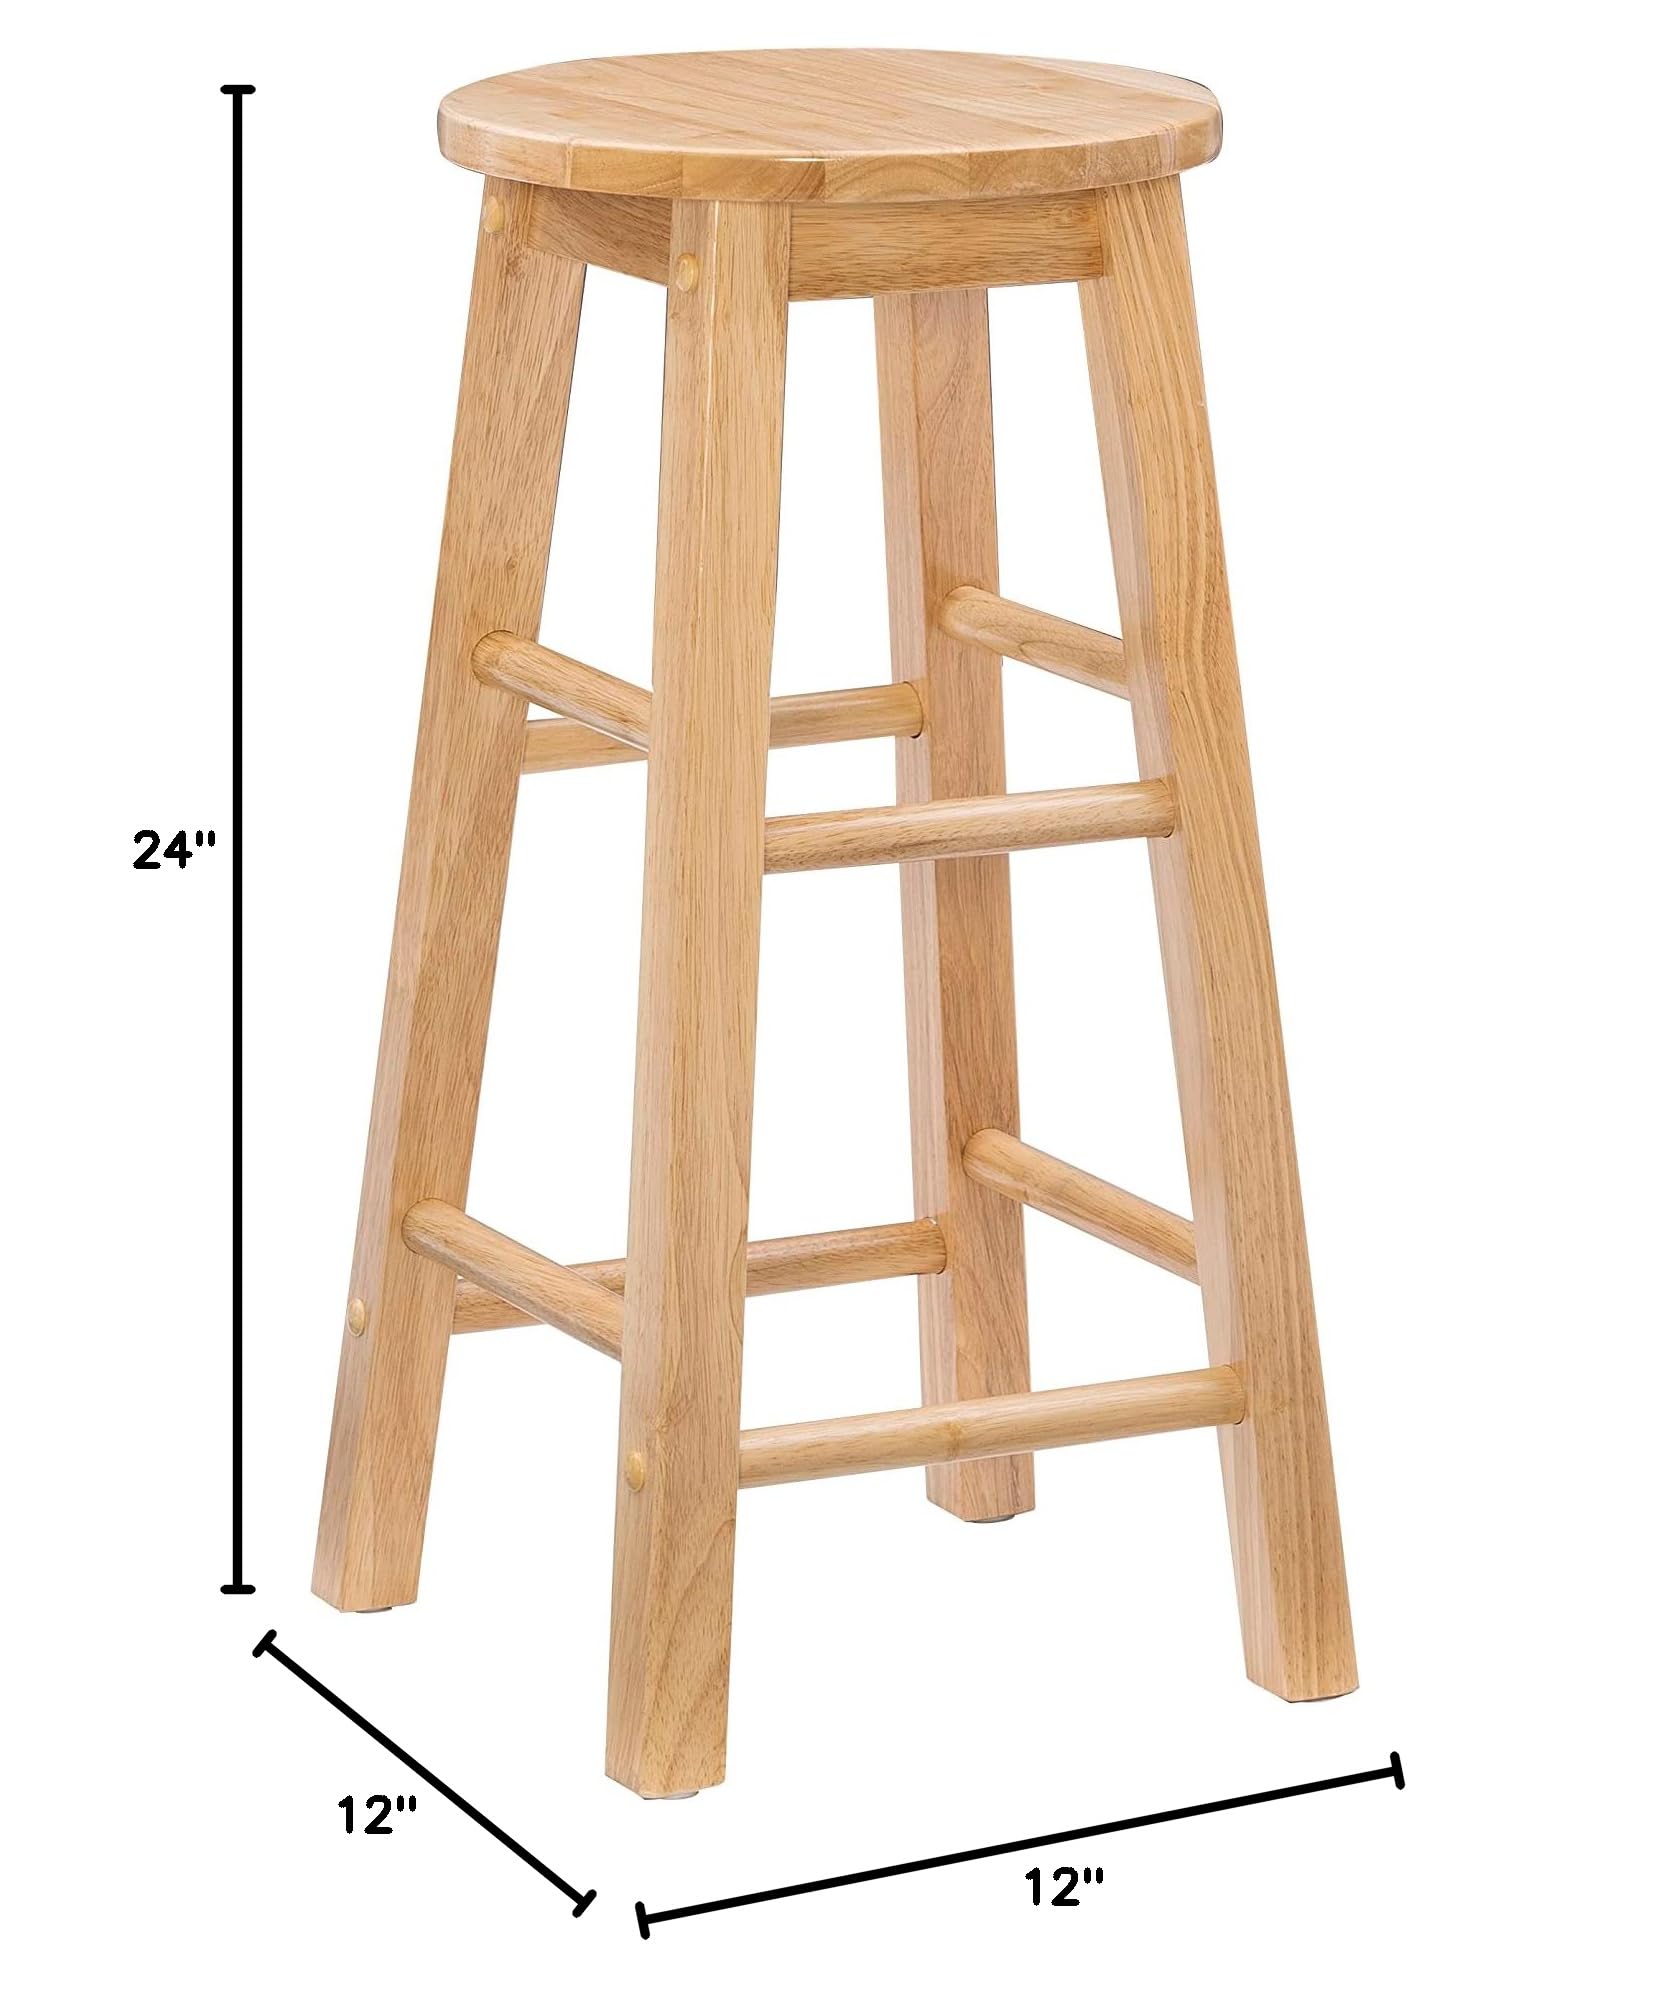
The Linon Natural Barstool features a 24-inch seat height ideal for counters and islands 32-36 inches tall. Crafted with solid wood legs and a crisp natural finish, it supports up to 275 pounds, combining durability with timeless design. Lightweight and easy to assemble, this compact stool fits perfectly in modern or classic interiors.


| Product Dimensions | 12"D x 12"W x 24"H |
| Color | natural |
| Brand | Linon |
| Size | 24 inches |
| Style | Bar Stool |
| Furniture Finish | NATURAL |
| Seat Height | 24 Inches |
| Leg Style | Straight |
| Seat Width | 12.13 Inches |
| Maximum Weight Recommendation | 275 Pounds |
| Product Care Instructions | refer to instructions |
| Assembly Required | Yes |
| Number of Pieces | 1 |
| Assembly Instructions Description | Included |
| UPC | 753793859491 |
| Number of Items | 1 |
| Global Trade Identification Number | 00753793859491 |
| Item Weight | 7.14 pounds |
| Item model number | 98100NAT-01-KD |
| Is Discontinued By Manufacturer | No |
| Weight | 10.14 Pounds |
L**Y
Looks good, feels solid, easy assembly
Using it to hold a large plant pot. Good quality, looks good, feels solid. Assembles easily as long as you heed the instructions not to tighten screws too soon. But I wouldn't want to assemble it with the supplied Allen wrench. If you have a screwdriver with changeable bits, get a 5/32" hex bit and you will be happier. You will also want a tacky jar/bottle opener to keep the spindles from turning while you tighten the screws.
E**J
Perfect with a drill
Definitely easy to assemble. Only downside was the tool that it came with to manually screw them which requires a decent amount of grip & strength. Solution = Drill
L**O
Just in time for a Birthday present.
Very sturdy,nicely built,thank you,my wife uses it to sit while cooking breakfast
D**O
A solid stool.
A solid and sturdy stool. Easy to put together. The wooden hole covers suck however. But the stool itself is great.
A**R
I bought it for my workbench
I bought this for my workbench in my garage and it’s a perfect fit. Not too tall and not too short. I was worried it would be too tall like a bar stool. It is not. It is perfect for my needs. Make sure to take measurements for what you will be using it for. Good build quality and the most affordable option I found. Easy to assemble. It feels relatively sturdy and of good construction.
P**S
Loose as a goose
This is absolutely not the stool to buy. I purchased it exactly one month ago and it’s now loose and wobbly. The holes are stripped and I called the company and they said if there isn’t a part that can be replaced then they can’t help me I would have to contact Amazon and Amazon said there’s nothing they can do since it’s been 2 days past the return date. I would not suggest this stool for no one at all.
A**N
Good quality
Good quality, very sturdy, looks good too.
S**T
Sturdy, attractive, and functional
As sturdy and functional as it looks. Have been looking for this type of stool for quite some time and it does not disappoint. Easy to assemble the sections, is good quality and reasonable price. If you simply need a functional kitchen stool (or other use), this is a good deal !
Trustpilot
4 days ago
1 week ago