


🕰️ Build Time, Build Legacy: Own the clock that’s as smart as you are.
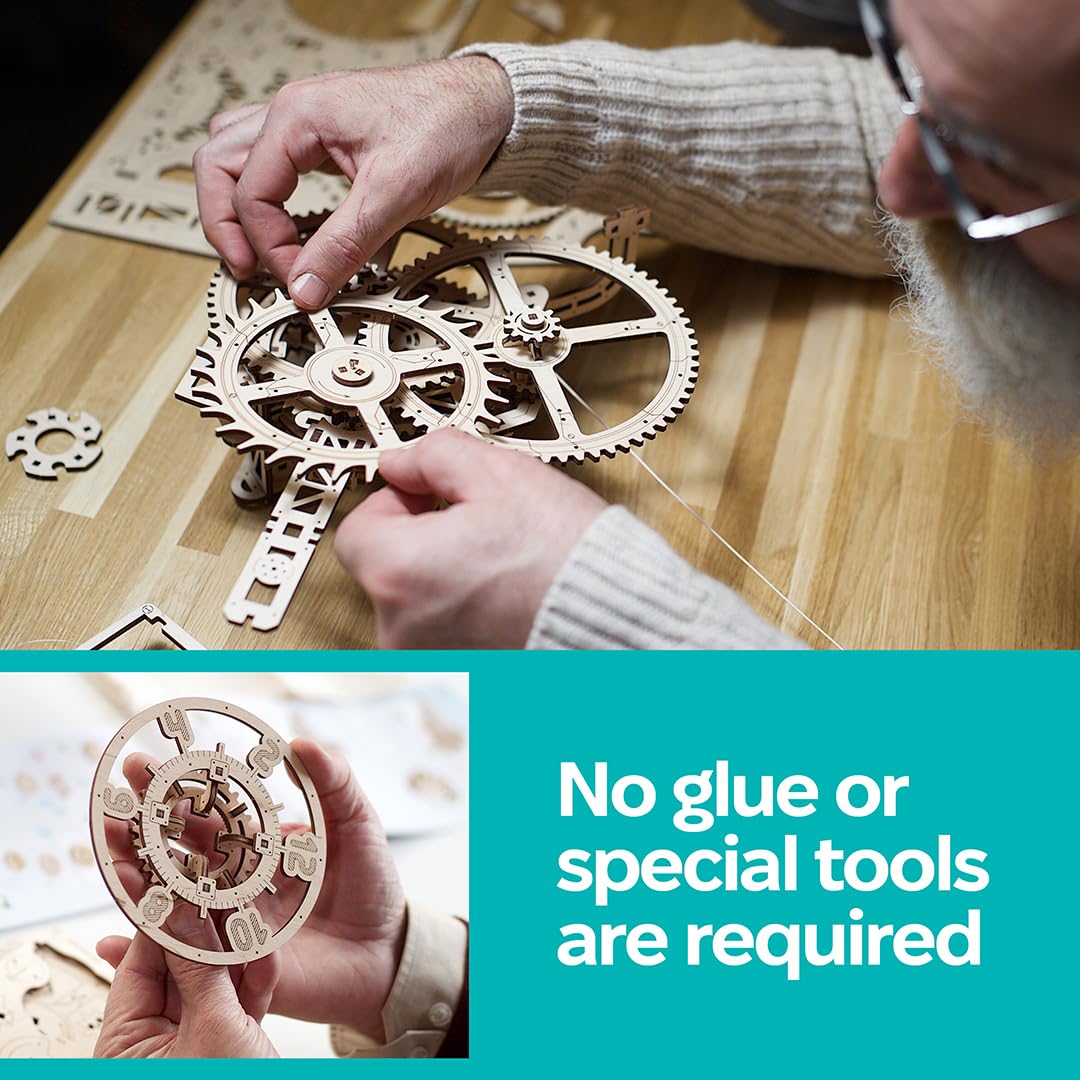
UGEARS Aero Clock is a 320-piece wooden mechanical puzzle kit designed for adults, featuring a gravity-driven pendulum mechanism and rotating numbered discs for accurate timekeeping. Measuring 75x47x16.5 cm, this battery-free, intricately engineered wall clock doubles as a stunning décor piece and a rewarding DIY project, ideal for enthusiasts of mechanical design and creative craftsmanship.


| Product Dimensions | 75 x 47 x 0.25 cm; 250 g |
| Manufacturer recommended age | 14 years and up |
| Item model number | 70154 |
| Educational Objective(s) | Animal Recognition, Creative Thinking, Creative Thought, Logical Thinking, strategic |
| Number of Game Players | 1 |
| Number of pieces | 320 |
| Assembly Required | Yes |
| Batteries Required? | No |
| Batteries included? | No |
| Material Type(s) | Engineered Wood |
| Remote Control Included? | No |
| Colour | Natural Wood |
| ASIN | B094994SJT |
B**T
Great kit, you will only get out what you put in.
A great kit, yes it’s tricky, yes it may not fully work if you do it wrong, clocks are a feat of math and engineering, anyone expecting more than a semi functional model is not understanding what goes into a real timepeice. For what it is I loved it, in fact I will make another but decorate this time. It’s not for the feint of heart or beginner yes, however! Anyone can build it if you can follow a picture instruction book and have good glasses. Not all will get it working.Time to build of 11 hours they say, yes I agree. You need to sand, wax and smooth parts for nice low friction movement. If you just pop out the parts, put them together it could take 3 hours too. It will not work and then you will give it less stars. So this where the advanced builder comes in. Advanced builder will take their time and make a nice model that functions at a basic level.For the impatient builder you will still achieve a nice model that will not function for long.Think what type of builder you are and expect the result that you put in.The kit:Read the instructionsRead the instructions againFollow the instructions (mainly for us men who believe manuals are for putting your cups on)Very well laser cut, did not need a knife in my caseGet more wax and check out YouTube on how to wax cogsWax the cordBuy good sandpaper and smooth all parts for low friction movementSand all cut edges where you can, the laser leaves joins to keep it framed in transit, these need removingHave patienceThe correct weight will be important in the bag, try lead shot rather than sandWeight on the balloon counterweight is also important to slow down the balloon drop when running.Test each cog as the kit comes together for friction and movementMake sure you hang on the wall to complete, if you try to build first, hang later you will tangle your cords and linesIt’s a model clock, please do expect to get the correct time after 5 minutes of useIt’s also quite sturdy once builtHave fun building it, that is the overall aim, it’s a great achievement no matter how far you get.Sorry! It’s a long review but I found it a great model to work on and looks good on my wall
D**.
Exceptional
I don't do reviews, but in the case of the Ugears aero clock I just had to make an exception.The design and construction of this kit is definitely on another level. You get what you pay for in life. The build quality is of this kit is at the highest level.All I would say to would be buyers is take your time. Yes you could probably have it all together in a far less time than the 11 hours indicated by Ugears, but the result would certainly not be a working clock.Care and attention to detail are required. Sand all rough edges and pay particular attention to those parts with mating surfaces. Anything that rubs against or contacts with another part benefits from more attention when sanding and waxing. The smoother the better.The instructions are excellent, but in my case I had some difficulty in understanding the cord winding. Youtube did however quickly solve my problem.The end result is fantastic. Visually a work of art. A work of art that actually keeps good time and a pleasure to watch as the hour sees the balloon quickly descend from its slow rise over the hour.Personally I would not consider this kit as complex. Not for a child that wants quick results, more suited to teenagers and budding teenage adults who want to spend time creating something to be proud of. If youtake your time and follow the instructions carefully you will love what Ugears have helped you create.Looking foward to my next Ugears kit. Have made many hints to Santa
J**K
Build Started.
The media could not be loaded. Just started the build, I need two pairs of glasses to see, because I'm old😂. As a retired Engineer, I'm very impressed with the drawings, instructions and quality. Can't wait to finish it. Hope you enjoy my Witt.
A**R
Sand, Sand, sand the gears and wax them all up well.
My first U Gears modal, really liked this a lot. As everyone mentions it is vitally important to sand all gear pieces and all parts that will rub past each other. I didn't use the wax that came with it but instead I used my Bees wax Furniture wax. This is soft enough to apply with just a micro fibre cloth and a tooth pick for small areas, works really well and gives the pieces a nice waxed colour to add definition to the parts. I would recommend buying additional high grit sand paper as what is supplied is no where near enough.The pendulum, when doing that part I would advice some extra sanding on the parts that rub, I sanded it down a fair bit so when you install the small wooden end piece the pendulum doesn't rub and stop movement.I had to get replacement parts from u gears as one of the sheets was warped so one of the cogs was bent out of shape, the customer service was Ace!! I didn't have to pay anything towards these parts but did take a few weeks.Take your time with this build and you will be rewarded with a beautiful accurate working wooden clock.
Trustpilot
4 days ago
1 week ago
3 weeks ago