

🧺 Elevate your laundry game—hang smarter, not harder!
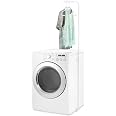
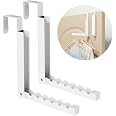
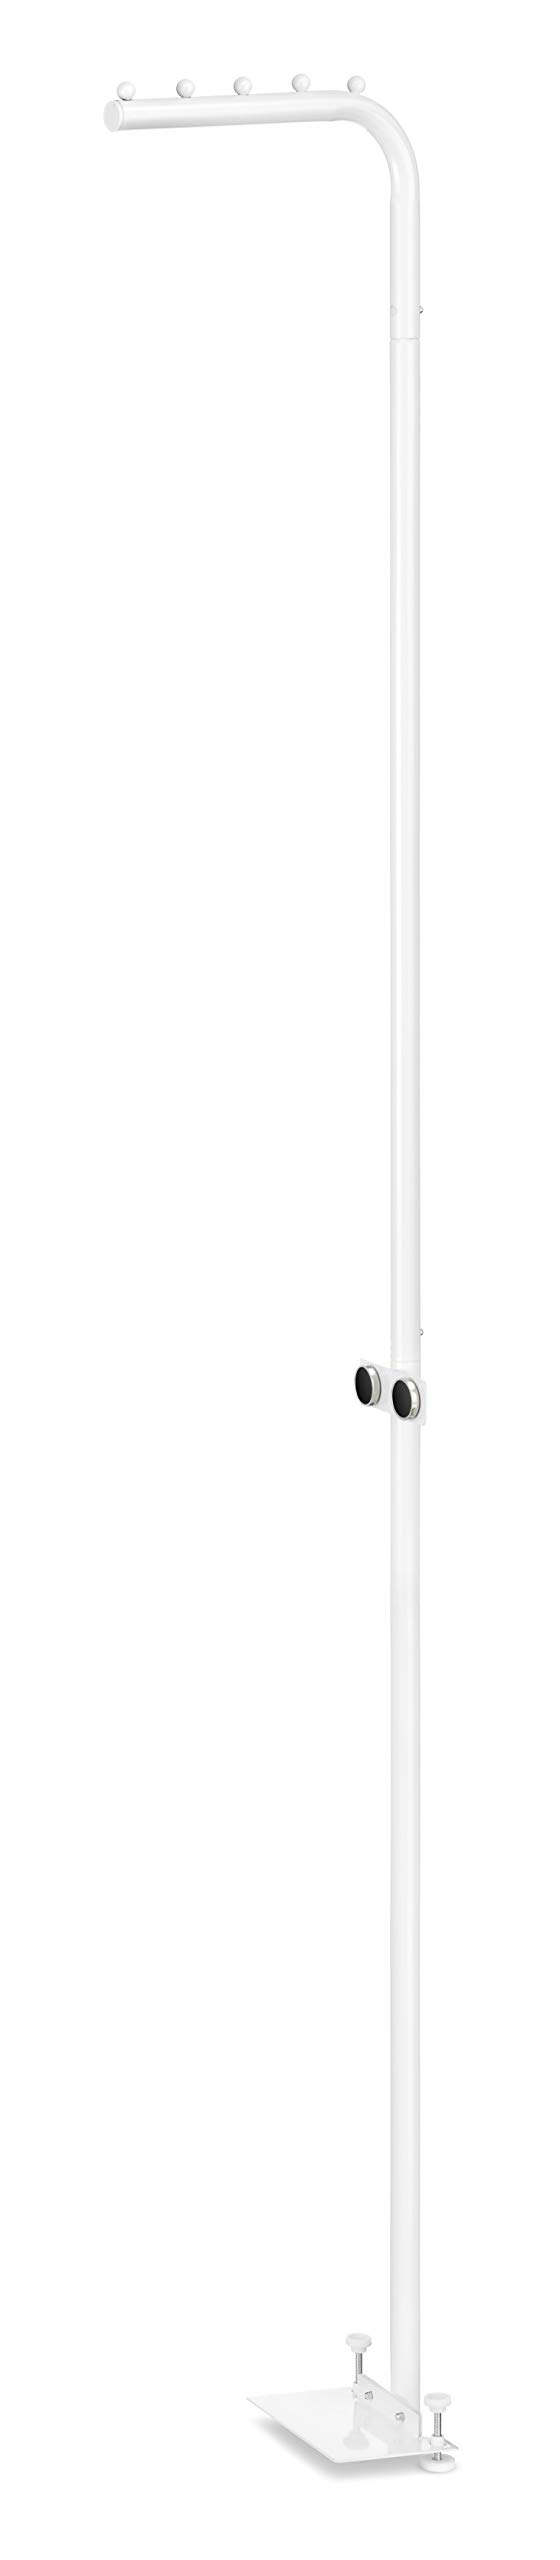
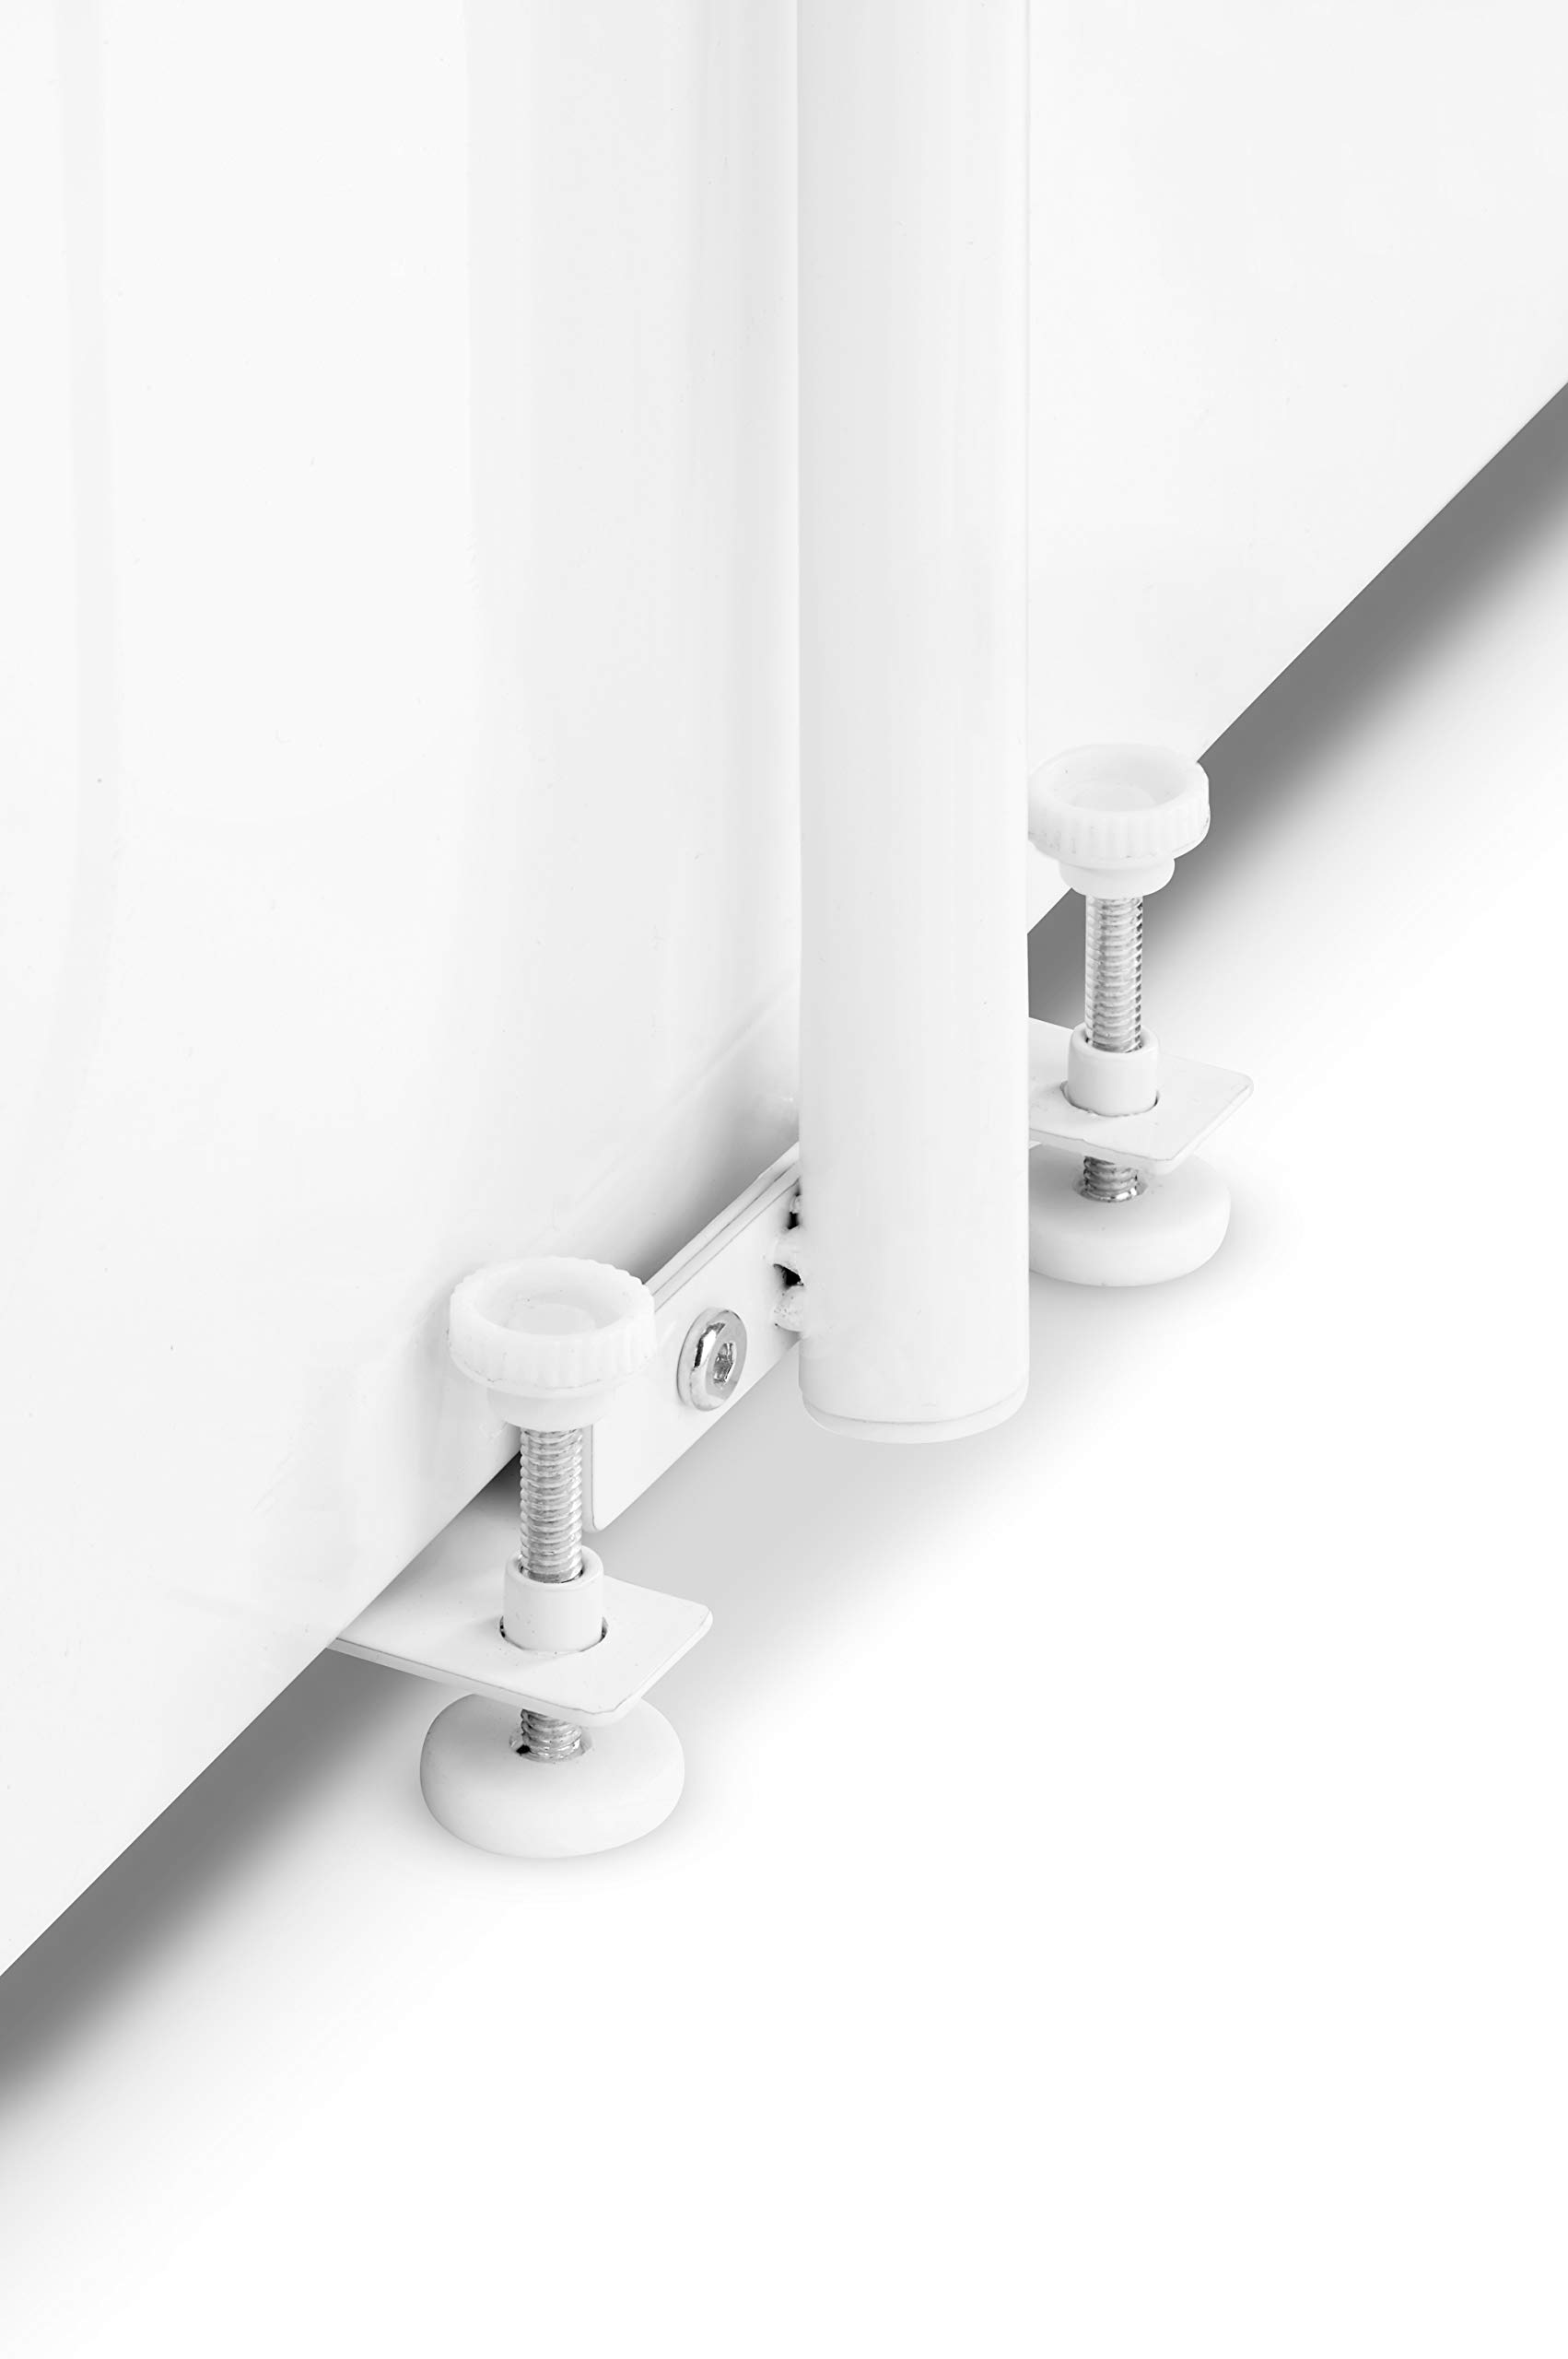
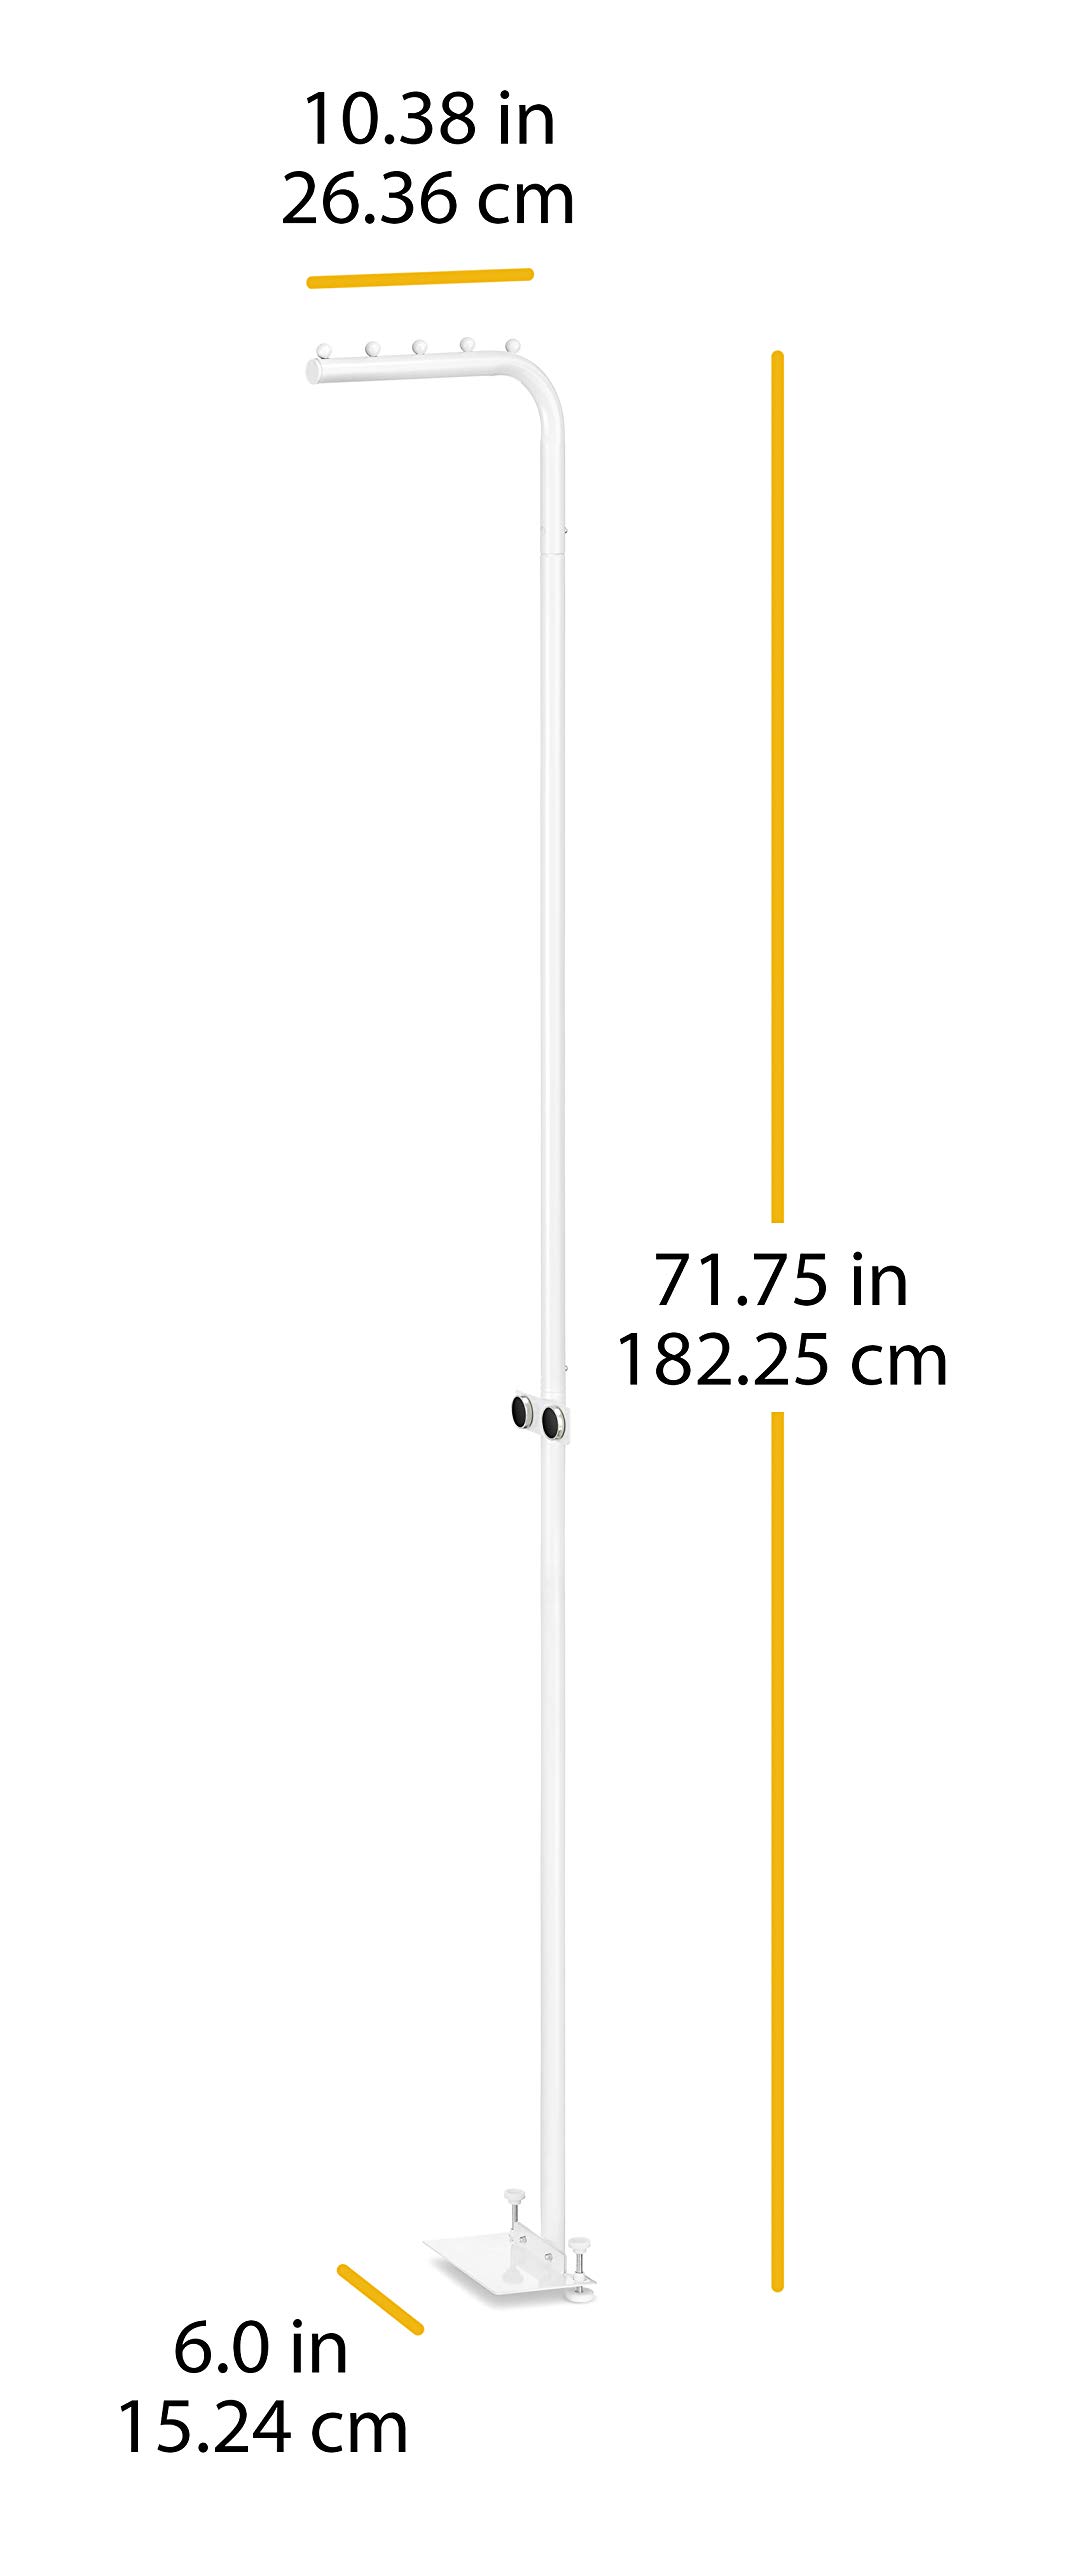
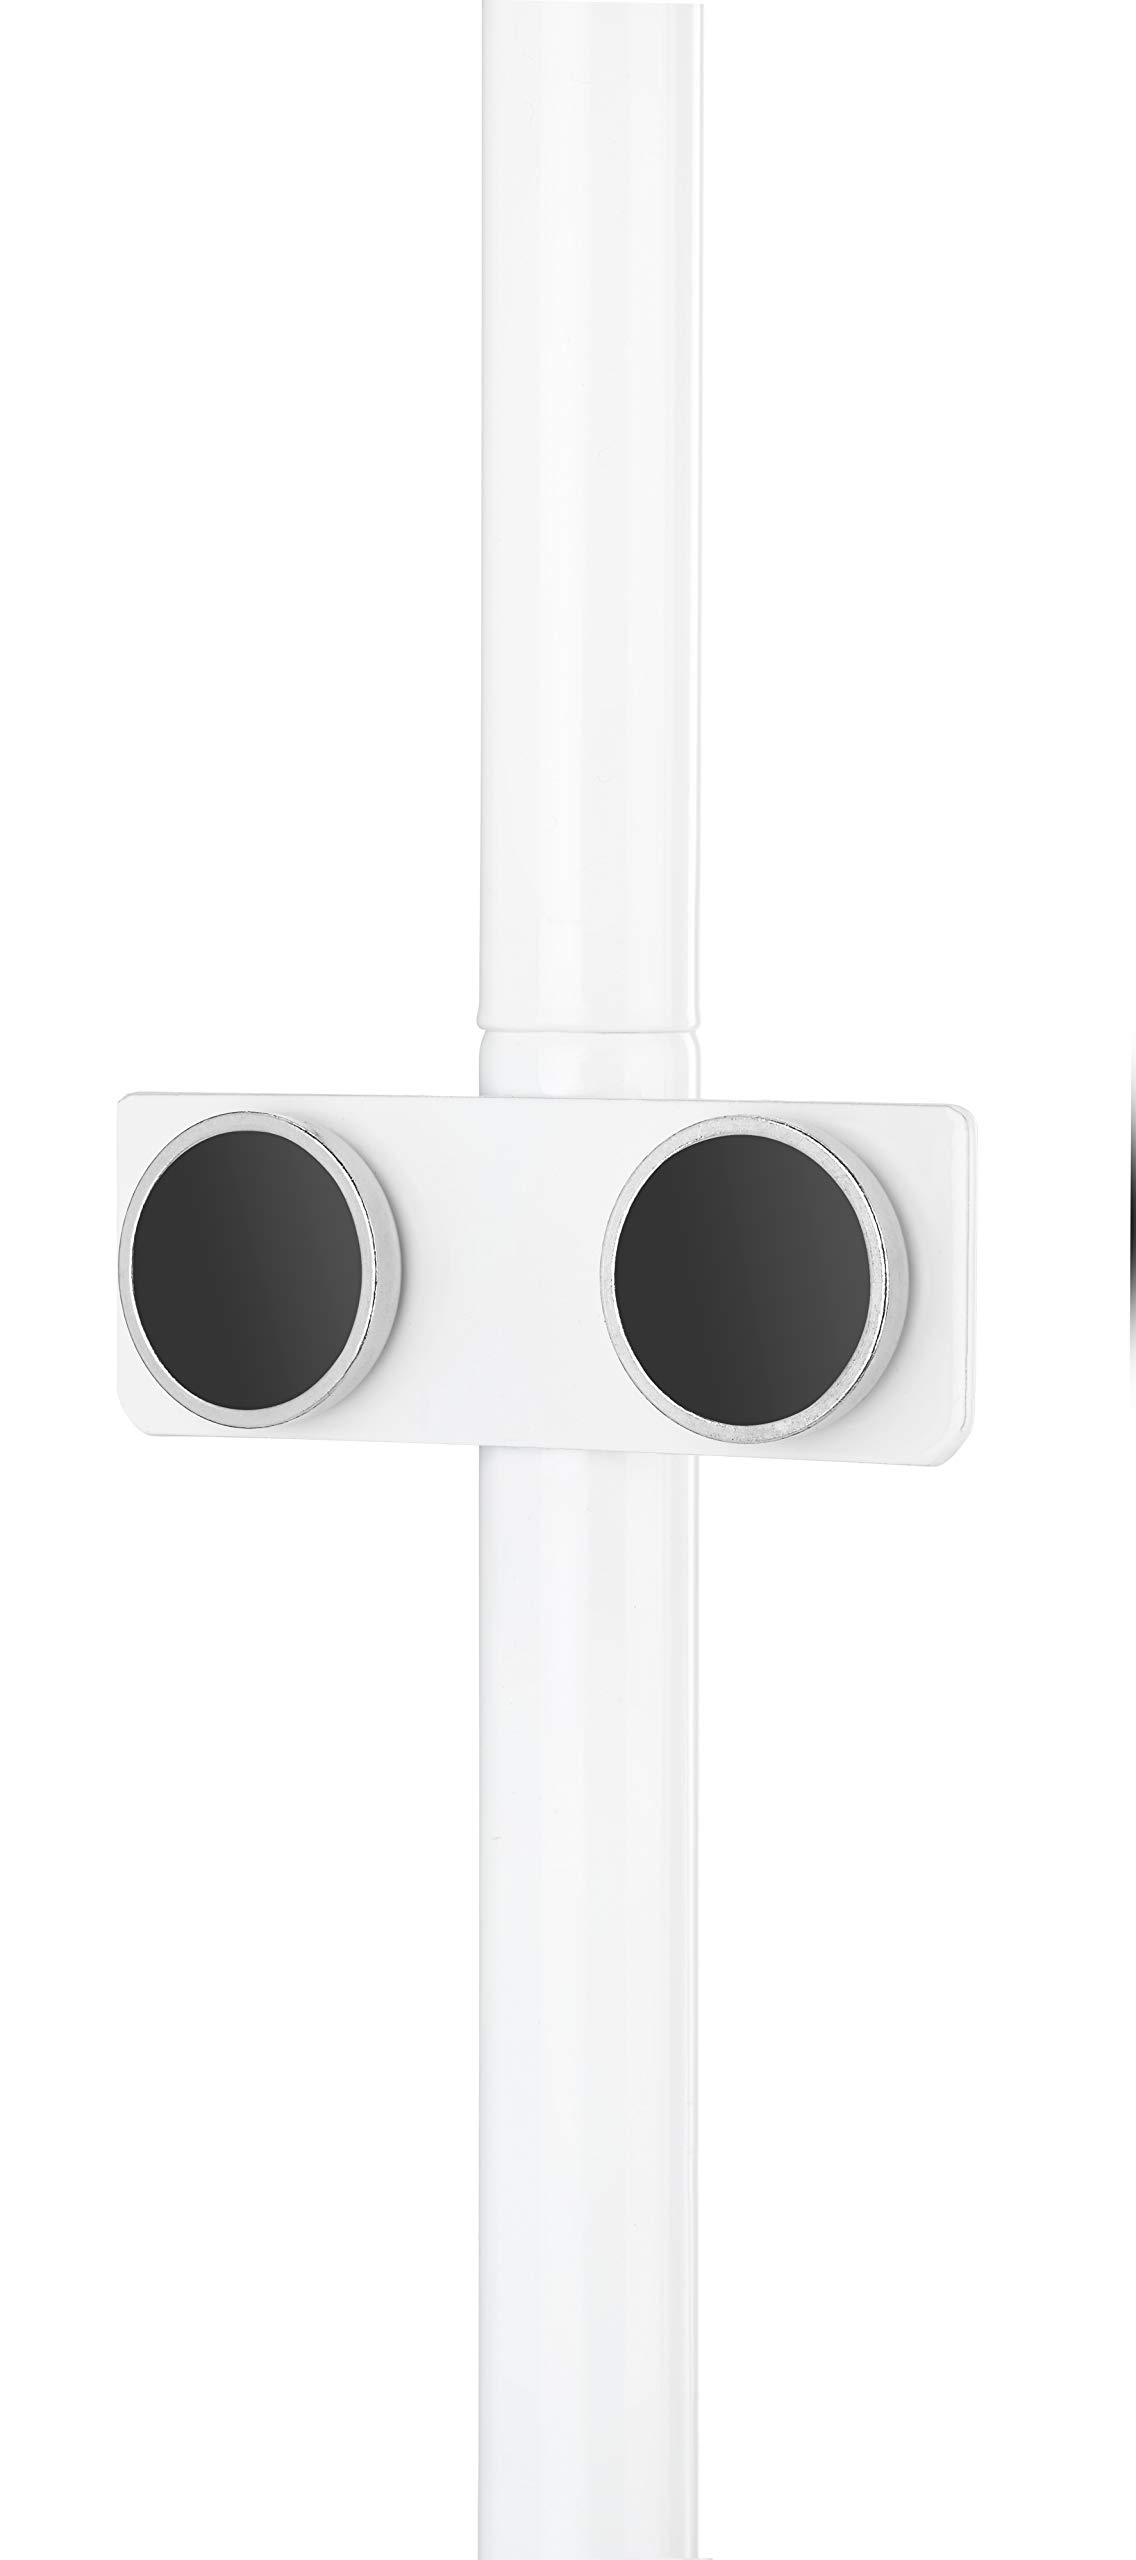
The Whitmor Magnetic Laundry Valet Hanging Rod is a 71.75-inch tall, heavy-duty steel drying rod with a white epoxy finish. It attaches magnetically to washers or dryers, creating instant hanging space for delicates and freshly dried clothes to reduce wrinkles. Easy to assemble without tools, it features metal stoppers to keep garments secure and bottom levelers for stability, making it a sleek, space-saving solution for modern laundry rooms.


| Material | Carbon Steel |
| Product Dimensions | 2.3"D x 6.1"W x 71.8"H |
| Brand | Whitmor |
| Color | White |
| Recommended Uses For Product | Clothing |
| Mounting Type | pole, Hanging |
| Item Weight | 2.94 Pounds |
| Special Feature | Space Saving, Portable |
| Manufacturer | Whitmor |
| Size | 1 Tier, 10"L x 6"W x 72"H |
| UPC | 038861661177 |
| Global Trade Identification Number | 00038861661177 |
| Part Number | 6023-9896 |
| Item Weight | 2.94 pounds |
| Item model number | 6023-9896 |
| Style | Modern |
| Installation Method | Screw In Claw |
| Item Package Quantity | 1 |
| Number Of Pieces | 1 |
| Special Features | Space Saving, Portable |
| Included Components | Laundry Valet Hanging Rod |
| Batteries Included? | No |
| Batteries Required? | No |
B**Z
Best laundry room addition!
Totally worth it! The Design Twins hit this one out of the park! I have a newly remodeled laundry room & although small, the drying closet takes up space & this little gadget is very versatile. I have had it attached to both sides of the washer & repositioning it was so easy! The hanger arm can be swung left or right when not in use. The magnet is incredibly strong & holds the garments perfectly for steaming or air drying. So glad i purchased!
G**I
A Laundry Lifesaver
So, while "lifesaver" may sound a bit extreme, this product is exactly what I needed! We recently sold our house, without very much notice, and are temporarily in a rental home. While the home is quite large overall, the laundry room is old and quite small. I always hang garments as soon as the dryer stops so to reduce wrinkles. Plus, I've learned if I don't hang promptly clothes tend to stay unhung until its time to wash again ;) All that to say, with absolutely no room for a garment rack in my new laundry room, I had become unproductive in the laundry department. When I saw this pop up, I ordered it immediately, despite having no reviews.I am terrible at putting things together because I never take the time to read instructions. Fortunately for me, the assembly is simple and intuitive. I had it on my machine within minutes of delivery. My husband had a friend walk in about the time I was putting it on and stopped in awe, "Wow, that is incredible!". He has since told me his wife ordered one.I have been using it for 2 days without issue. It only holds 5-7 garments at a time, due to space not weight load, so I do have to unload and start again for larger loads; however, no complaints. I can't say enough good about this, as its truly such a functional product that I have never seen elsewhere. Every person without room for a hanging rod in their laundry room or nearby should buy one of these!
P**E
Effective for need
Good for hanging clothes but not 100% stable without screwing into the washer / dryer - magnet is not strong enough
T**H
Received a return item, when pay full price for a new one.
Very dissapointed. Pay for a new item, received a return item! The screws were in plastic sandwich bag....
D**A
Great product and works so well!
This is the neatest thing. Wish I had bought it a long time ago I put it on my drawer and it’s perfect for taking clothes out of the dryer and hanging up immediately so they don’t get wrinkled.
R**S
Been a life saver
What a lifesaver this has been. My washer and dryer are in a small closet. I had a hook on my closet door to hang my clothes. The clothes got heavy and would pull my doors off the track. I’ve tried other products, but nothing worked at that time then the hook on the door. I thought I’d give this a try and oh my gosh it works fantastically. The magnets are powerful and attach to the side of the dryer. I can load., This bar is up, with about two heavy loads of hanging laundry.
G**N
Wife loves it
Easy to install - 2 minutes and supports all clothes possibly minus heavy overcoats. We use for shirts, pants, sweater and such - works great using space otherwise not occupied in our small laundry room.
D**H
Magnets are Very Inefficient
This is a great size and I like the design overall. The drawback is the inefficient magnets that do not stay and one side is weaker than the other. Everything else is fine but why would they skimp on the magnets? Makes it not usable as advertised and intended.
Trustpilot
2 months ago
3 weeks ago