Customer Services
Copyright © 2025 Desertcart Holdings Limited
Desert Online General Trading LLC
Dubai, United Arab Emirates
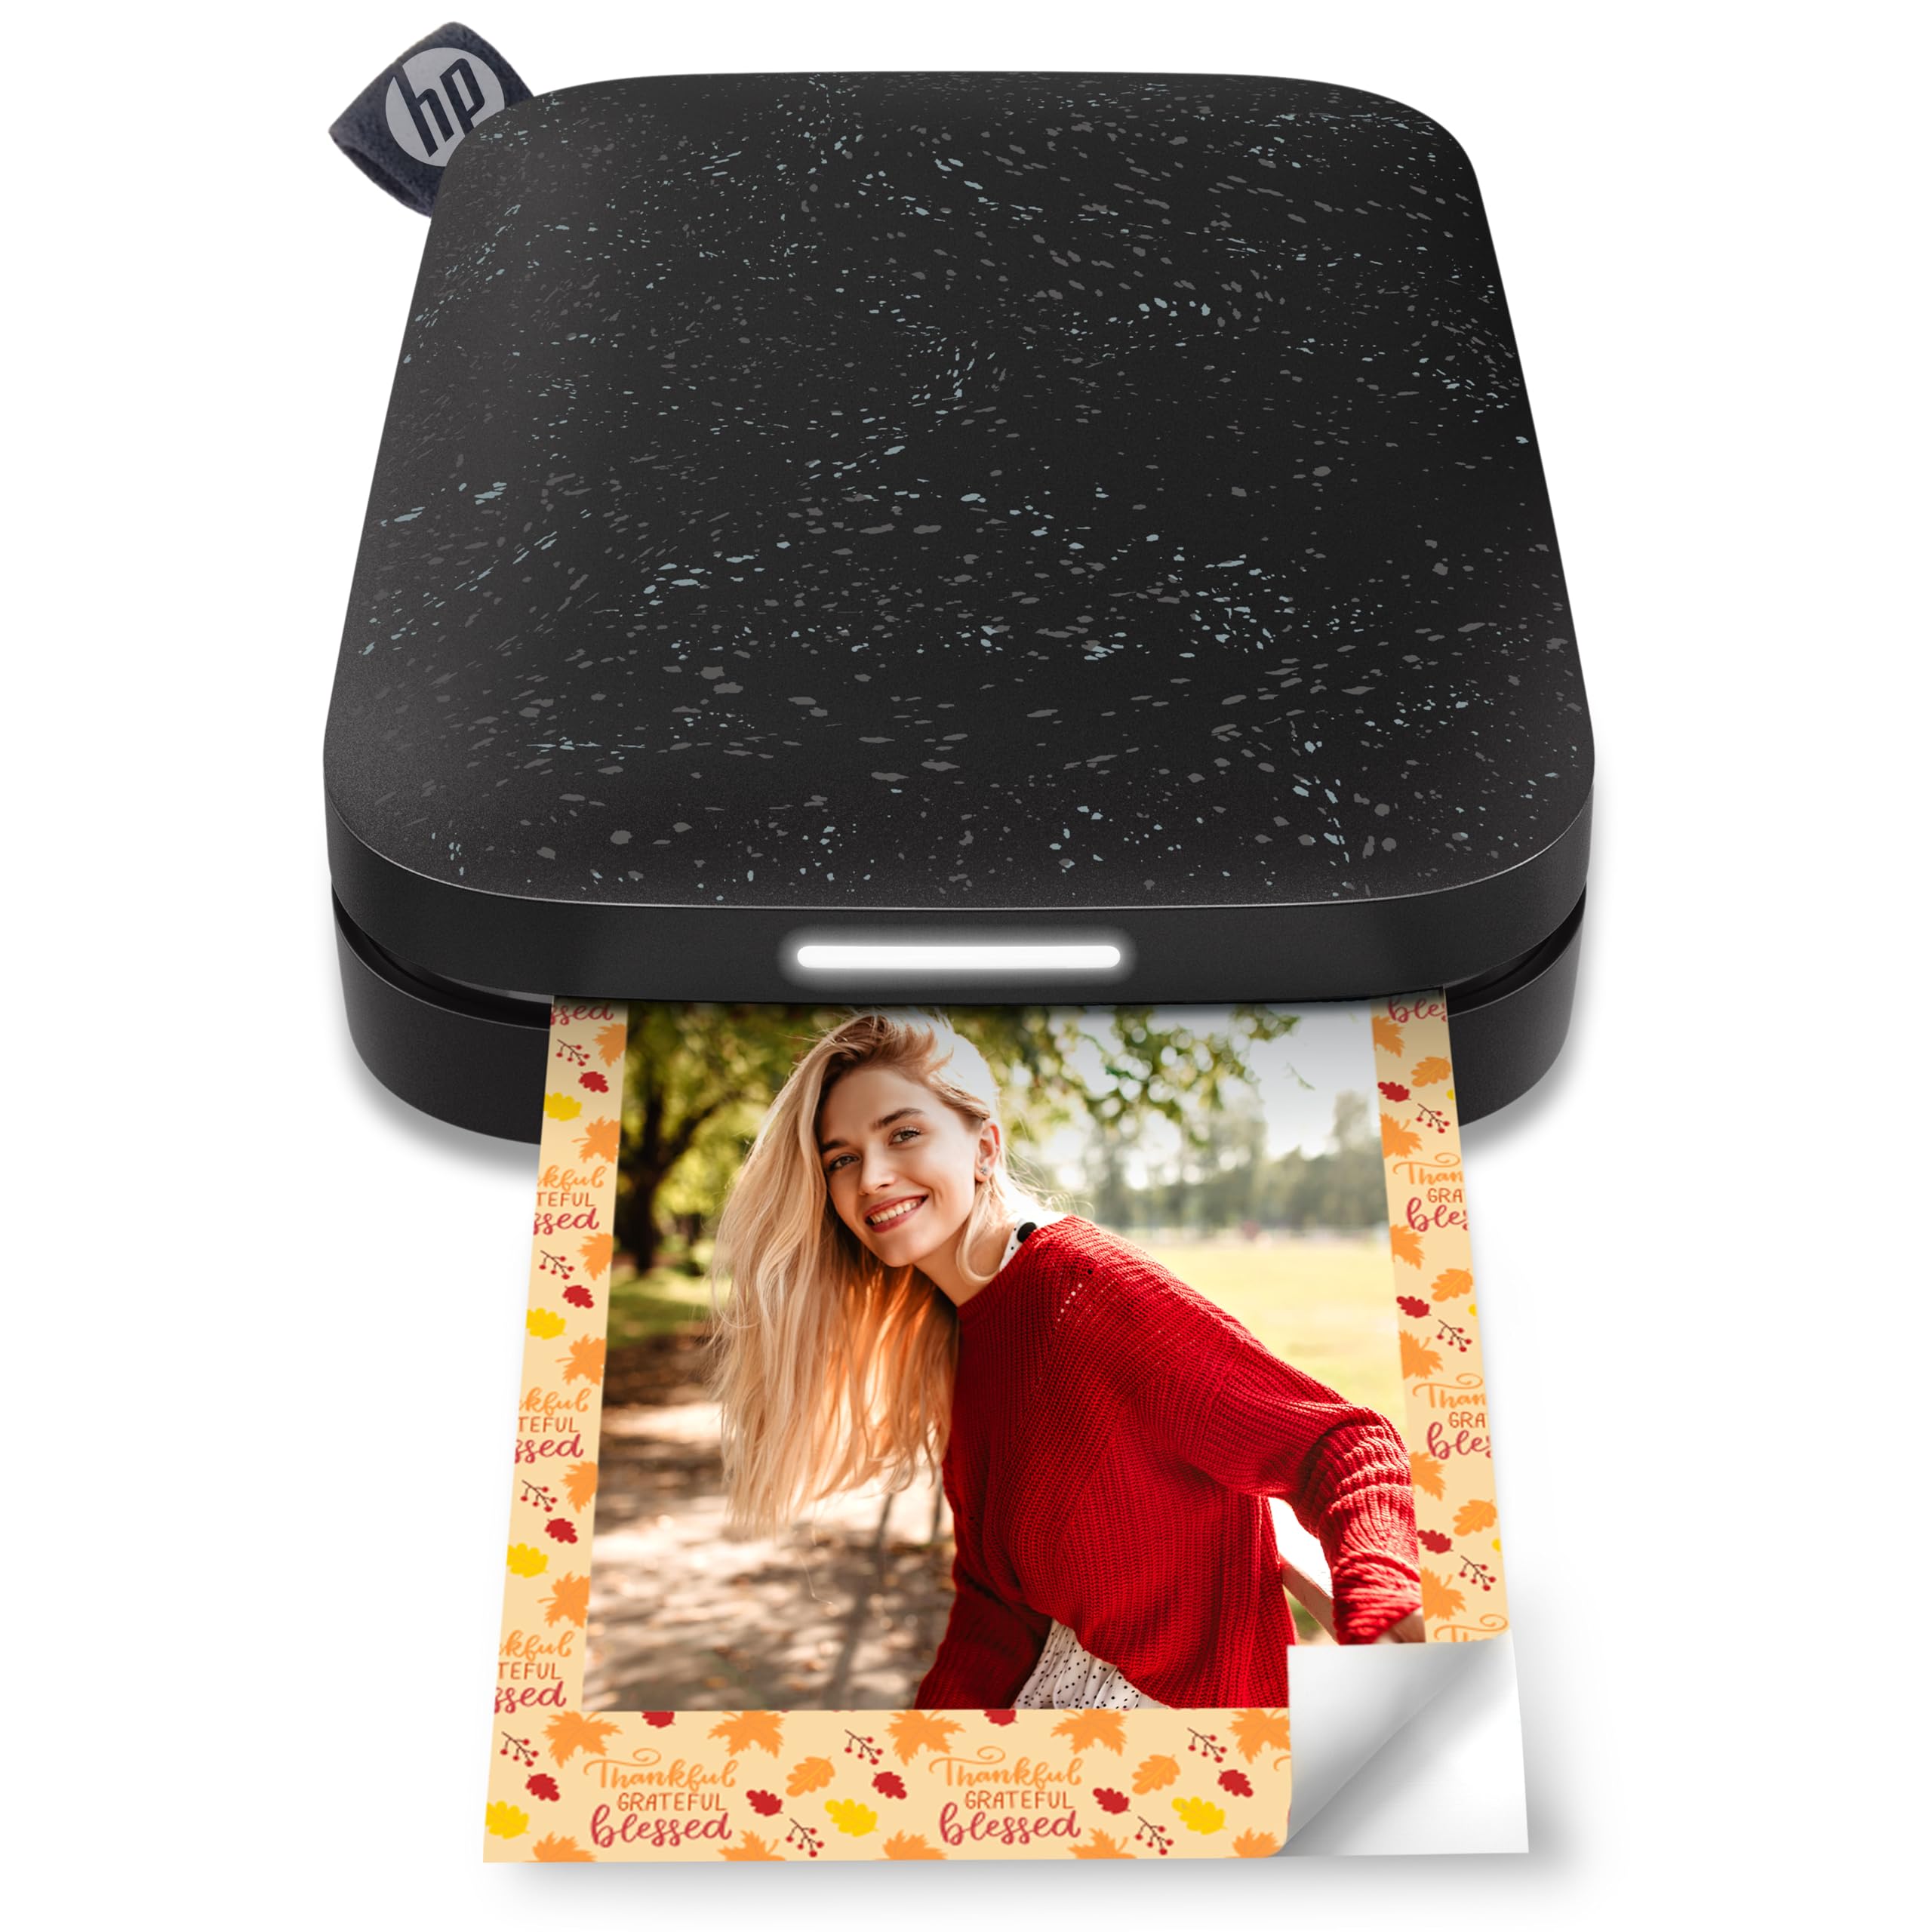

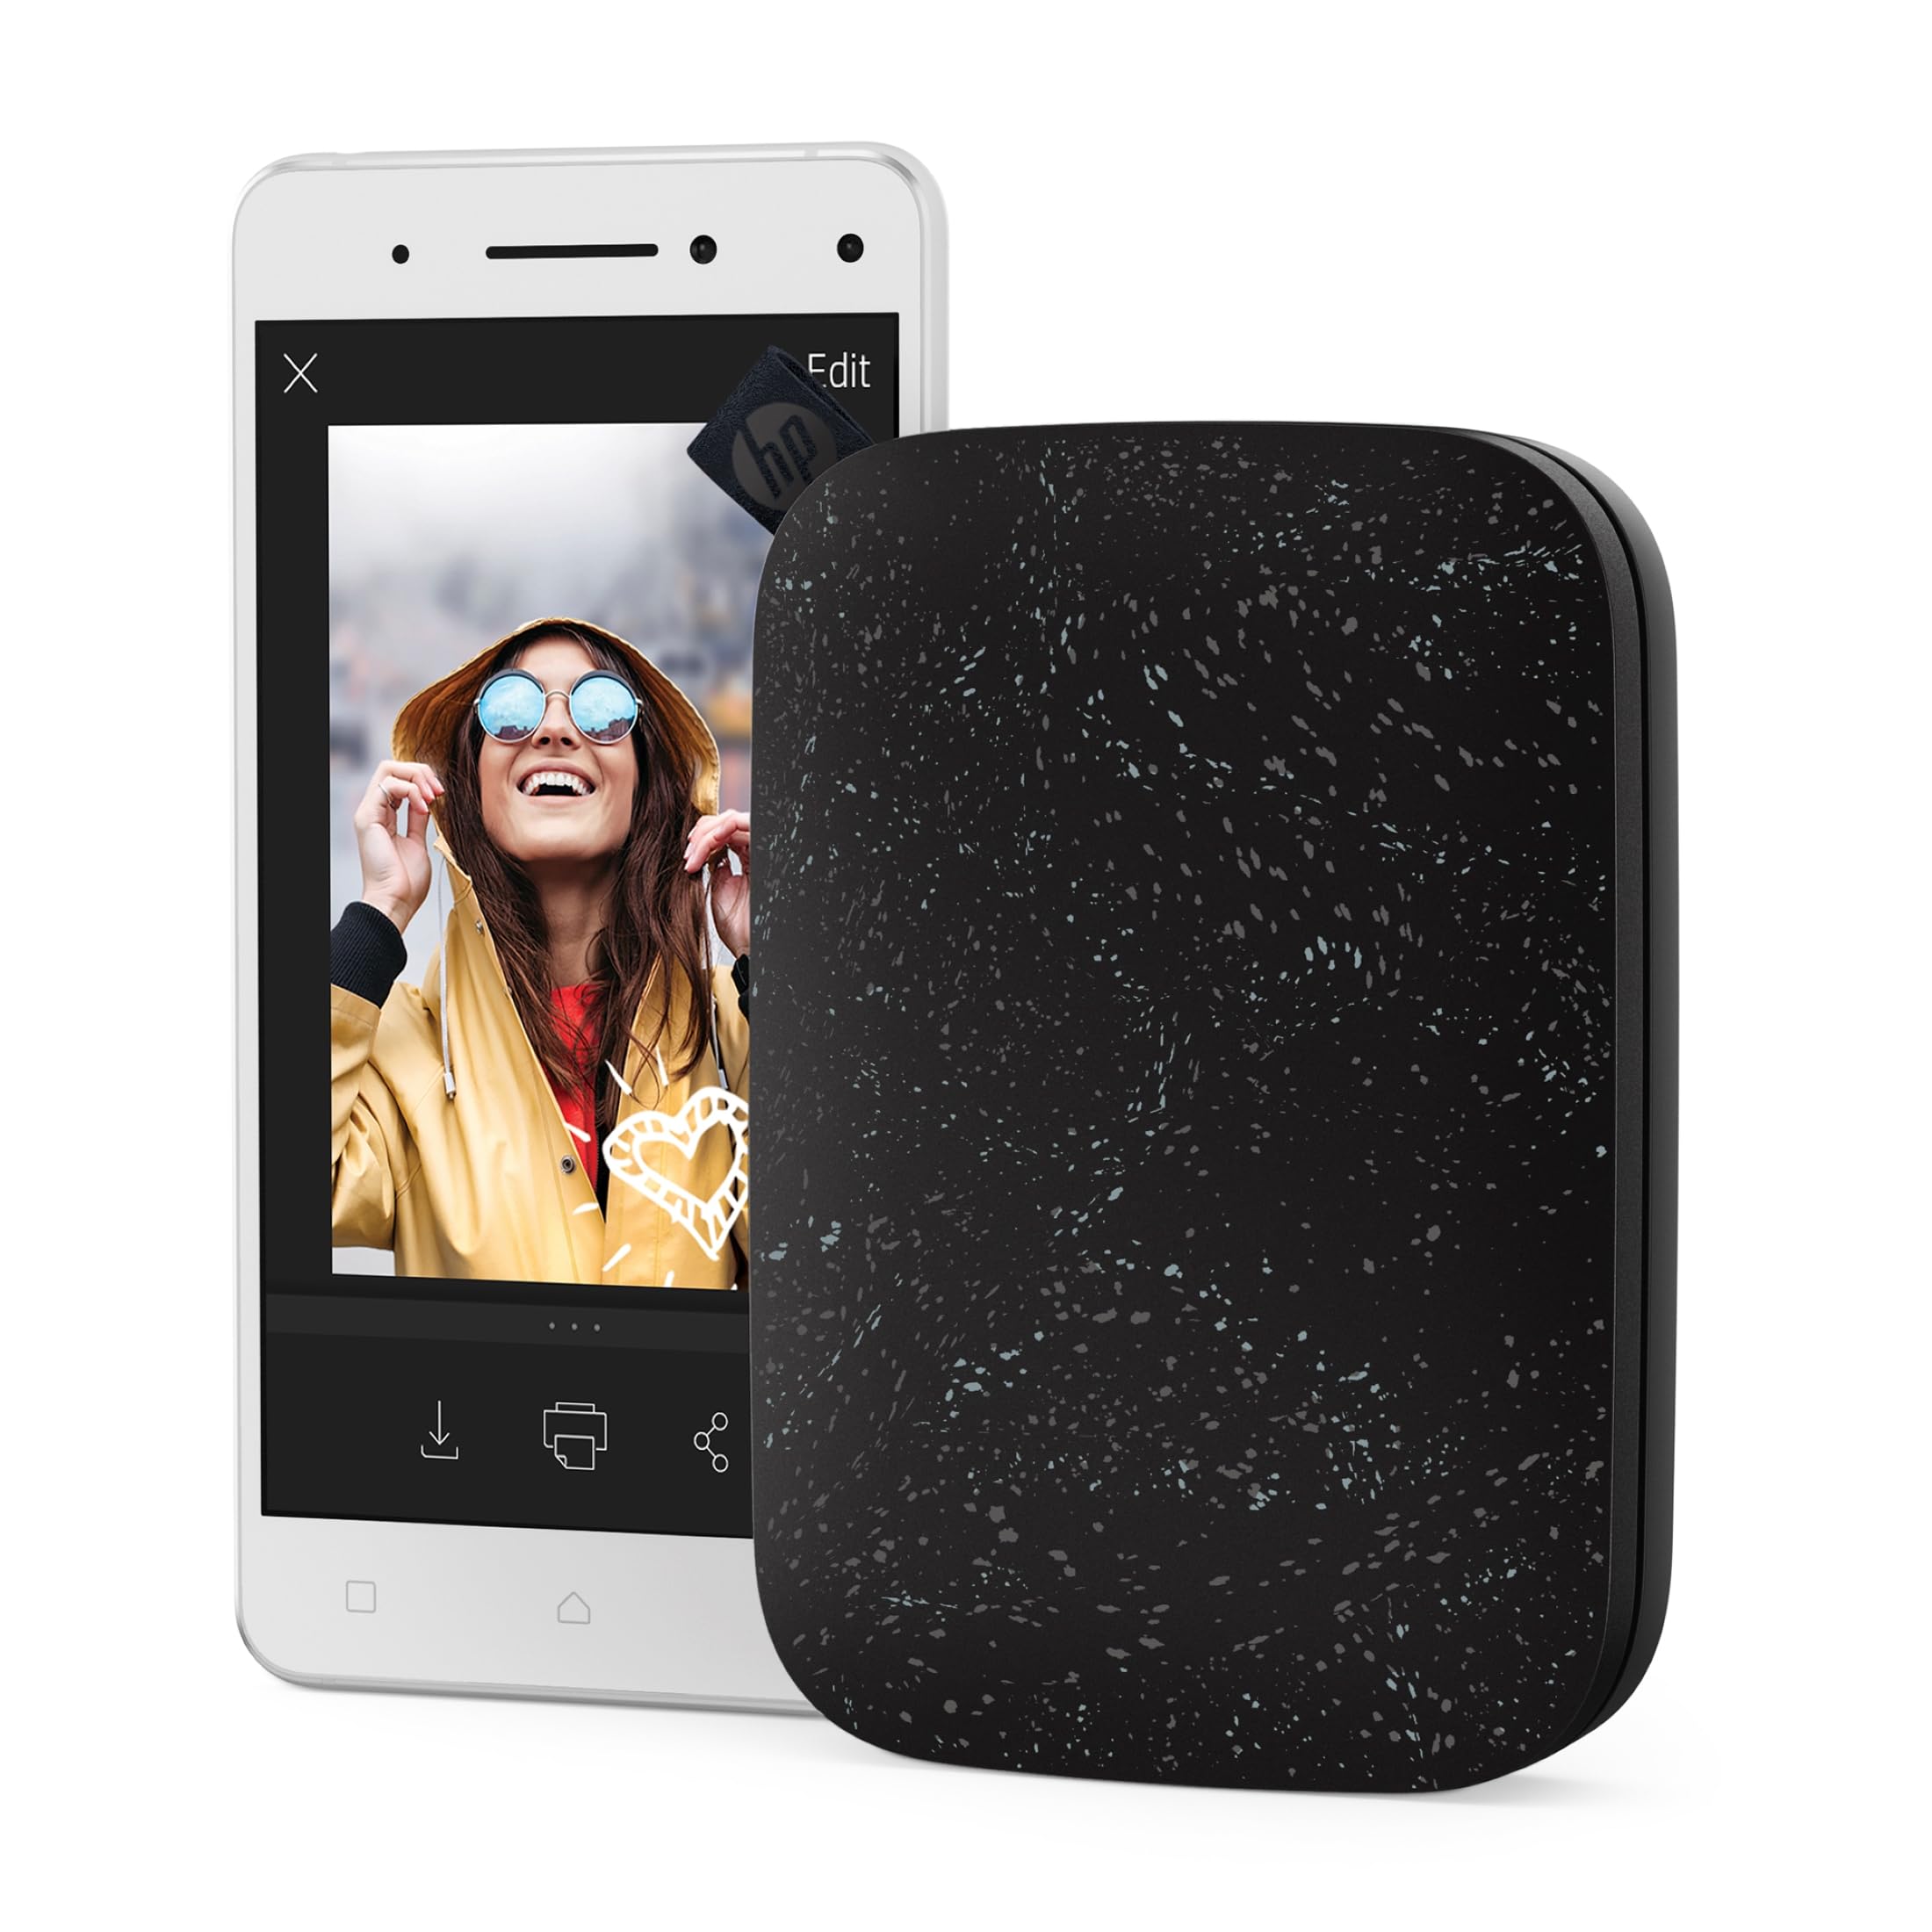


📸 Snap, Print, Share—Your Memories, Your Way!
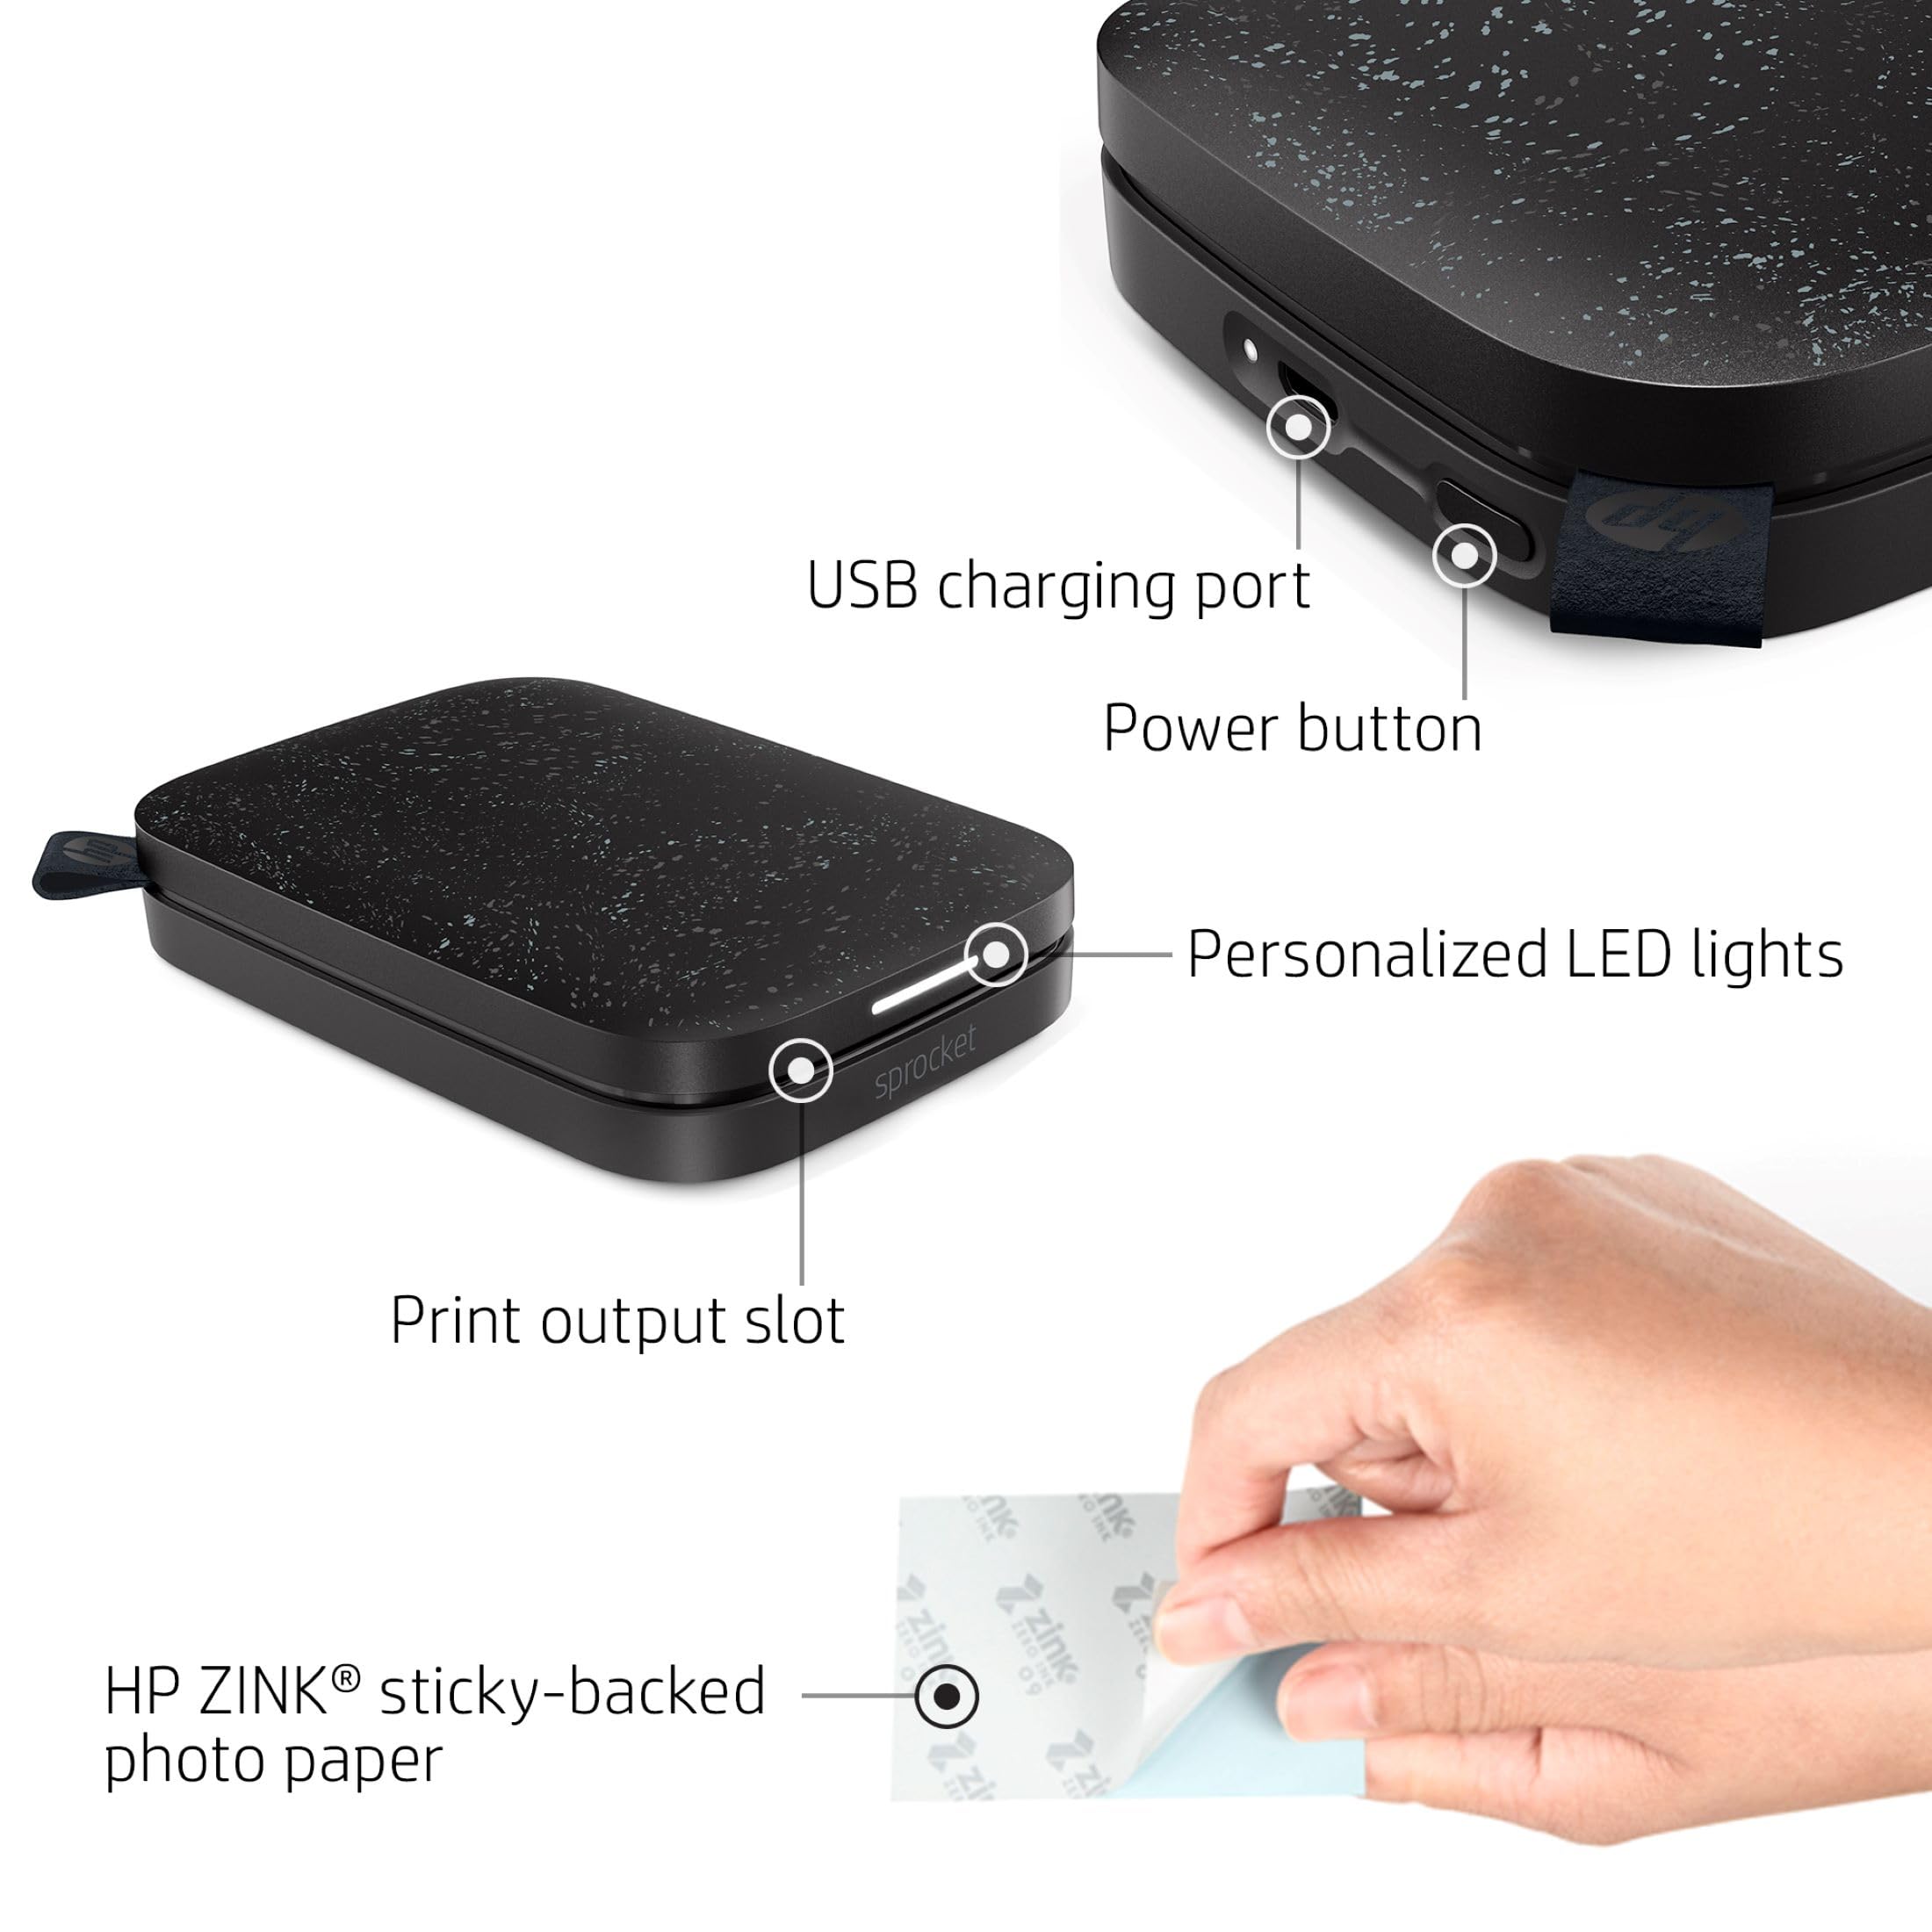
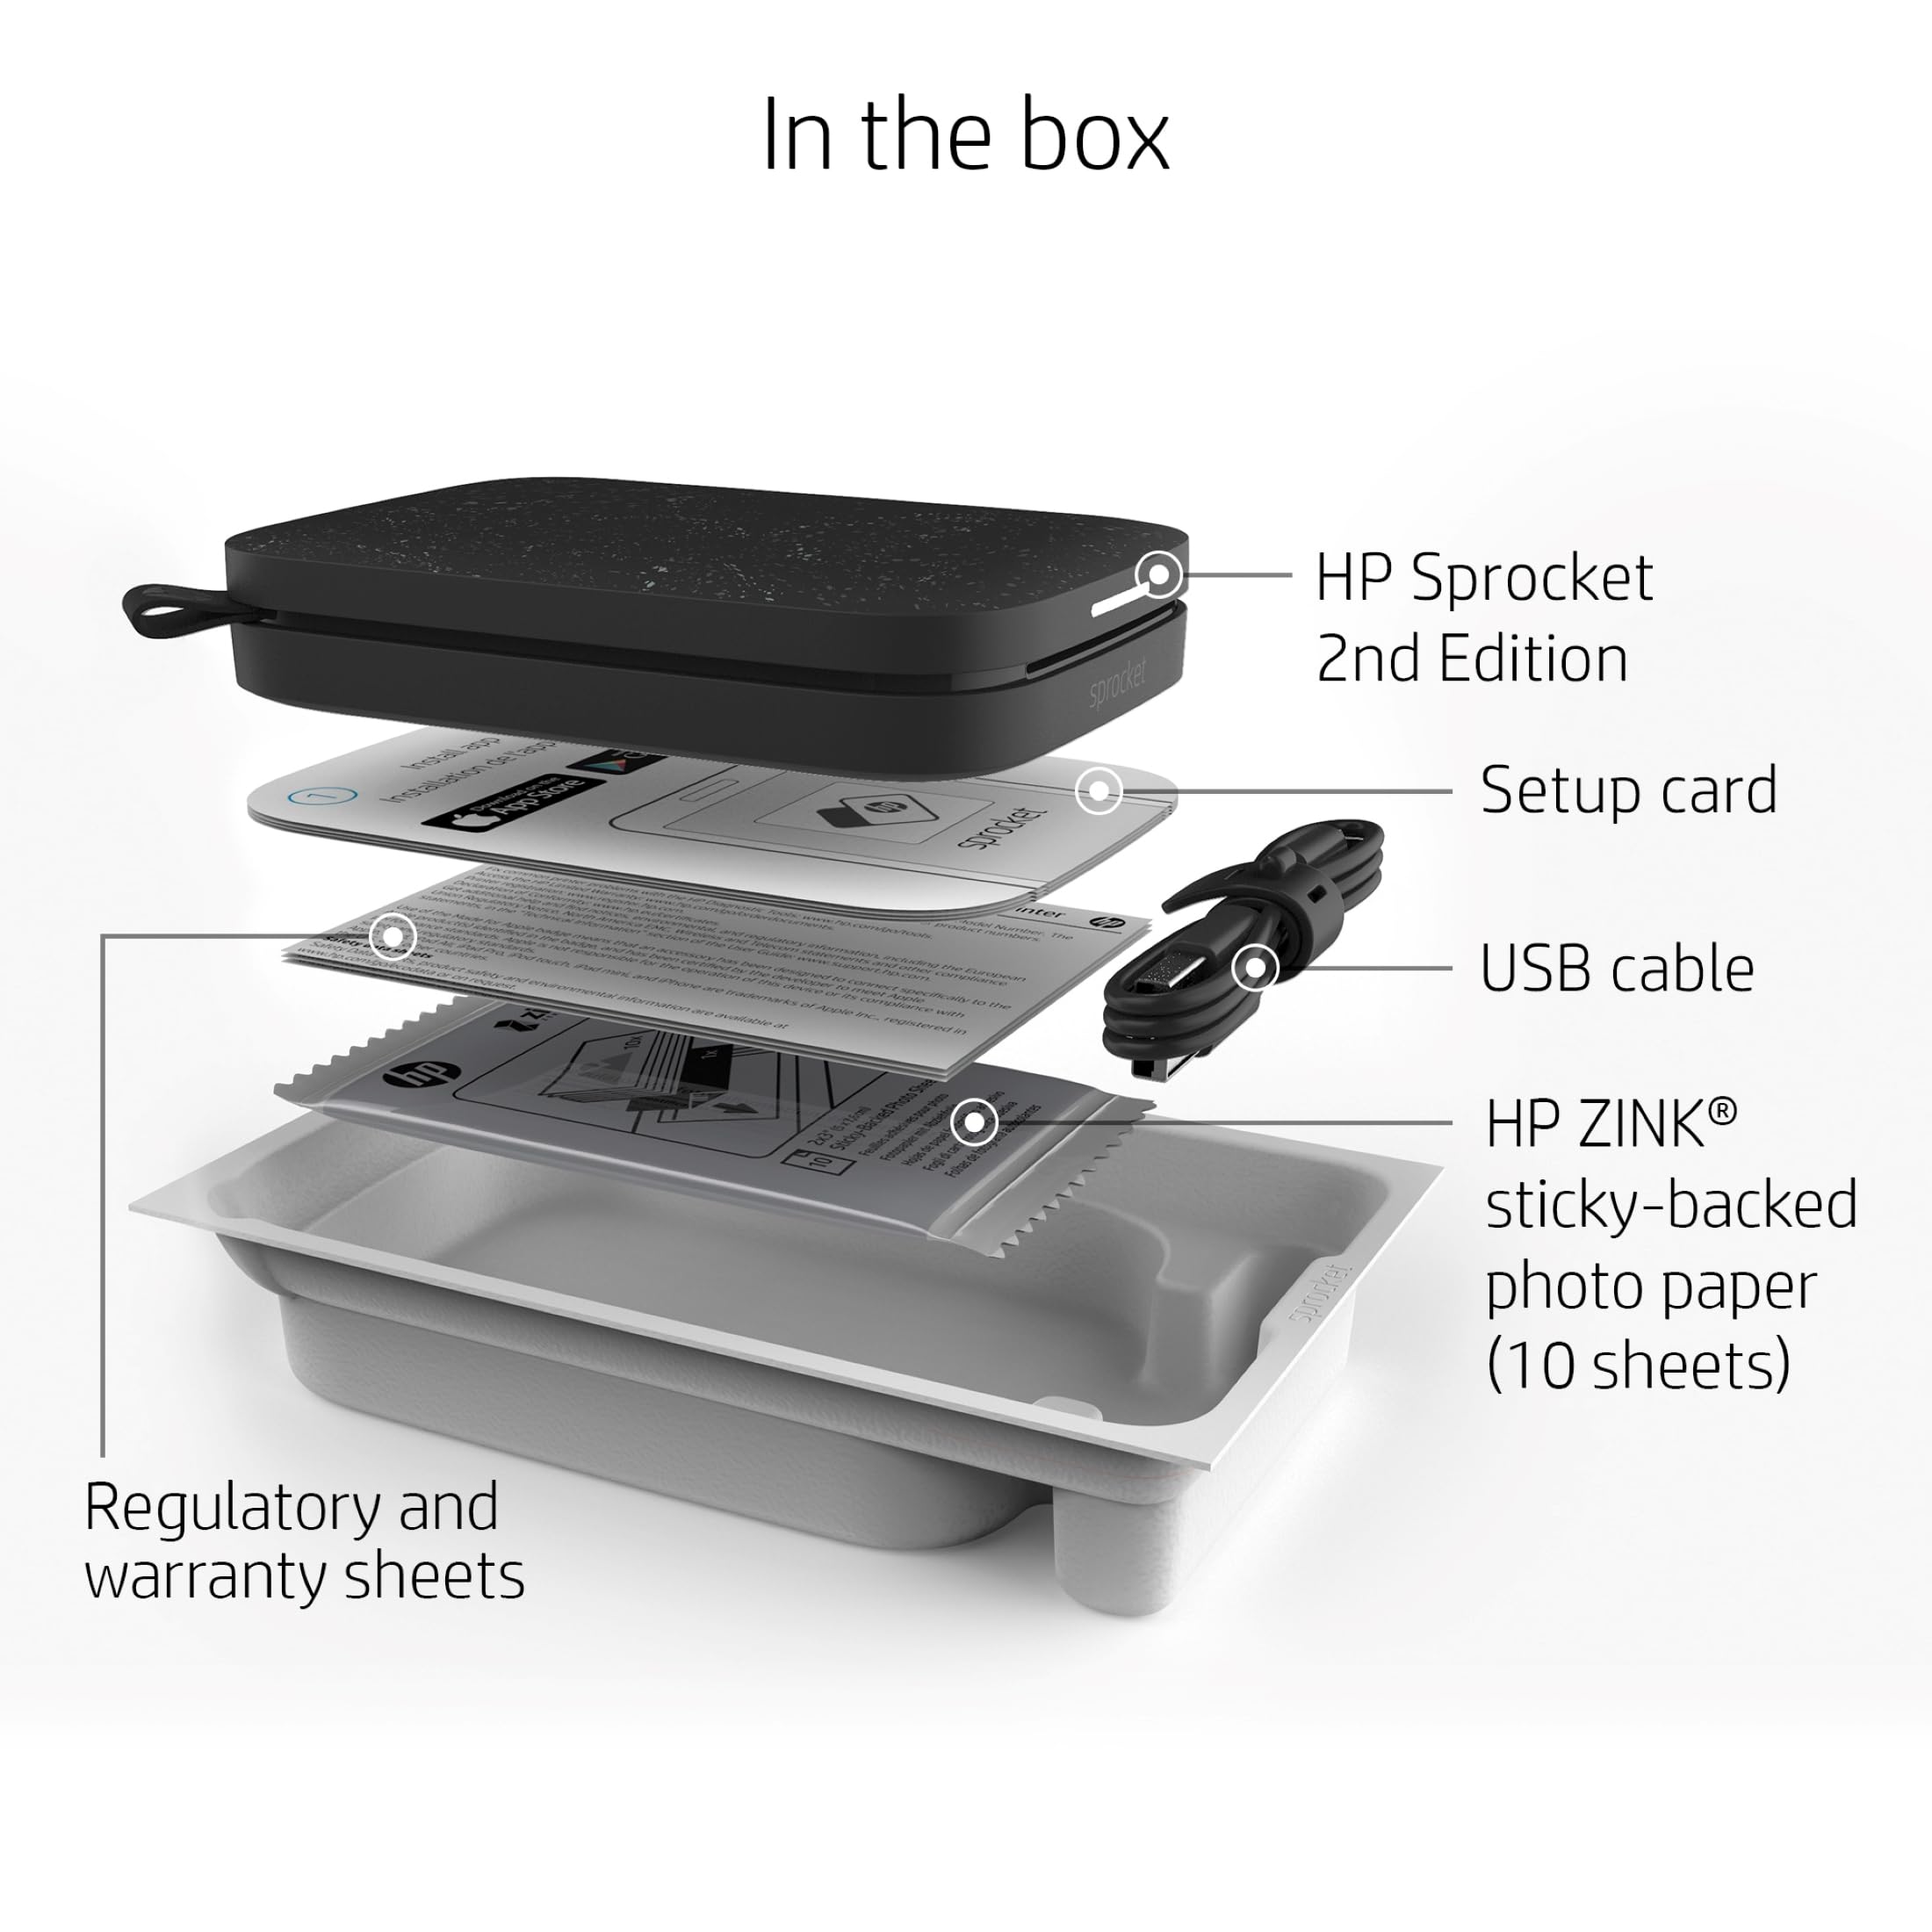
The HP Sprocket 2x3" Instant Smartphone Photo Printer is a portable, wireless printer that allows you to print vibrant 2x3 inch photos directly from your smartphone or social media. Utilizing ZINK Zero Ink technology, it eliminates the need for costly ink cartridges, while its compact design and Bluetooth connectivity make it perfect for sharing memories on the go. With customizable editing options through the HP app and the ability to connect multiple devices, this printer is ideal for parties and events.

| B&W Pages per Minute | 1E+1 ppm |
| Color Pages per Minute | 1 ppm |
| Total USB 2.0 Ports | 1 |
| Total Usb Ports | 1 |
| Hardware Connectivity | Bluetooth |
| Connectivity Technology | Bluetooth |
| Warranty Type | limited warranty |
| Number of Trays | 1 |
| Processor Count | 1 |
| Control Method | App |
| Controller Type | iOS |
| Print media | Paper (plain) |
| Scanner Type | Portable, Photo |
| Display Type | LED |
| Compatible Devices | Smartphones |
| Printer Type | Zink Technology |
| Additional Features | Portable, ZINK Zero Ink Technology, Rechargeable Battery, Connect to Multiple Devices |
| Printer Output Type | Multiple Colors |
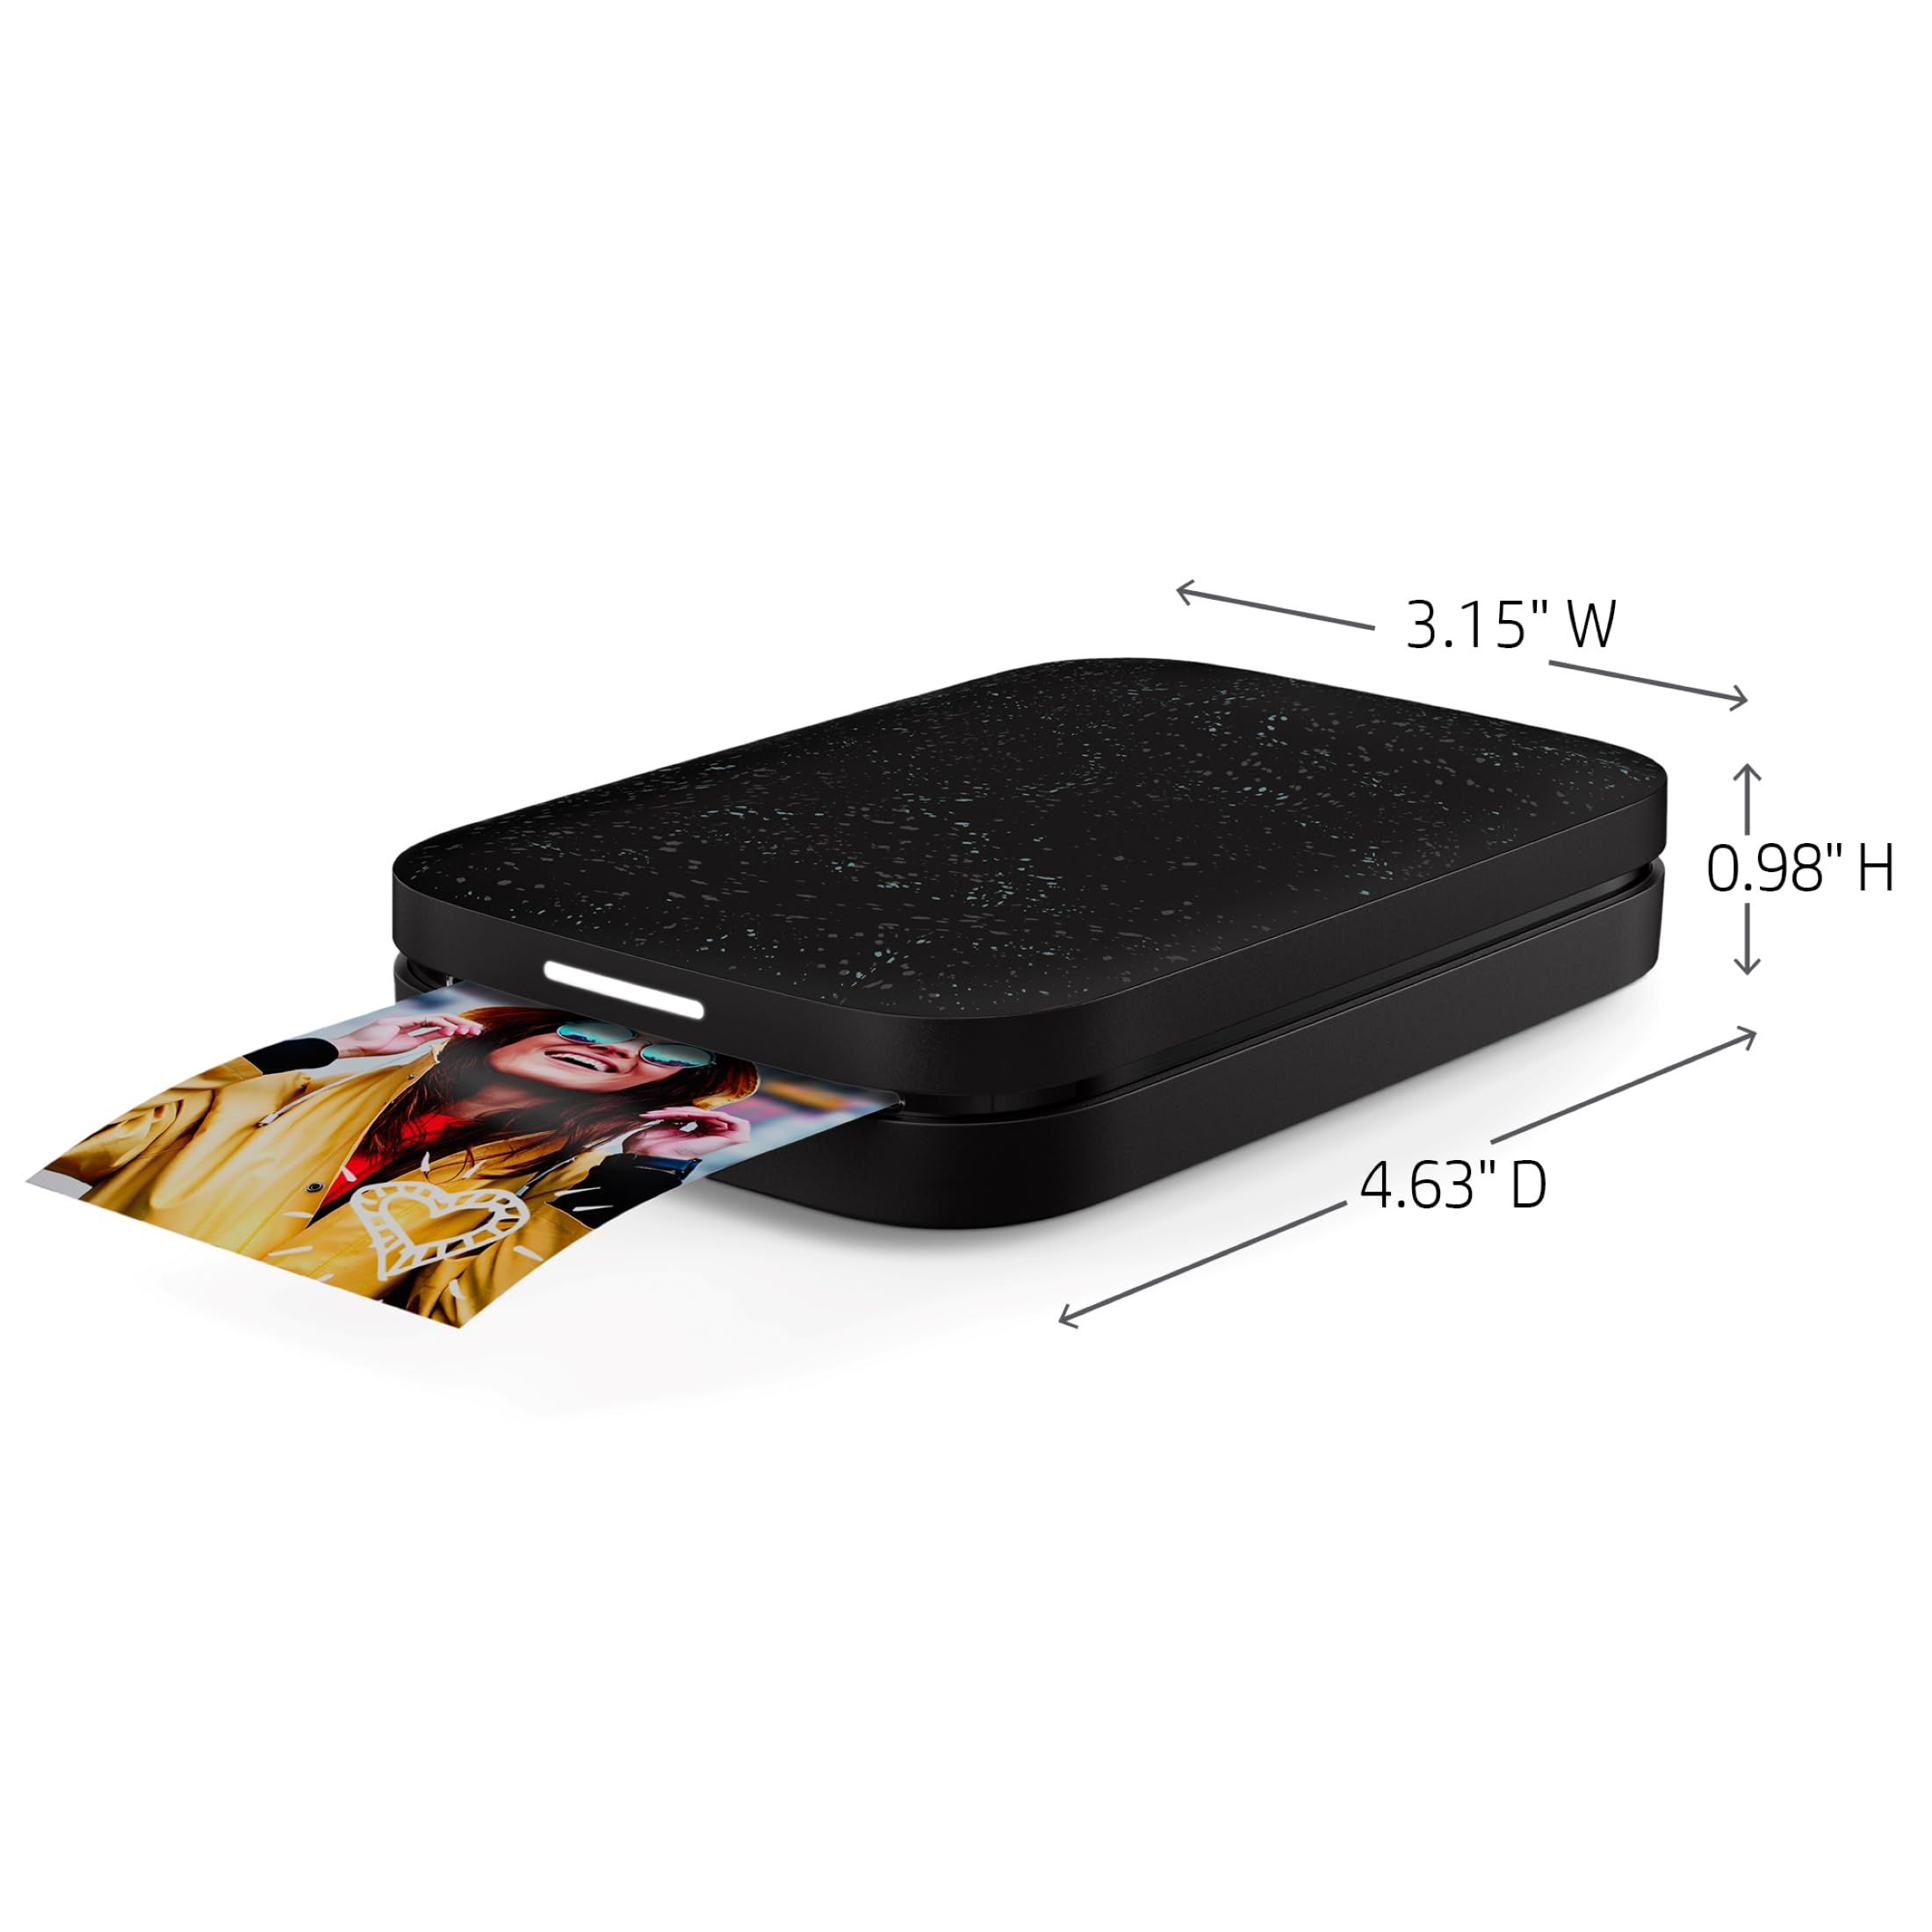
| Item Weight | 6.1 Ounces |
| Item Dimensions D x W x H | 3.15"D x 4.63"W x 0.98"H |
| Paper Size | 2 x 3 |
| Output sheet capacity | 10 |
| Maximum Sheet Capacity | 10 |
| Media Size Maximum | 2 x 3 |
| Wattage | 16 watts |
| Is Electric | Yes |
| Power Consumption | 32 Watts |
| Dual-sided printing | No |
| Color | Black Noir |
W**L
Quality of prints, ease of use
I love my speocket. Great for journaling or just printing selfies. Easy set up, nice pictures, easy to use. Paper is a little pricey but worth it.
J**L
Compact, easy, vivid photo colors, functional - Would buy as a gift for others.
I purchased this printer to quickly connect to my phone and have the ability to print small pictures that can also be stickers. The photo paper for the HP sprocket uses 2 * 3 photos using thermal sticker paper. The application is easy to download to you phone and gives detailed instructions on how to use the app. I am an avid book reader and the app allows me to print a collage of book covers to insert into my book journal.The colors from the print are true to life and have a terrific quality. The printer is small and can be slipped into a pocket for easy transport and durability. Functionally simple to use for a quick photo print that can be shared with others.
K**G
Great for labels and albums
I love this printer. I bought to make cover stickers for my yoto cards and I use it for albums and gifts too!! Cheaper film than our instax plus you decided final photo. The color can be shotty , but it all depends on the depth of contrast in your photos, you’ll just have to get used to how it typically prints and you can adjust your photos accordingly before actually printing them. Photos with a ton of white, may have a blue hue, but photos full of color, usually turn out incredible. My review photo is them, stuck onto Yoto cards and trimmed along the edge. They look like professional cards!
S**T
Great little printer but put in a bit of effort for best results
This is a great little printer *for what it is*. It’s incredibly small and lightweight, and the app is well-designed and easy to use. The print size is a smidge larger than other printers, which I like, and the sticky-back Zink paper is perfect for journaling. But (and DO NOT come at me over this) you should not expect to get the best results without a little effort. There’s a reason that photographers use apps like Photoshop and Lightroom and it’s because NO printer will reproduce exactly what you see on a screen. Some of that is due to the printer calibration and some of that is your screen/device/camera calibration. If you demand high quality image reproduction, you don’t want a pocket printer — they all return worse quality in color, sharpness, etc., than a half-decent desktop inkjet printer. You are buying *convenience* with pocket printers. THAT SAID, a fair number of people are reporting a pink (magenta) or blue (cyan) cast to their prints that other manufacturers’ models do not seem to have, which is decidedly disappointing. Mine has a pink cast, hence my -1 star.There are instructions from the manufacturer for resetting the unit to address this problem, and you should use the calibration card in each Zink packet as recommended (and keep it for recalibration). If those things do not work, there are some simple edits you can make to your photo (before you open it in the HP app) to correct for the color cast if you otherwise like the Sprocket Select and are willing to sacrifice a few prints in the process. The suggestions below will not be news to most photography enthusiasts (let alone professionals) — I’ve included them here because even though I think that HP has considerable room to improve the thermal control of this printer (which is how the colorization occurs with Zink paper), I still think this little printer has a lot going for it and casual photographers can get much improved prints from it.1) The simplest method: You can counteract color casts by finding the “tint” setting in your photo editor (ALWAYS be sure to make and work on a copy of your original image if you’re not sure you can revert the image to its original state by undoing the edits). If your prints have a blue/cyan cast, use the tint adjustment to push the image towards red/magenta; if your prints are pink, move the tint towards green. For relatively simple editors (e.g., iOS Photos), you might start by making a 100% adjustment and then backing off from there in 10-20% increments for subsequent prints (of the same image) if you’ve gone too far. The image may look horrible on screen, but that’s not the point. Whatever setting you decide gives the best result, apply it to future images (or their copies) before you open them in the HP Sprocket app; this won’t work 100% of the time, but should help in many cases. Also be aware that various editing apps for different devices will apply differing amounts of adjustment at comparable settings (e.g., “50%” in one app on one phone may be “75%” on another phone or in a different editing app), so you may want to follow some of the additional steps below to dial in the best possible correction, albeit at the price of a few more test prints.2) If you’re willing to put in a bit more effort: pick a photo that is representative of your most common subject (e.g., landscape, portrait, nighttime) and choose one with a good range of values (light to dark) and that is not under- or overexposed. Convert this to black and white (monochrome) in your phone/tablet/computer photo editor (no fancy enhancing filters, just a basic conversion) and print the image. This will allow you to see which values in the image have the greatest color cast (highlights, mid-tones, or shadows), which can be hard to see in a color image.3) Go back to the original color image (or your copy!) and target your tint correction by looking at the values (areas) of the image with the worst color cast in the black and white version. This is inherently subjective, and remember it’s not meant to look good onscreen. Make a print and assess whether you need more or less tint correction. Rinse and repeat until you’re satisfied enough, recalling that you’re not aiming for perfection from this convenience printer.4) For the folks with more sophisticated photo editing apps that allow targeted editing of color balance in terms of value ranges — highlights, mid-tones, or shadows (e.g., Lightroom or Pixelmator Photo on iOS): Start with Step 2 to figure out where the color cast is the worst but instead of changing the image tint in the original color image (which affects the whole image), tweak the cyan/red or magenta/green balance for just the values in the image that need the most correction (e.g., mid-tones). If you’re not sure whether the cast is in, for example, the mid-tones or highlights, just pick one (mid-tones) and make a 100% change in the color balance relevant to the color cast your prints have — if the area you’re concerned with (from step 2) changes the most onscreen, you’ve got it. If not, undo and try the other value range. If you like the result and your photo editor allows it, save this setting as a preset and apply to future images before printing. (And you can edit two or all three of the value ranges with differing amounts of color correction!)5) For the truly adventurous: follow step 4 with additional enhancements, such as slight bumps to settings like “vibrance”, “clarity”, overall brightness (if images print a bit dark) and contrast (if images look a bit flat). Your photo editor probably allows changes to brightness in the value ranges of the color balance section, too, if you want a targeted effect. Save as a preset and apply to future images before opening them in the HP Sprocket app for printing.Using these techniques, I was able to get a *much* better, more true-to-life color print after five prints (original; B&W; 100% green tint; less tint correction and more brightness; and finally, targeted value range corrections to color and brightness with bumps to overall vibrance and contrast based on earlier prints). You may not want to have to do anything to your images before printing - in that case, move along or take your chances and be prepared to return you unit if you dislike the prints. But if you don’t mind a little twiddling, I actually recommend this little printer.
S**E
Fun, Pocket-Sized Printer That Delivers Instant Memories
I got the HP Sprocket as a gift, and honestly, it’s one of the most fun little gadgets I’ve used in a while. It’s super compact—small enough to toss in my bag or even a large pocket—and it pairs easily with my phone over Bluetooth. The app is straightforward, and I really like that I can edit photos with filters, borders, and little stickers before printing.The print quality is decent for something so tiny. It’s not professional photo quality, of course, but the images come out vibrant and detailed enough for journaling, scrapbooking, or sticking on a wall. The 2x3" size is cute and comes with peel-and-stick backs, which makes it really easy to decorate with them.The battery life is solid—I can go through a few sessions before needing to charge—and loading the paper is simple once you get the hang of it. It’s definitely not an essential device, but it’s a fun one to have if you like capturing and printing memories on the go. I’ve loved using it at parties, trips, and even just around the house.
P**E
I would like to thank TikTok for introducing me to this!
The app and the printer are epic in so many ways. It’s kind of like trying to set up your WiFi in your home, but as long as you don’t give up you know what to do.The pics came out good as long as it’s cleared, printer charged, and you have enough refill paper to last you months. The print speed is amazing as long as it’s connected, and it’s great for me to use in my journals, notes, etc.The zink feature is epic in so many ways. I can easily store this in my Fjallraven kanken.
J**N
So convenient
I can’t even tell you how fun this is to use. I just pick out the picture I want to print from my phone, it comes up on the app and I can print the cutest 2x3 STICKER you ever saw. You can do collages, put frames and stickers on it…all kinds of cool things. I took it on the Mediterranean cruise I just went on and kept a travel journal with pictures that I love. The paper is a little expensive but to have a printer that doesn’t require ink, is so easy to use and makes stickers, makes it worth it.
F**E
Great gift idea
Bought as a gift for my fiancee and she loves it. There are now print outs of us everywhere 😂. She also printed some out and sent them inside her Christmas cards. Very nice quality little printer. Saved us money on going to get little prints from stores. Ps buy more paper 😂
Trustpilot
1 month ago
1 week ago