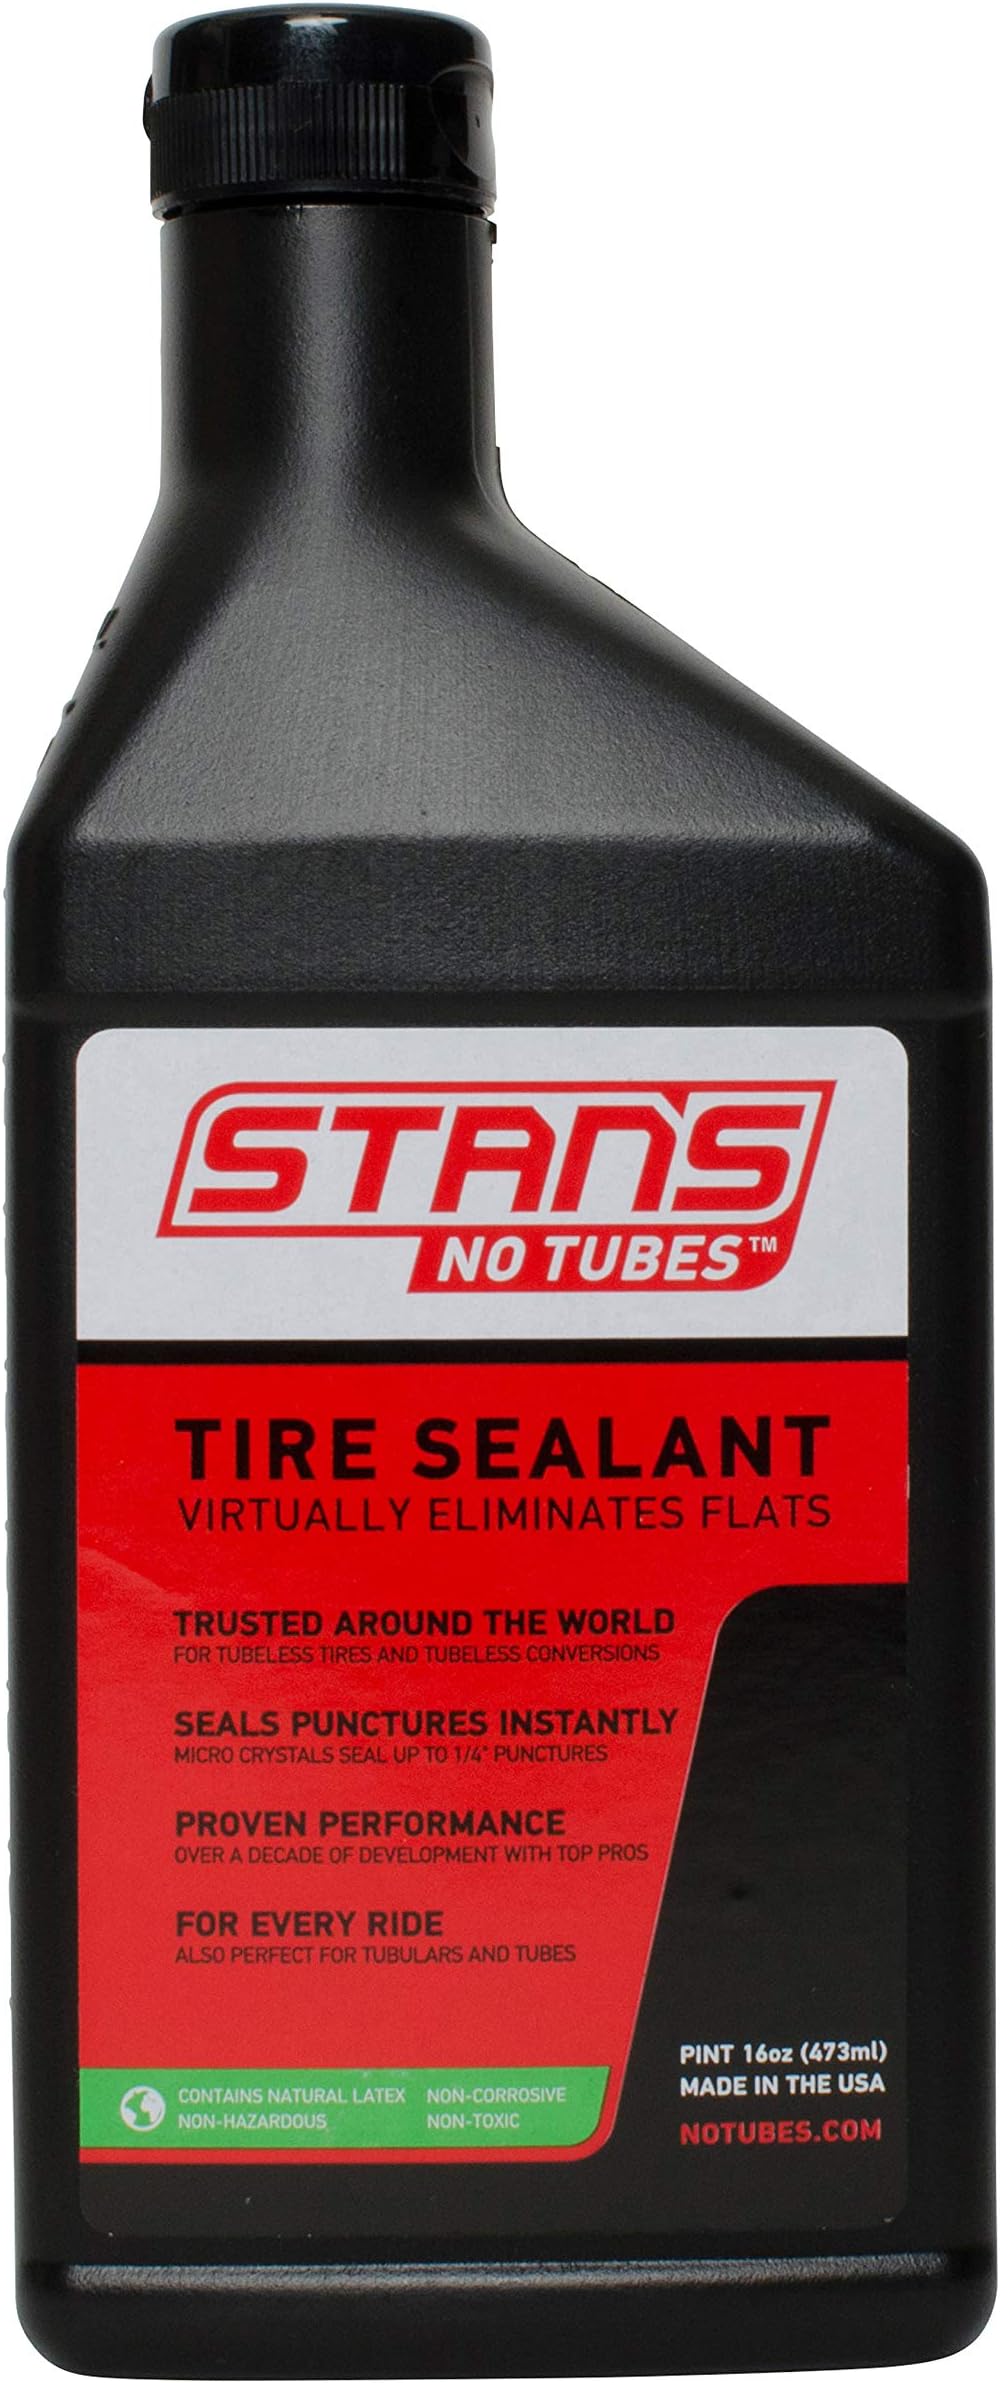
I used this to seal the Mavic Yksion Elite All Road tires I purchased here on Amazon for my Diamondback Century 4 Carbon bike. I wanted to go with a tubless setup as I was tired of getting pinch flats from running over sticks and the like on rougher trails.Using it is easy enough. I used this sealant injector that I got here on Amazon: Tubeless Sealant Injector Syringe and Presta Valve Core Removal Tool by KOM Cycling - Designed for Stans No Tubes sealant and other sealantsSteps to mount tubeless tires (for road bike/gravel/cross tires, mountain bike is similar but amount of sealant will be about double and pressure to inflate to is around half, just look at the sidewall for max PSI when seating the bead):1. Make sure your rim is tubeless ready, and seal spokes with Rim Tape if needed. I used Stans No Tubes Rim Tape: Stans No Tubes 10yd x 21mm Rim Tape2. Install Valve Stems. Get the ones with removable cores; it helps with injecting sealant. I used these 35mm stems from Stans No Tubes: Stans No Tubes 35mm Presta Universal Valve Stem (Carded Pair for Mountain)3. Install Tire on the rim. Try your best to not use tire levers, as it can mess up the bead on the tire. Tubeless tires typically have a VERY tight bead, to keep the tire from "burping" off the rim. They sell lubrication to get them on, but I just used a bit of soapy water on the one tire...the other one I was able to get on no problem. Tip: Install the label on the tire above the valve stem. It looks clean and helps you easily find the valve to inflate tires.4. Seat the bead. This is the trickiest part. If you have an air compressor, I'd recommend using it here. You want as much air through the valve stem as possible (remove the valve core at this point). I had to get a special inflator gun for me to get enough air through the valve for it to work. I used this one: TYH Supplies Tire Air Pressure Gun Inflator Gauge with Chuck, PSI / BAR Dual Measurement up to 174 PSI, 1/4-inch Flexible Hose, Accessory Kit, Schrader to Presta Valve Adapter, 20 Valve Caps. If you have problems getting the bead to seat, you can put a tube in, inflate the tube, which will seat both beads; then CAREFULLY remove the tire by popping ONE bead off. This will leave only one bead for the air compressor to seat, and works much easier if you're having difficulty seating both beads at once.5. Once the bead is set, fill the injector with 2-3 oz. of tire sealant, and inject it through the valve stem. I recommend angling the valve stem so that it's not directly at the bottom of the tire, but rather off to the side, at about 4 oclock or so; this prevents the sealant from wanting to come back out of the valve.6. Reinstall the valve core, and inflate the tire to close to it's max pressure, typically 70-90 PSI will do the trick. You may hear the tire pop a bit as the bead settles into it's final position.7. (optional) take bike for a short ride just to make sure the tire is seated okay. I took my bike for maybe a 5 minute, 1 mile ride or so just to quickly ensure they were seated.8. This is one of the most important steps in my opinion. Get a cardboard box and fold the flaps in so you have a nice, level method of lying the tires on their sides. Lay each tire on its side for 24 hours, to allow the sealant to get into the tiny crevices of the bead. After 24 hours, reinflate, and flip them over to the other side, and wait another 24 hours. Then you should be good to go.After following these steps, my tires have held air incredibly well. I read a lot about how you need to inflate your tires more using a tubeless setup, but my tires have not lost any appreciable amount of pressure in the 3 weeks it's been since I've completed the steps above. If you get a slow leak or it doesn't seem to be sealing well, add another ounce or so of sealant..sometimes it just wants a little more and that's enough to solve the problem.So far I've been super impressed by how well this has worked, and I love the tubeless setup. So much nicer to not have to worry about pinch flats, and I can run 30ish PSI less than I used to without sacrificing efficiency, and the ride quality has improved tremendously. I highly recommend going tubeless if you are on the fence!