


🎨 Unleash Your Inner Designer with PINKIPO®!
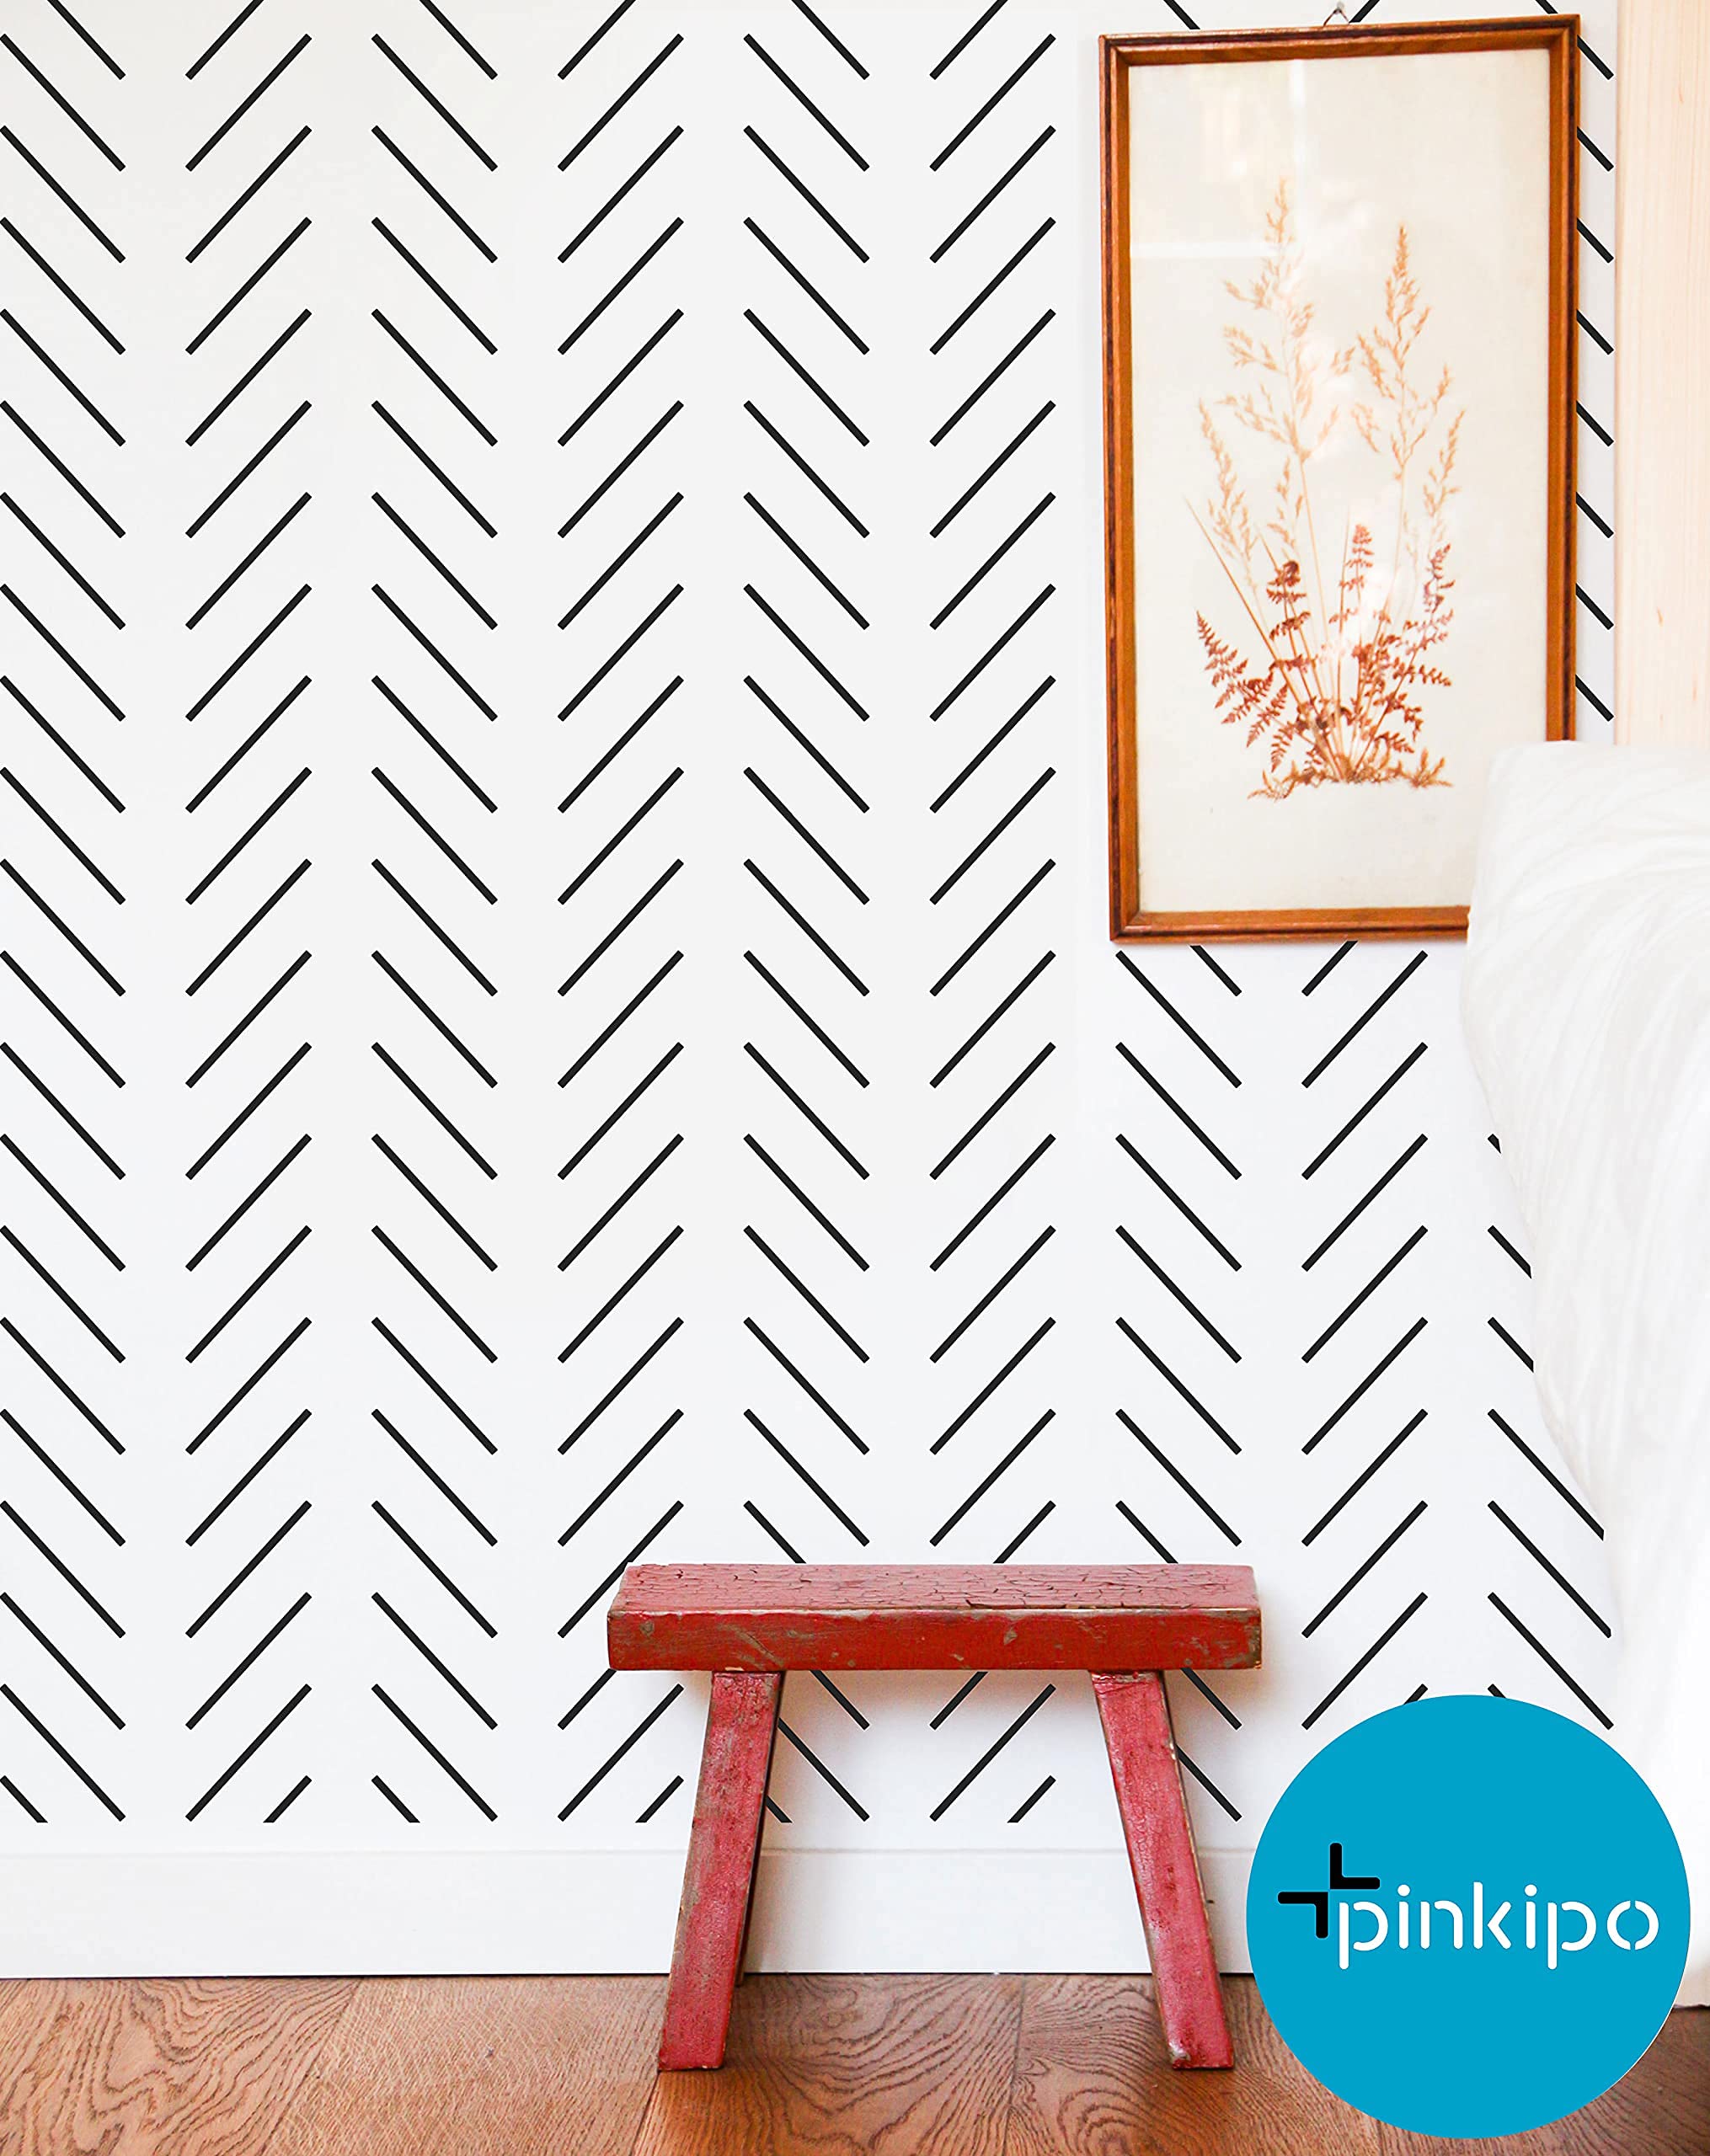
The PINKIPO® Simple Herringbone XL Stencil (16"x40") is a versatile and user-friendly tool designed for both novice and experienced DIY enthusiasts. This set includes an extra-large stencil and a small edging stencil, allowing for quick and efficient application on various surfaces, including walls, floors, and furniture. Made from durable and recyclable Dupont Mylar, this stencil is washable and reusable, ensuring you can create stunning geometric patterns time and time again.
| Style Name | Scandinavian |
| Material Type | Plastic |
| Item Weight | 200 Grams |
| Item Dimensions L x W | 2.54L x 1.03W Meters |
J**S
Easily works as a stencil. Easy to place and remove. The fact they gave me smaller ones was a bonus.
Great material came quickly easy to stencil on walls
L**4
Buy it!
-Great bargain getting 2 stencils for around ~$20-Great quality stencil (I’ve used many, this one was made well, a good size and thickness, and came packaged well).-Clear/concise instructions included for beginners-Stencil was clearly labeled with stickers so you know the proper orientation while using it.Just moved into a new house and I’m trying to re-do/paint the rooms to my taste. The entire house was painted this beige-y-camel color, which I find incredibly dull and boring. However, I’ve already painted several rooms in the house and I didn’t have much more patience to keep going. I’ve painted every single day since moving in a month ago, and being perfectly honest, I hate painting walls. It is such a chore. So, when it came to my own bedroom, I decided to just keep the color but make it more my own. I originally thought of doing wallpaper for an accent wall to avoid more painting, but for this ONE singular wall, it was going to cost nearly $800 (and that was on the cheaper end of wallpaper)! Absolutely not! Since I’ve already had experience stenciling a wall, I went with this method instead and I’m super pleased with the way it turned out! It costed me $40 for the paint and stencil— much cheaper. It was also much less labor intensive than painting the whole room, but yet I got really chic results.To add interest to the room, I wanted a lot of coordinating tones and textures. The furniture has a lot of brass/bronze to it. The headboard has a bronze nailhead trim, along with an (Unpictured) accent chair that has matching nailhead trim and coordinating upholstery. I also have side tables that are brassy/bronze and a lot of metallic artwork. For my accent wall, I chose rustoleum metallic bronze indoor wall paint. The lighting really reflects and makes it appear almost silver in photos, but in person the bronze really comes through. I bought a quart and had probably 3/4 left over when finished— it really didn’t take much. This is a water based paint, which I find the ultimate choice for stenciling. I’ve used different paints when stenciling and found that oil based paints tend to ruin the stencil and make the stencil curl up and warp. Latex paints aren’t a favorite for this particular job, either. It tends to get weird and clumpy/stringy. Acrylic is ok, but has its cons. If you stencil, water based is the way to go. It also has the benefits of drying quickly and cleaning up easily.A few tips:Use a small, dense sponge roller (or sponge applicator of any sort) only! You want to make sure your roller/applicator is mostly dry by rolling a majority of the paint off of it before applying onto the stencil. This will insure your lines stay crisp and don’t bleed. Press your roller/applicator firmly, but gently while stenciling and to you’ll be good to go!Use painters tape to adhere the stencil to the wall and keep it in place while stenciling. Take your time with placement so you don’t accidentally mess it up.I find it easiest to paint the stencil, then move it directly to the right, paint the stencil again, then move the stencil directly underneath the first section and paint (and repeat). This process of moving right, then down, right, then down allows for some drying time so that when you go to overlap the stencil underneath, you’re not smearing the paint you just laid down above since you move to the right first. Hopefully that makes sense!All in all, I don’t think you’ll be disappointed and I’m so shocked this has no reviews yet.
R**K
Love!
I used this stencil to make my nursery! It turned out so cute! It was easy to use, came in two sizes, and very sturdy. I’d recommend this product!
M**
Worked pretty well
It was easy to use but did get messy really quickly. I would recommend buying more than one piece.
K**T
Unique and effective
This turned out super cute. I really struggled to line these up perfectly, not sure if it’s stencil or operator error. Overall, would recommend and pleased with execution! I bought a 3 pack of oil based paint Sharpies and only needed 2 to do the wall in the pic. Lastly, this was cost effective compared to some of the wall papers/wood accents I had looked at originally to spruce up this wall.
Trustpilot
3 weeks ago
3 weeks ago