Desert Online General Trading LLC
Dubai, United Arab Emirates
Desert Online General Trading LLC
Dubai, United Arab Emirates


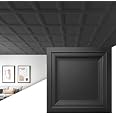
🏢 Elevate your ceiling game—space-saving, durable, and effortlessly stylish!
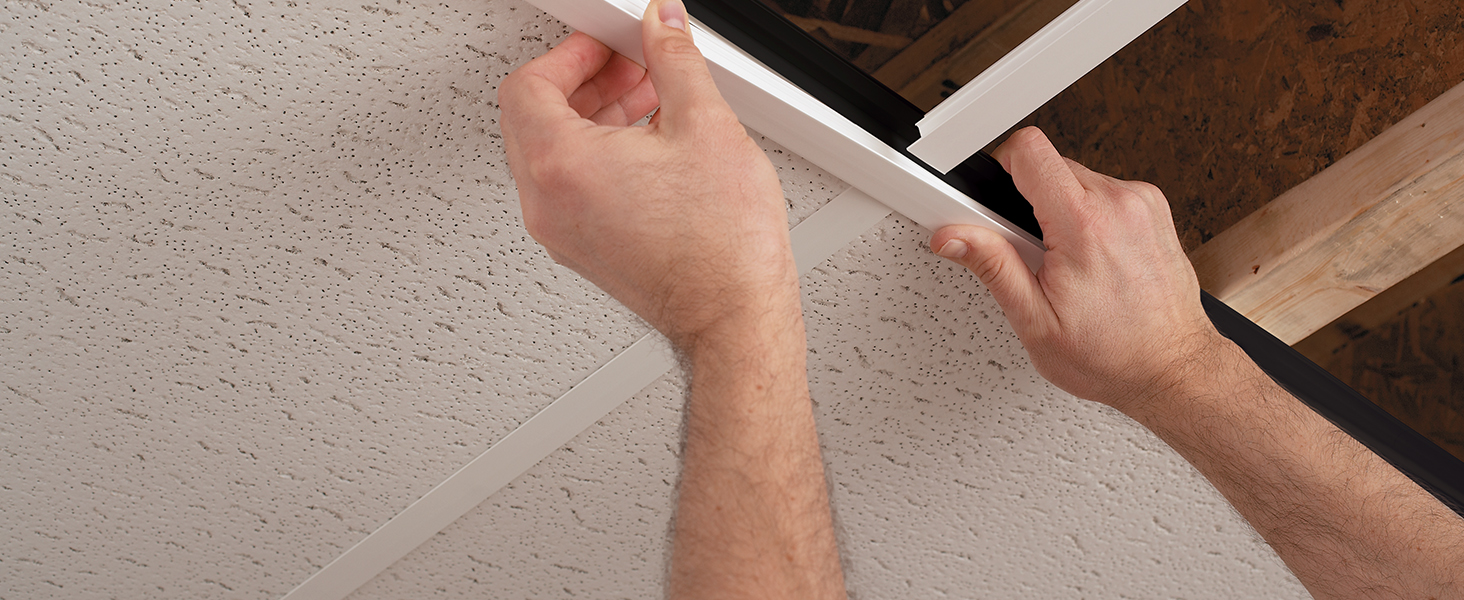
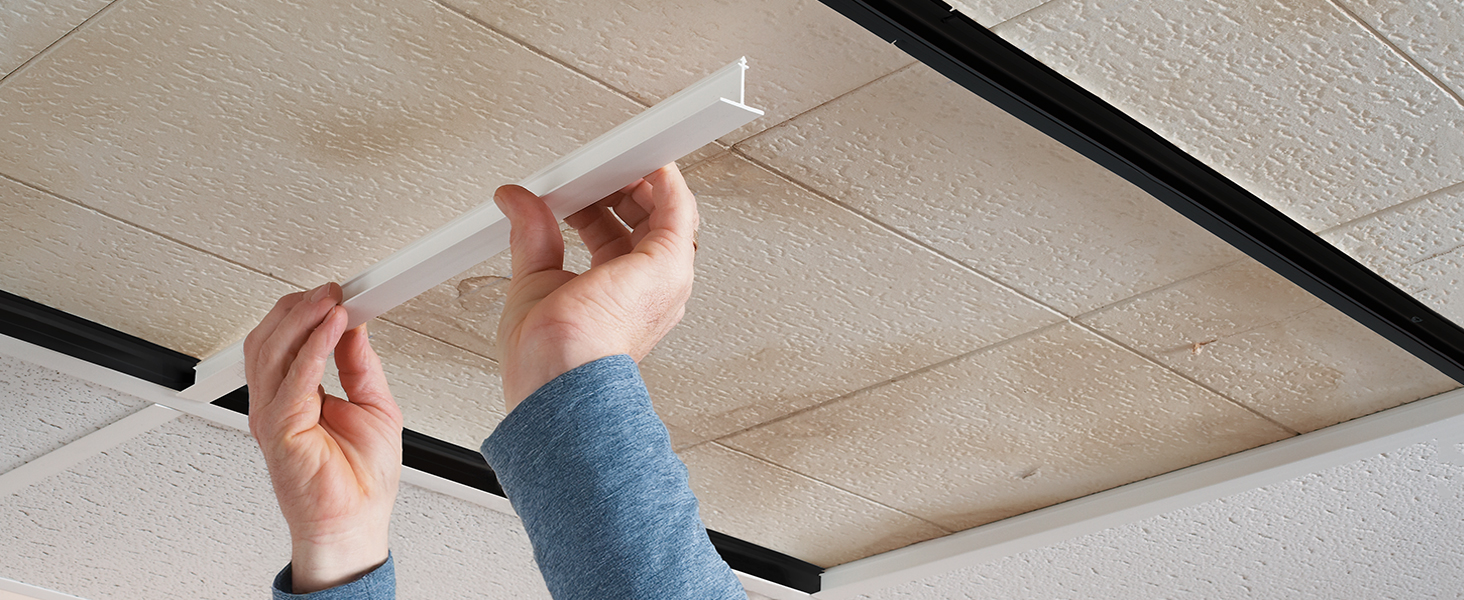
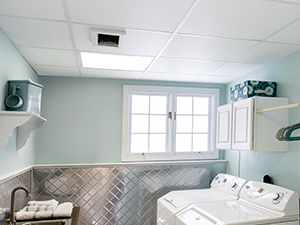
This 100 sq. ft. White Surface Mount Ceiling Grid Kit offers comprehensive coverage with 210 lineal feet of components, compatible with standard 2x2 and 2x4 ceiling tiles. Made from high-grade PVC vinyl, it features a rust-free, scratch-resistant finish and a snap-in design for quick installation without wires or leveling. Ideal for low-ceiling spaces, it saves up to 6 inches of headroom and comes with a 25-year limited warranty for lasting reliability.


J**R
Quality
Great product, fallow the instructions and the results are great.
N**O
Decent product.
This is a great alternative to traditional drop celling. The instal is fast and easy and looks the same. A couple drawback the redgitity of the product making it difficult if you have large gaps to span. The biggest drawback though is the way the mounting strips a cut. The one foot on the ends really is a horrible design especially when the boarder is larger than one foot and working with 2x4 tiles. With the extra foot now you lose two plus feet off the 8ft stick. Unless you get creative with the ends and scrap. They should offer these in two cut styles one with the extra foot and one without the extra foot.
J**K
Zero clearance feature delivers
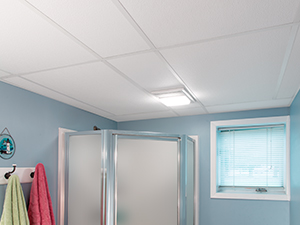
Easy to install, easy to get into later, looks great. I needed to install a drop ceiling in the basement laundry room and bathroom. I got historic tin ceiling tiles and installed the laundry room with a traditional metal system with a 2 to 3 inch clearance in the lowest places. In the bathroom I have a partial drywall ceiling and could not easily remove it all due to a 2x4 lower frame behind which I would also have to cut out to get a metal suspended ceiling in at a good height. The ceiling is already low so I did not want a metal system causing to be even lower. I opted for this system and it went in great. I had a shower dividing wall I had to go around but all the seams look great (no gaps or unevenness). I placed a ceiling fan in one tile and recessed lights in two other tiles with no issues. I still have to take one tile down to put in a heating vent grate, but I know that will be easy now...
J**N
Tough Product to Work With
Ok, the product is flimsy and under engineered. The specs to use this product are brutally tight, approximately 1/8". Next, the material that the grid is made out of has virtually no dimensional stability; it is like trying to straight line a cooked spaghetti noodle. Finally, the installation instructions and videos bear no relationship to reality. Now, I am making it work but the work is brutally slow to make everything work. Finally, do not try installing this alone as you will need a second set of hands. Finally, I do believe that when I finally get done with this "product" that I will have a nice looking ceiling. Finally, there are no spacers for lights, fans etc., so make your own.
L**N
Good product, but a few tips
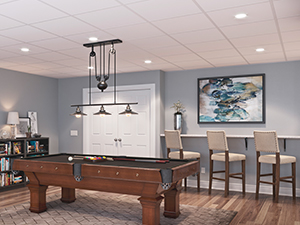
I've been using this for multiple rooms in my basement, roughly 1500sq ft. Here's a few tips:1) Don't level the wall bracket separate from your floor joists. Push them all the way up to the floor joists, and shim if needed. Leveling them on the wall will cause your ceiling to look 'cupped' around the edges.2) Install blocking behing anywhere where 2 top hangers need to meet. You won't be able to snap them in properly if you don't.3) Install blocking behind the last top hanger, all the way across. Once you install the last tiles, you can no longer grab the top hanger to snap it together like previous rows. Installing blocking behind it insures you can push hard without moving the tiles. I wish I had known this when I started.4) The formula they give is for centering tiles in a square room. Make sure to sketch on paper first and make sure you like the layout. Skinny rooms will fail their formula. A better formula is to take their formula and apply it to BOTH directions in your room, which guarantees you will be centered in both directions.5) Buy cardboard construction shims to quickly bring joists in to level. Cheaper than thin stock and are fine for this application.
A**R
Do not purchase!
Garbage! Track is impossible to work with and tiles are inconsistent in color.
T**S
Good product. Must be installed carefully
I recommend this product for patient installers. One must take their time, think through the installation, and measure exactly since your room is not going to be perfectly square.Lots of info here in case you're installing:1) Definitely center the full size tiles. It makes it look professional. I did and it does look nicer.2) the long tracks that installs against the joists (TOP HANGER) must be perfectly level (use shims) and it needs backing along its entire edge. When you push the final snap in that is the same length you need the TOP HANGER to not flex, otherwise the runner won't snap into place (that is step 5 Locking in The runner). So you must BACK the Top Hanger when you run it perpendicular to the joists.3) Somehow when screwing in the wall brackets, one area became lower than the TOP HANGER. so continually check for level. If I use this product again, I would cut all the crosstees so I can check for level as I put up the wall bracket. Remember the CROSS TEES hang down from the TOP HANGER and then on the wall brack they SIT on the BOTTOM of the wall bracket. The PVC tiles you might use have no weight to them, so there is nothing to help pull downward on the cross tees.4) Cut everything SLOWLY and use just a razor knife / carpet knife. Not the tin snips. I wasn't impressed with how the ends turned out. I also used a bench scroll saw on slow and that worked but the razor knife was cleaner.5) When putting up the last TOP HANGER, I put the cross tees in before screwing in the Top Hanger. This ensures that they are near perfectly the width of a full tile.6) There is NO wiggle room when the final runner (Step 5 in the instructions) is snapped in. at one cross tee (a full tee) it was off by about a sixteenth of an inch and it showed. This was where I was putting in the crosstee to make sure the TOP HANGER was perfectly aligned with the previous TOP HANGER. Not sure why it did that.7) Measure exactly. There is no room for slop.
B**D
Good quick grid for a basement.
I put up the grid in an hour in a 10X8 space and these simplified a drop ceiling install quite a bit. The plastic could do a better job clicking into place but for my needs it worked well.
Trustpilot
2 weeks ago
1 month ago