Description
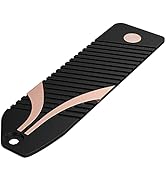
🚀 Keep your SSD cool and your workflow hotter than ever!
- TRUSTED TOP RANKED - Ranked #4 in heatsinks with a stellar 4.6-star rating from 2,869 users
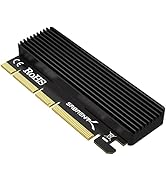
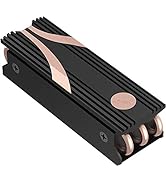
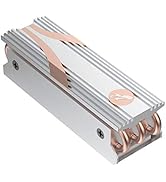
- ULTIMATE COOLING POWER - Copper and aluminum fusion slashes SSD temps for peak performance
- UNIVERSAL M 2 2280 FIT - Seamlessly compatible with both single and double-sided SSDs
- DESKTOP OPTIMIZED DESIGN - Tailored specifically for desktop rigs to keep your system chill
- PLUG PLAY INSTALLATION - All-in-one kit with thermal tape, screws, and screwdriver included
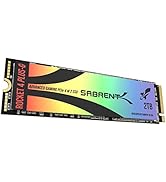
The SABRENT M.2 2280 SSD Rocket Heatsink (SB-HTSK) is a premium desktop cooling solution combining copper and aluminum for superior heat dissipation. Compatible with both single and double-sided M.2 2280 SSDs, it includes thermal tape, screws, and a screwdriver for effortless installation. Highly rated and ranked #4 in heatsinks, it ensures your SSD maintains optimal performance under heavy workloads.