
Desert Online General Trading LLC
Dubai, United Arab Emirates
Desert Online General Trading LLC
Dubai, United Arab Emirates


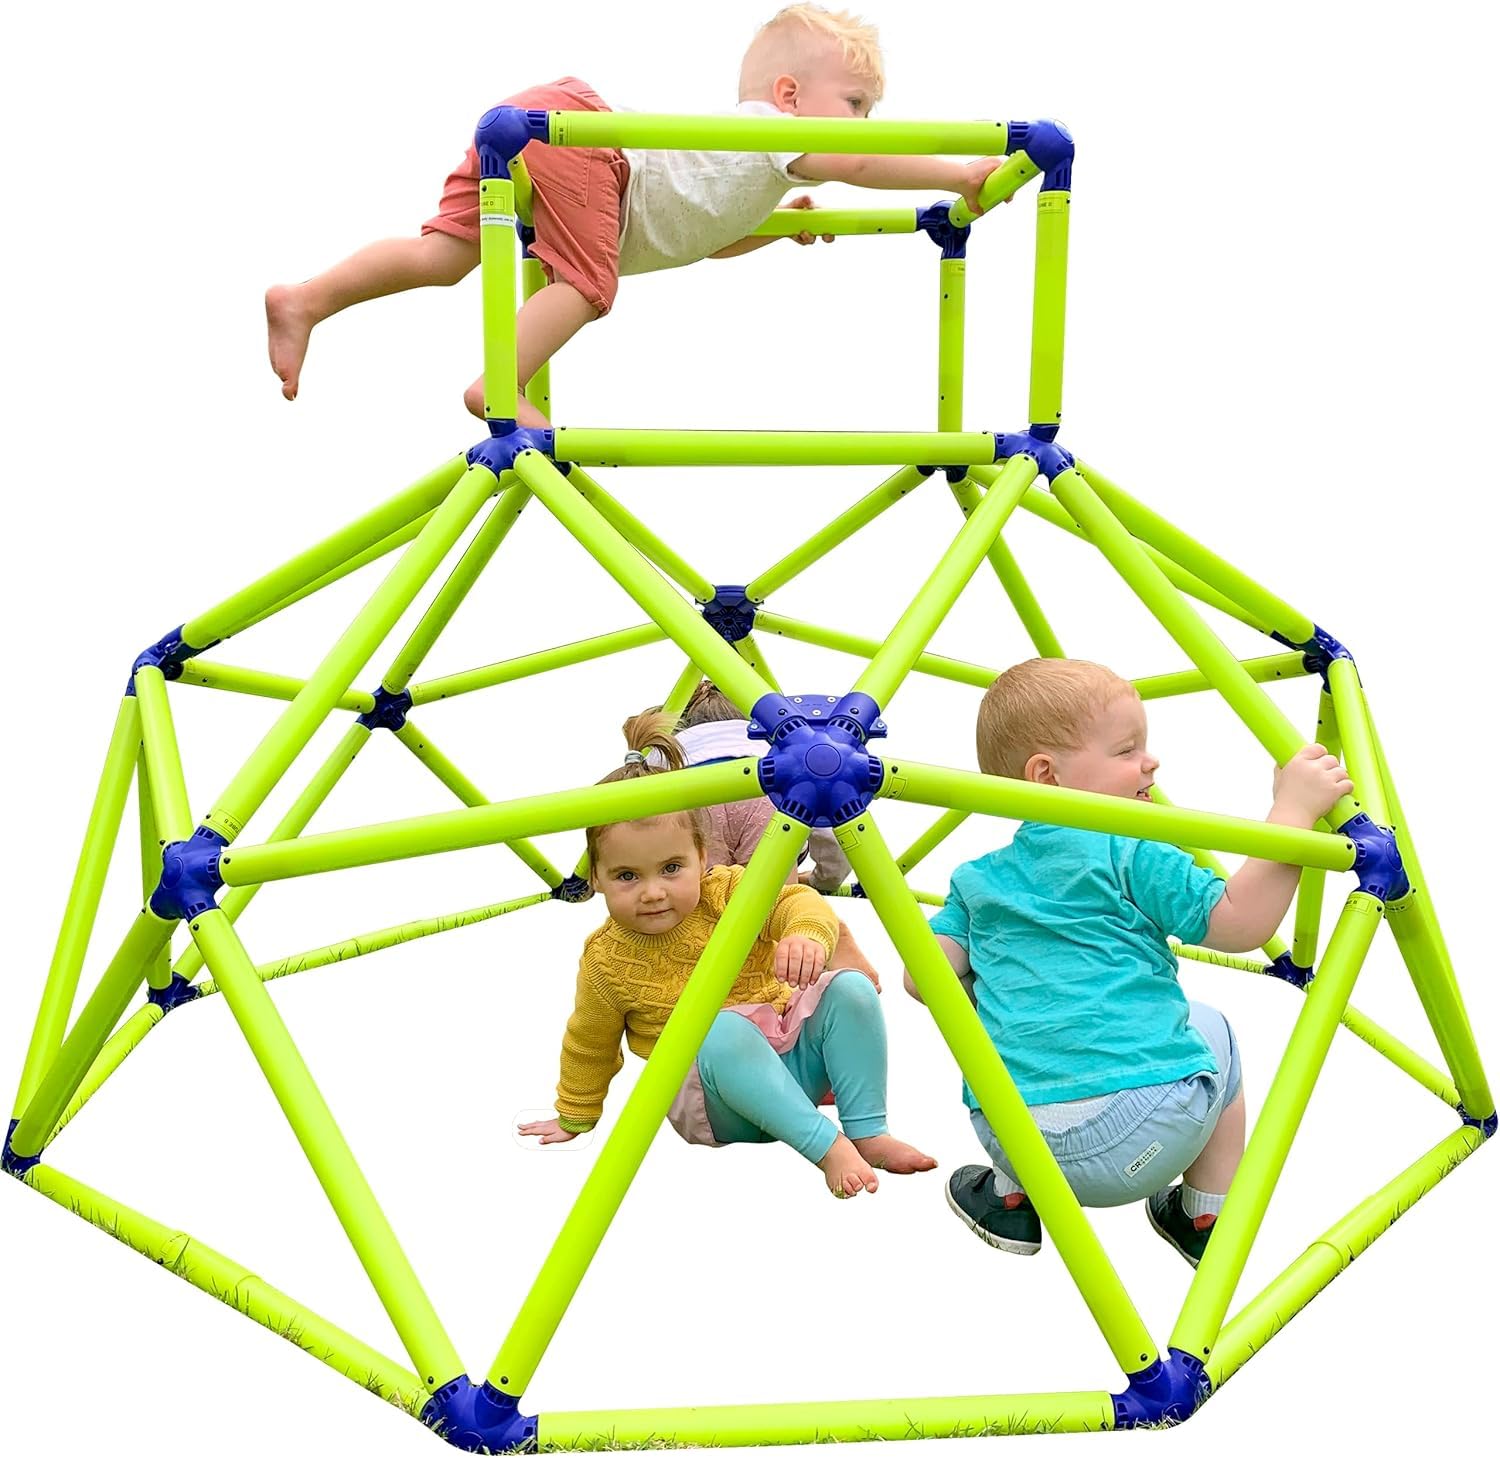
🐒 Elevate playtime—where adventure meets durability!
The Eezy Peezy Monkey Bars Climbing Tower is a robust, UV-protected plastic climbing dome designed for kids aged 3 to 8. Weighing just 27 lbs and measuring over 70 inches wide, it offers a spacious, safe, and portable play structure that supports up to 150 lbs, perfect for indoor and outdoor active fun.


| Item Weight | 25 Pounds |
| Item Dimensions | 70.1 x 46.65 x 65.53 inches |
| Size | Dome |
| Material Type | Plastic |
| Color | Green/Blue |
| Theme | Animal |
| Operation Mode | Manual |
| Educational Objective | Learning |
| Power Source | manual |
| Number of Players | 1 |
S**Y
FINALLY A POST WITH SOME REAL ASSEMBLY TIPS... and yes it's worth buying!
This is a really great toy. I'm using is in my living room for my 3 yr old grandson. He loves it to climb and make forts. It was frustrating to try and find any tips and tricks on assembly. I read about a lot of people mentioning that it hurt their thumbs....RULE #1 for assembling this: DO NOT USE YOUR THUMBS TO PRESS DOWN THE PINS !!!!!! That being said, you can use your hands to pop in the bottom rim. For some reason the metal spring in these are much "softer" which was surprising. However, the springs in the rest of them are VERY tight hence the reason for the difficult getting these in the tubes.My solution was to use a tool I had called iSesamo genuine Spudger Opening Pry Tool which is used for assisting in computer repair. It's a very slim piece of metal. Was it perfect, no; the tool could have been a little narrower for the job but ultimately, it worked well and helped so much for a quick assembly.What I did was slide the tube into the joiner almost up to the point of the pin and then slide the point of the spudger in between the tube and the pin then flatten the spudger against the pin to depress the pin as you slide the tube onto the joiner. Be careful not to catch your finger as you slide the tube in unless you like blood blisters :(Once you have this trick down, the assembly will go smoothly.I did make a few mistakes by installing a tube on the wrong part of the joiner. I used the disassembly tool which definitely does the job by pushing the pins back down so you can pull the tube back off. It is a little tricky to like it up right. There is a slot/groove which lines up one pin but you have to peek under the cover to make sure it is lined up correctly...that's the whole trick. Once it's lined up, the pins will easily depress and the tube will release from the joiner.I had to look at the picture of it listed on Amazon a few times to make sure i was using the right colored tubes (as I got the 2-tone set) when you first put together the 5 tubes on the joiner, put 2 dark green tubes on the bottom. You will know which is the bottom based upon the faint writing on the joiner which has an arrow showing which side is up. I'm half blind so I needed a flashlight and my readers. Not a big deal really.Lastly, at the very end of finishing the dome, it does get very tight and almost impossible to get the tubes on the joiner. I had to actually put my foot against the structure to push it away enough to get the tube on it. I'm not a strong muscley person, so maybe a man would be able to do this part without such strain.A little nuance is required through the whole assembly but once you have your strategy down pat, it will go smoothly. Make sure to really be sure about what tube goes where because taking them back out does waste some time. Also pay attention to the letters on the joiner 'stubs' which are helpful for making sure you get the right tubes on them. Again I needed a flashlight and my glasses to see them.It did take me some time; but I was watching a show as I was doing which is probably why I made the few mistakes mentioned. But it was totally worth it. It's light enough to be able to move it when needed and strong enough for a child to climb all over it.
M**Y
5+ years outside, still going strong!!
We have had this climber for 5 YEARS outside and it's still held up great!! The first winter we put it in the shed. Every other year it's been fully exposed to the elements. My kids are now 8, 6, and 4 and they all still climb all over it. It's a castle, a ship, a cage, whatever they are imagining it to be. I'm so impressed with how well it has held up!! I also have a one year old that I fully expect to be climbing on this next spring time.It was a pain to put together but after reading some tips from other commenters instead of trying blindly I had more success.I bought this is 2020 when COVID shut down the playgrounds. I am delighted my kids still love it! We moved twice and brought it with us each time. The color has obviously faded a bit but the fun and value we've gotten have been incredible. Welll worth the price!
S**.
A great addition to our active playroom
As parents, we decided that we didn't want little mindless zombies for children - glued to a video game - drooling - psychotically angry when said video game gets taken away due to lack of the child functioning as a living person... So, we've focused our Christmas/birthday purchases on things that they can be physically active with. After looking at multiple dome-shaped climbers, we went with this one and we're happy we did. For starters, the whole thing is pretty easy to set up.You get a big box of tubes and connectors with some instructions. The instruction booklet is laid out weird so I just tossed aside several of the pages until I found the assembly diagram - All of the connectors and tubes are labeled so you know exactly what tube goes where. Once you get the base tube sections assembled, it's pretty intuitive from there. The instructions guide you through assembling the climber in chunks, then connecting those chunks to make the whole thing. I was worried that the climber would have some flex to it when fully assembled but by the time I was down to the last tube put on, I could tell that that wouldn't be an issue - I had to pull the opening where the tube went apart with a bit of force to get the thing in place. Ingeniously, they put some thought into it when they built these things so that the end of the connector that slides into the tube is angled so you can pop it on without too much effort.The connectors look like purple starfish - some with 6 points, some with 5, and a weird angled one with 4 for the top "tower" thing. All of the tubes are held in place by "pins" or little metal buttons that are on metal flanges on the connectors (like the little button that pops into place to connect the metal extension tubes together on your vacuum). There's 2 of these buttons per connector-end (starfish leg?), one on top and one underneath. Some of these are pretty stiff on the 5-point and 6-point connectors which were a pain in the buttocks to push down so the tube would pass over it and click into place. Because of the stiffness of the buttons, I got my finger pinched between the tube and the connector when it suddenly popped into place. I tried wearing gloves but it was more annoying than helpful. About 3/4 of the way through I realized it worked best to rotate the tube 45 degrees so that when you slide the tube onto the connector, the pins/buttons don't pop through the holes until you twist the tube back into alignment (hopefully that made sense...) so basically, you slide the tube on with the holes not lined up with the buttons so that the tube doesn't just lock into place unexpectedly, taking your tender finger flesh with it. Once I figured this out, I was a lot less hesitant when sliding these things together as I didn't have to worry about getting bitten again.Because the buttons are on the top and bottom of each connector end, they include a little cuff-like device that's supposed to fit over the tube and, once aligned, you can squeeze it to depress the buttons and slide/disconnect the tube from the connector. I haven't tried this yet but hopefully it works - with those buttons being as stiff as they are, I may be leaving the thing assembled permanently if it doesn't.When looking around at other options, we took our kids to an outdoor equipment store and let them climb on everything. Though made of metal, the bigger domes had too large of a space between the bars to where our kids could't climb to the top - this one is the perfect size for our kids right now and I can tell by the quality that it will last our kids for several years.PROS:- heavy-duty plastic components- easy assembly (aside from the stiff buttons)- All pieces are labeled so you know what goes where- easy to follow assembly diagram- great size for smaller kids - probably about 3 to 8-ish depending on how big they are - and even bigger kids can still have fun climbing under it as a "fort".CONS:-Pins/buttons on the connectors can be stiff and hard to push down to get the tubes on-Stiff pins/buttons can lead to pinched fingers and subsequent swearing around children during assembly- The labels on the tubes are just stickers so if you have a destructive or OCD child, the stickers will be gone instantly and you won't know what tube is what when you take it apart unless you sort the tubes by length.This thing was a hit with my kids at Christmas this year - they love climbing on it and throwing blankets over the top to make a fort. It's big enough that my 45" tall 5 year old can climb on it but small enough that it fits in our "family room" (aka kids playroom) downstairs.My only recommendation, if the Easy Peasey people ever come across this, is to have a little bump (flare? channel?) in the end of the tubes (just like on a vacuum extension tube) so that if you line up that bump with the button, the tube can slide right over the pins/buttons on the connectors without actually having to press the buttons down with your fingers to get the tube on.
ترست بايلوت
منذ يوم واحد
منذ شهر

