We remain fully operational. Our teams are working around the clock to ensure your deliveries continue safely.

قم بتنزيل التطبيق


معلومات عنا
حقوق الطبع والنشر © 2024 Desertcart Holdings Limited
قم بتنزيل التطبيق
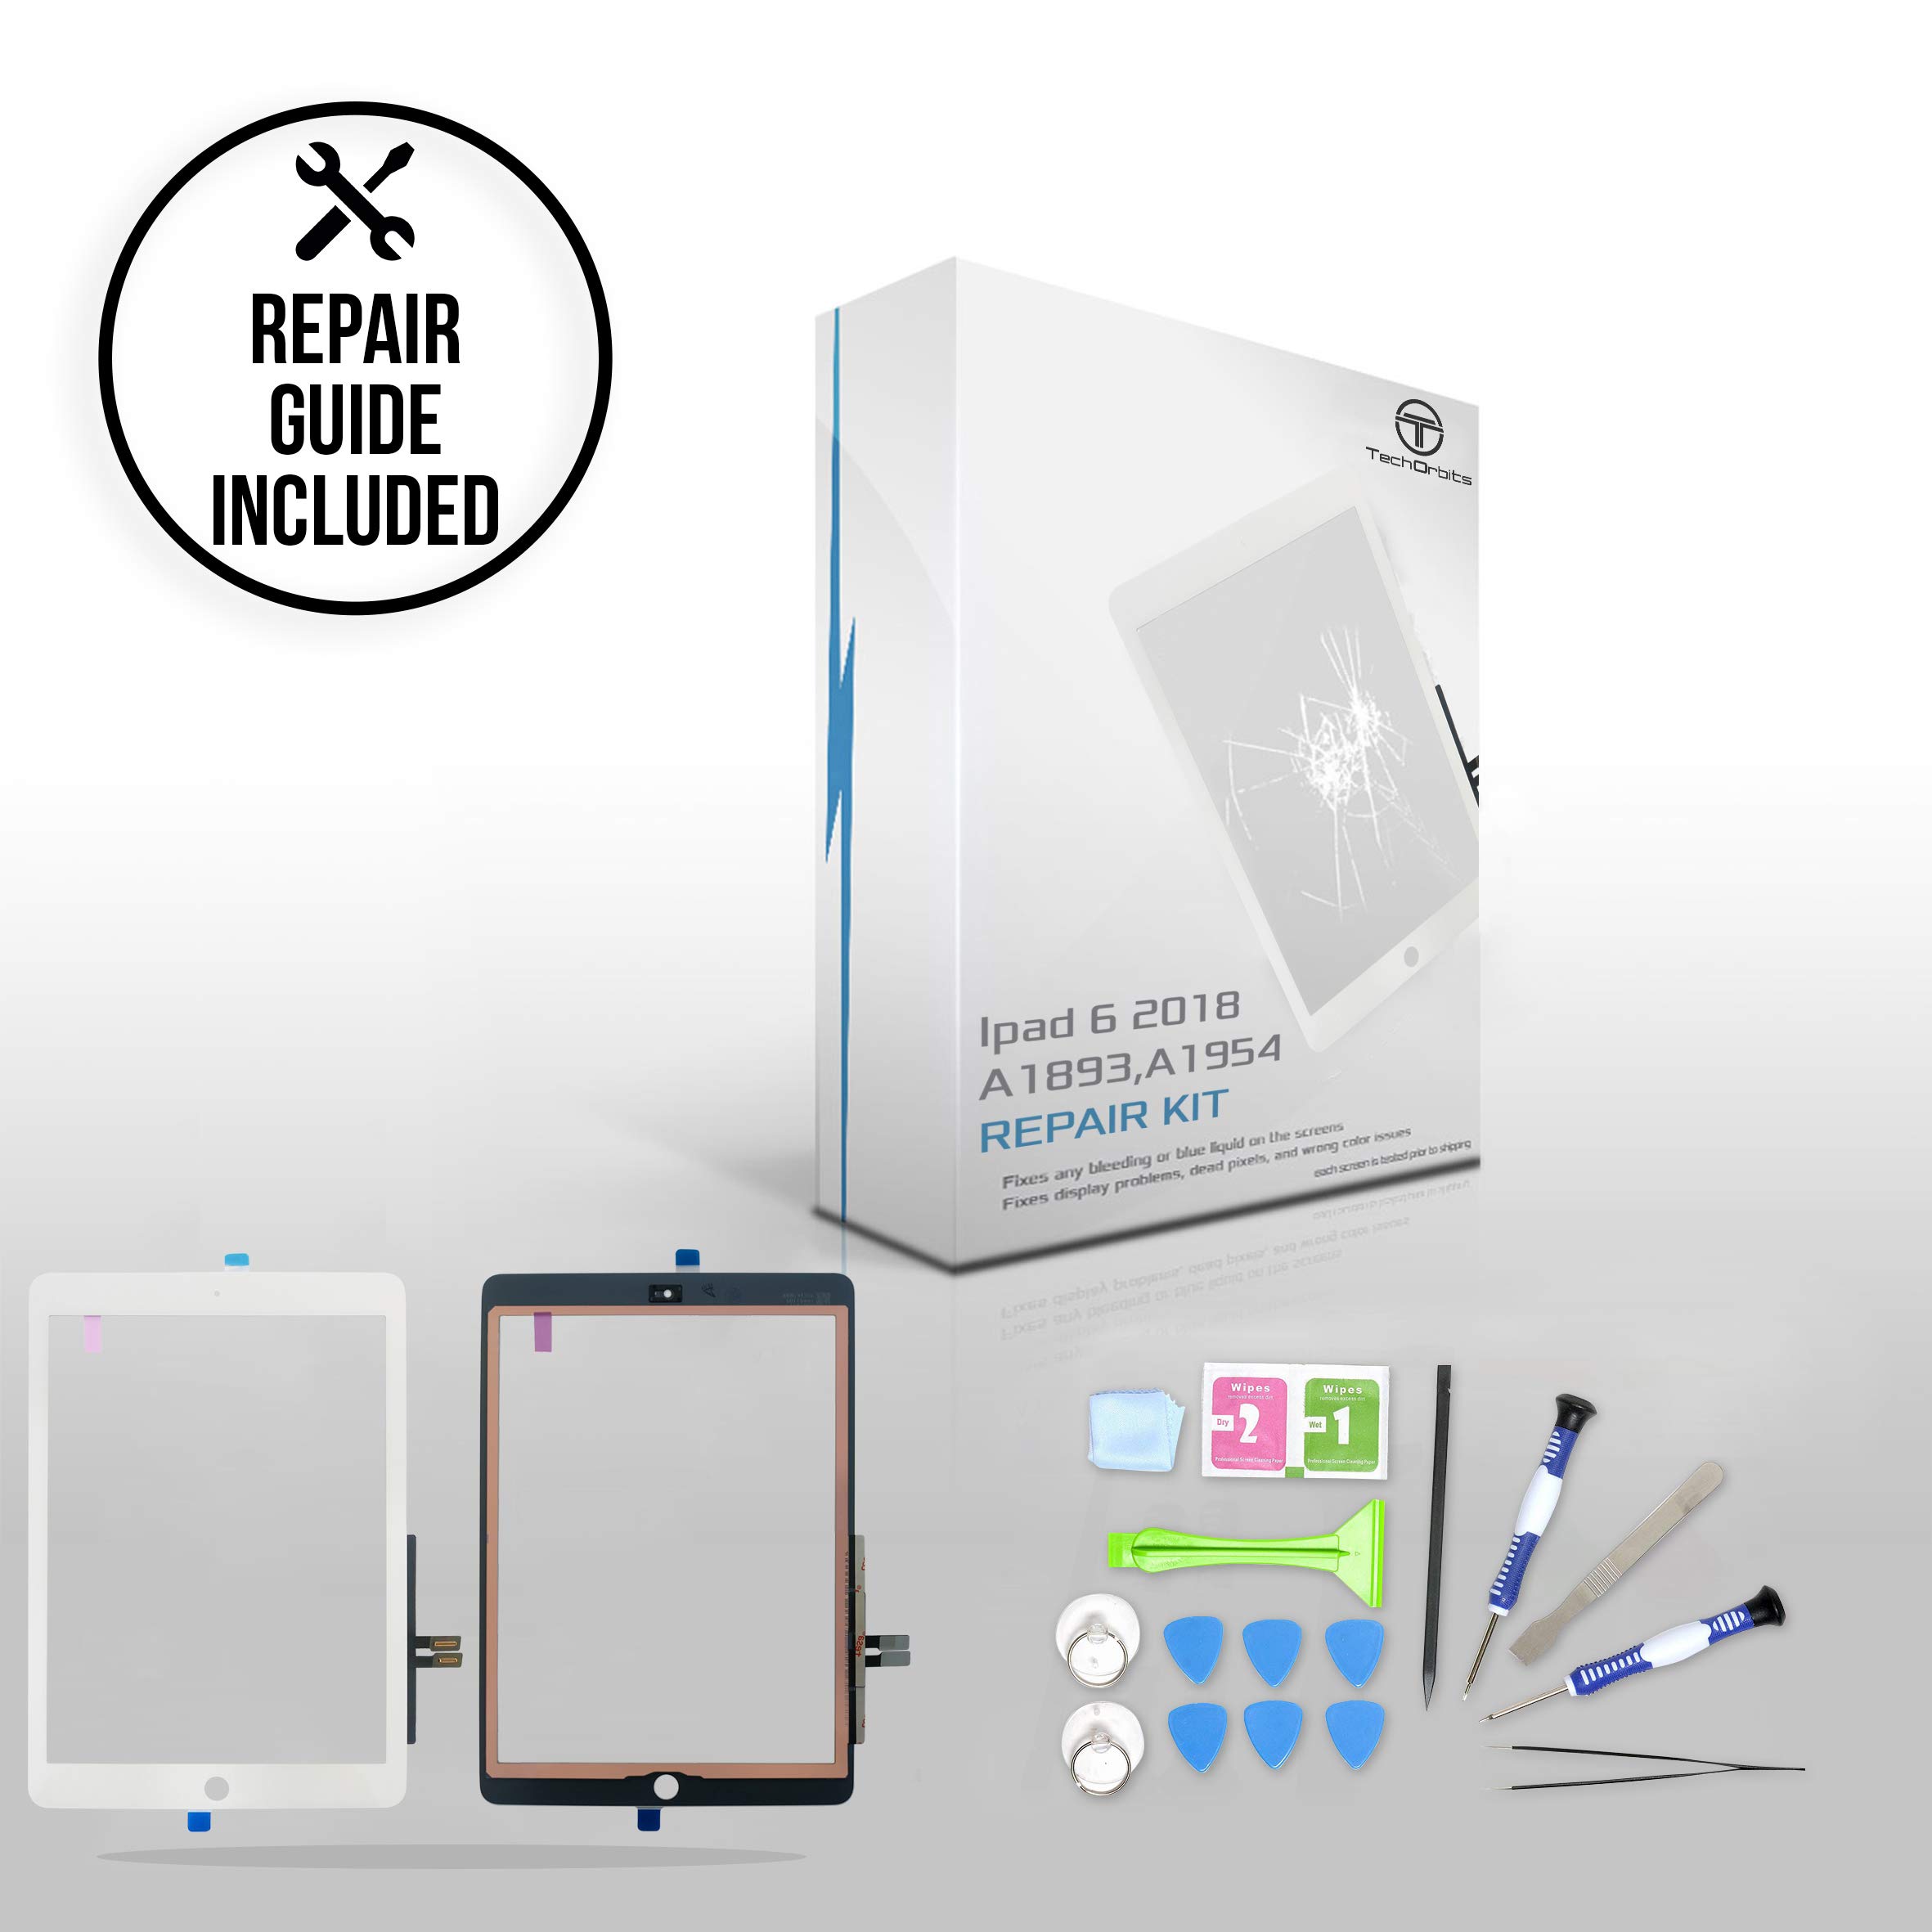


Whether you are a repair shop or a do it yourself hero, sourcing a good replacement screen should be the easy part. There is no worse feeling than going through the hassle of taking the phone/tablet apart, installing the new screen and putting it back together only to find that your new screen has a bad digitizer, lines, or dead pixels. That's why when we assemble our screens, we only use components that are identical or extremely similar to the ones used by the original manufacturers. We want your phone/tablet to come back to its brand new condition. Like it never happened! Compatible models: -Ipad 6 6th Generation -A1893 -A1954 -All Carriers: T-Mobile, AT&T, Sprint, Verizon Disclaimer: TechOrbits Inc is not affiliated directly or indirectly with Apple. Our products are designed to replace Apple components but are not sourced through or affiliated with Apple or any of its subsidiaries. We put every effort to use the same high quality components that Apple uses. The vast majority of our replacement screens feature an LG LCD as well as the highest quality digitizer glass.
H**L
Good screen replacement that needs a slight improvement.
I'm not going to go into detail with how to remove a shattered screen and how to install a new screen. Search YouTube for those instructions. Watch those videos a few times before you attempt to perform a screen replacement.PROS:Came with repair tools.Screen fits.Screen cables plugged into the main PCB with a snug fit.Screen is protected on both sides with screen protectors.The perimeter of the screen has pre-installed adhesive.CONS:The cover on the pre-installed adhesive should have a small tab so it would be easier to pull off.The pre-installed adhesive just plains sucks even after thoroughly cleaning the frame of the Ipad that the screen sticks to.Everything went well except for the non-sticking pre-installed adhesive. Fortunately, I had B-7000 glue that I applied to the perimeter of the Ipad frame and pressed the screen to the frame. Put a book on top of the screen or use a plastic clamp to press the screen towards the frame, let the glue cure over night, and you should be good to go.I have been using the repaired Ipad for a couple of weeks and it works like new. Overall not bad for less than $25. A lot cheaper than what Apple was asking for.
C**N
you need some skill but it is a good replacement glass
I've done two prior IPAD glass replacements and this one was the same as my previous one with TechOrbits. The first one was on a IPAD4 and I used the cheapest glass on the market and while it worked the glass was not slick to the touch and collected fingerprints like crazy. Constant cleaning and application of car wax was required to give it any feel of slickness like the original Apple glass. My second one was A Techorbits on a IPAD AIR 1. That repair was successful and the glass was slick but I could see a faint grid pattern on the screen. Not annoying but noticeable. At least the screen was slick and did not collect finger prints. This one was for my IPAD I got for 250 at christmas but didnt get the coverage for broken screen. :( This replacement went well and the screen is slick as the original. Full corner to corner sensitivity.I used a small heat gun to heat the glass and soften the glue. Once the glue was soft the guitar picks worked well to pry the old glass out. Make sure to watch the youtube videos on how to replace the button as it is not obvious how to get it apart without damaging it. Also you have to make sure the connectors are fully seated before snapping in the little lockers. I took the extra step of using fingernail polish to remove all the old glue before putting the new screen in. I also had to use an xacto knife to cut the glue tabs out and dry fit them on the base so I know where they went. There was some black pieces that looked like tape as well but I did not see a place for them to go so I left them out.The cable from the screen must slide down in order to get the glass on the right side of the button (button nearest you). For me this just worked out and I wasn't expecting it to slip into place with gentle pressure.Like I mentioned, it does take some skill and lots of youtube video watching but it can be done.If properly done, the glass is fine.
O**G
Did not work for me
I am quite an experienced electrical engineer, so I expected it to be something I could do. I removed the old damaged screen very carefully, precisely as described in the manual. The bad things started to happen when I installed the new one. First, the bigger connector did not seem to match the socket: it was very loose. All I could do is to use a piece of tape to make it stay plugged in. On power-on the touch screen turned out to be non-functional. I tried to reinstall it several more times, until the ribbon cable broke and all I could do was throw it all out.
A**N
Fixing my iPad was a very easy.
My iPad 9.7 2018 broke from the glass. So I investigated on YouTube how to fix it. After watching many videos I build confidence on myself. First time fixing a device. It was very easy. The replacement worked very well.
A**N
Almost no reassembly instructions
This product touts the instruction manual and most others say that they do not include instructions. These instructions are thorough for disassembly but they simply tell you to reverse the process for reassembly. But there are concerns to handle in reassembly that are not an issue for disassembly.You have to figure out on your own where the adhesive strips are to be applied. The glass digitizer ribbons are attached to several flaps at the edge of the glass with zero instructions about what to do about them. If you don't peal adhesive strips off of them and figure out exactly how and where to attach them to the back of the glass then they will interfere with the glass attaching to the case. I missed by a little then, trying to get it to fit and lay flat on the case, I cracked the glass and had to start over with another new glass.I found other products made more like the original Apple part that does not have those flaps... and for lower cost.BTW, all of the on-line instructions from other sources that I found also tell you to reverse the disassembly instructions. But, then again, not all of the products have the digitizer ribbon cable flaps to contend with at the edge of the glass.
ترست بايلوت
منذ شهر
منذ أسبوعين