We remain fully operational. Our teams are working around the clock to ensure your deliveries continue safely.

قم بتنزيل التطبيق


معلومات عنا
حقوق الطبع والنشر © 2024 Desertcart Holdings Limited
قم بتنزيل التطبيق


Buy anything from 5,000+ international stores. One checkout price. No surprise fees. Join 2M+ shoppers on Desertcart.
Desertcart purchases this item on your behalf and handles shipping, customs, and support to Morocco.
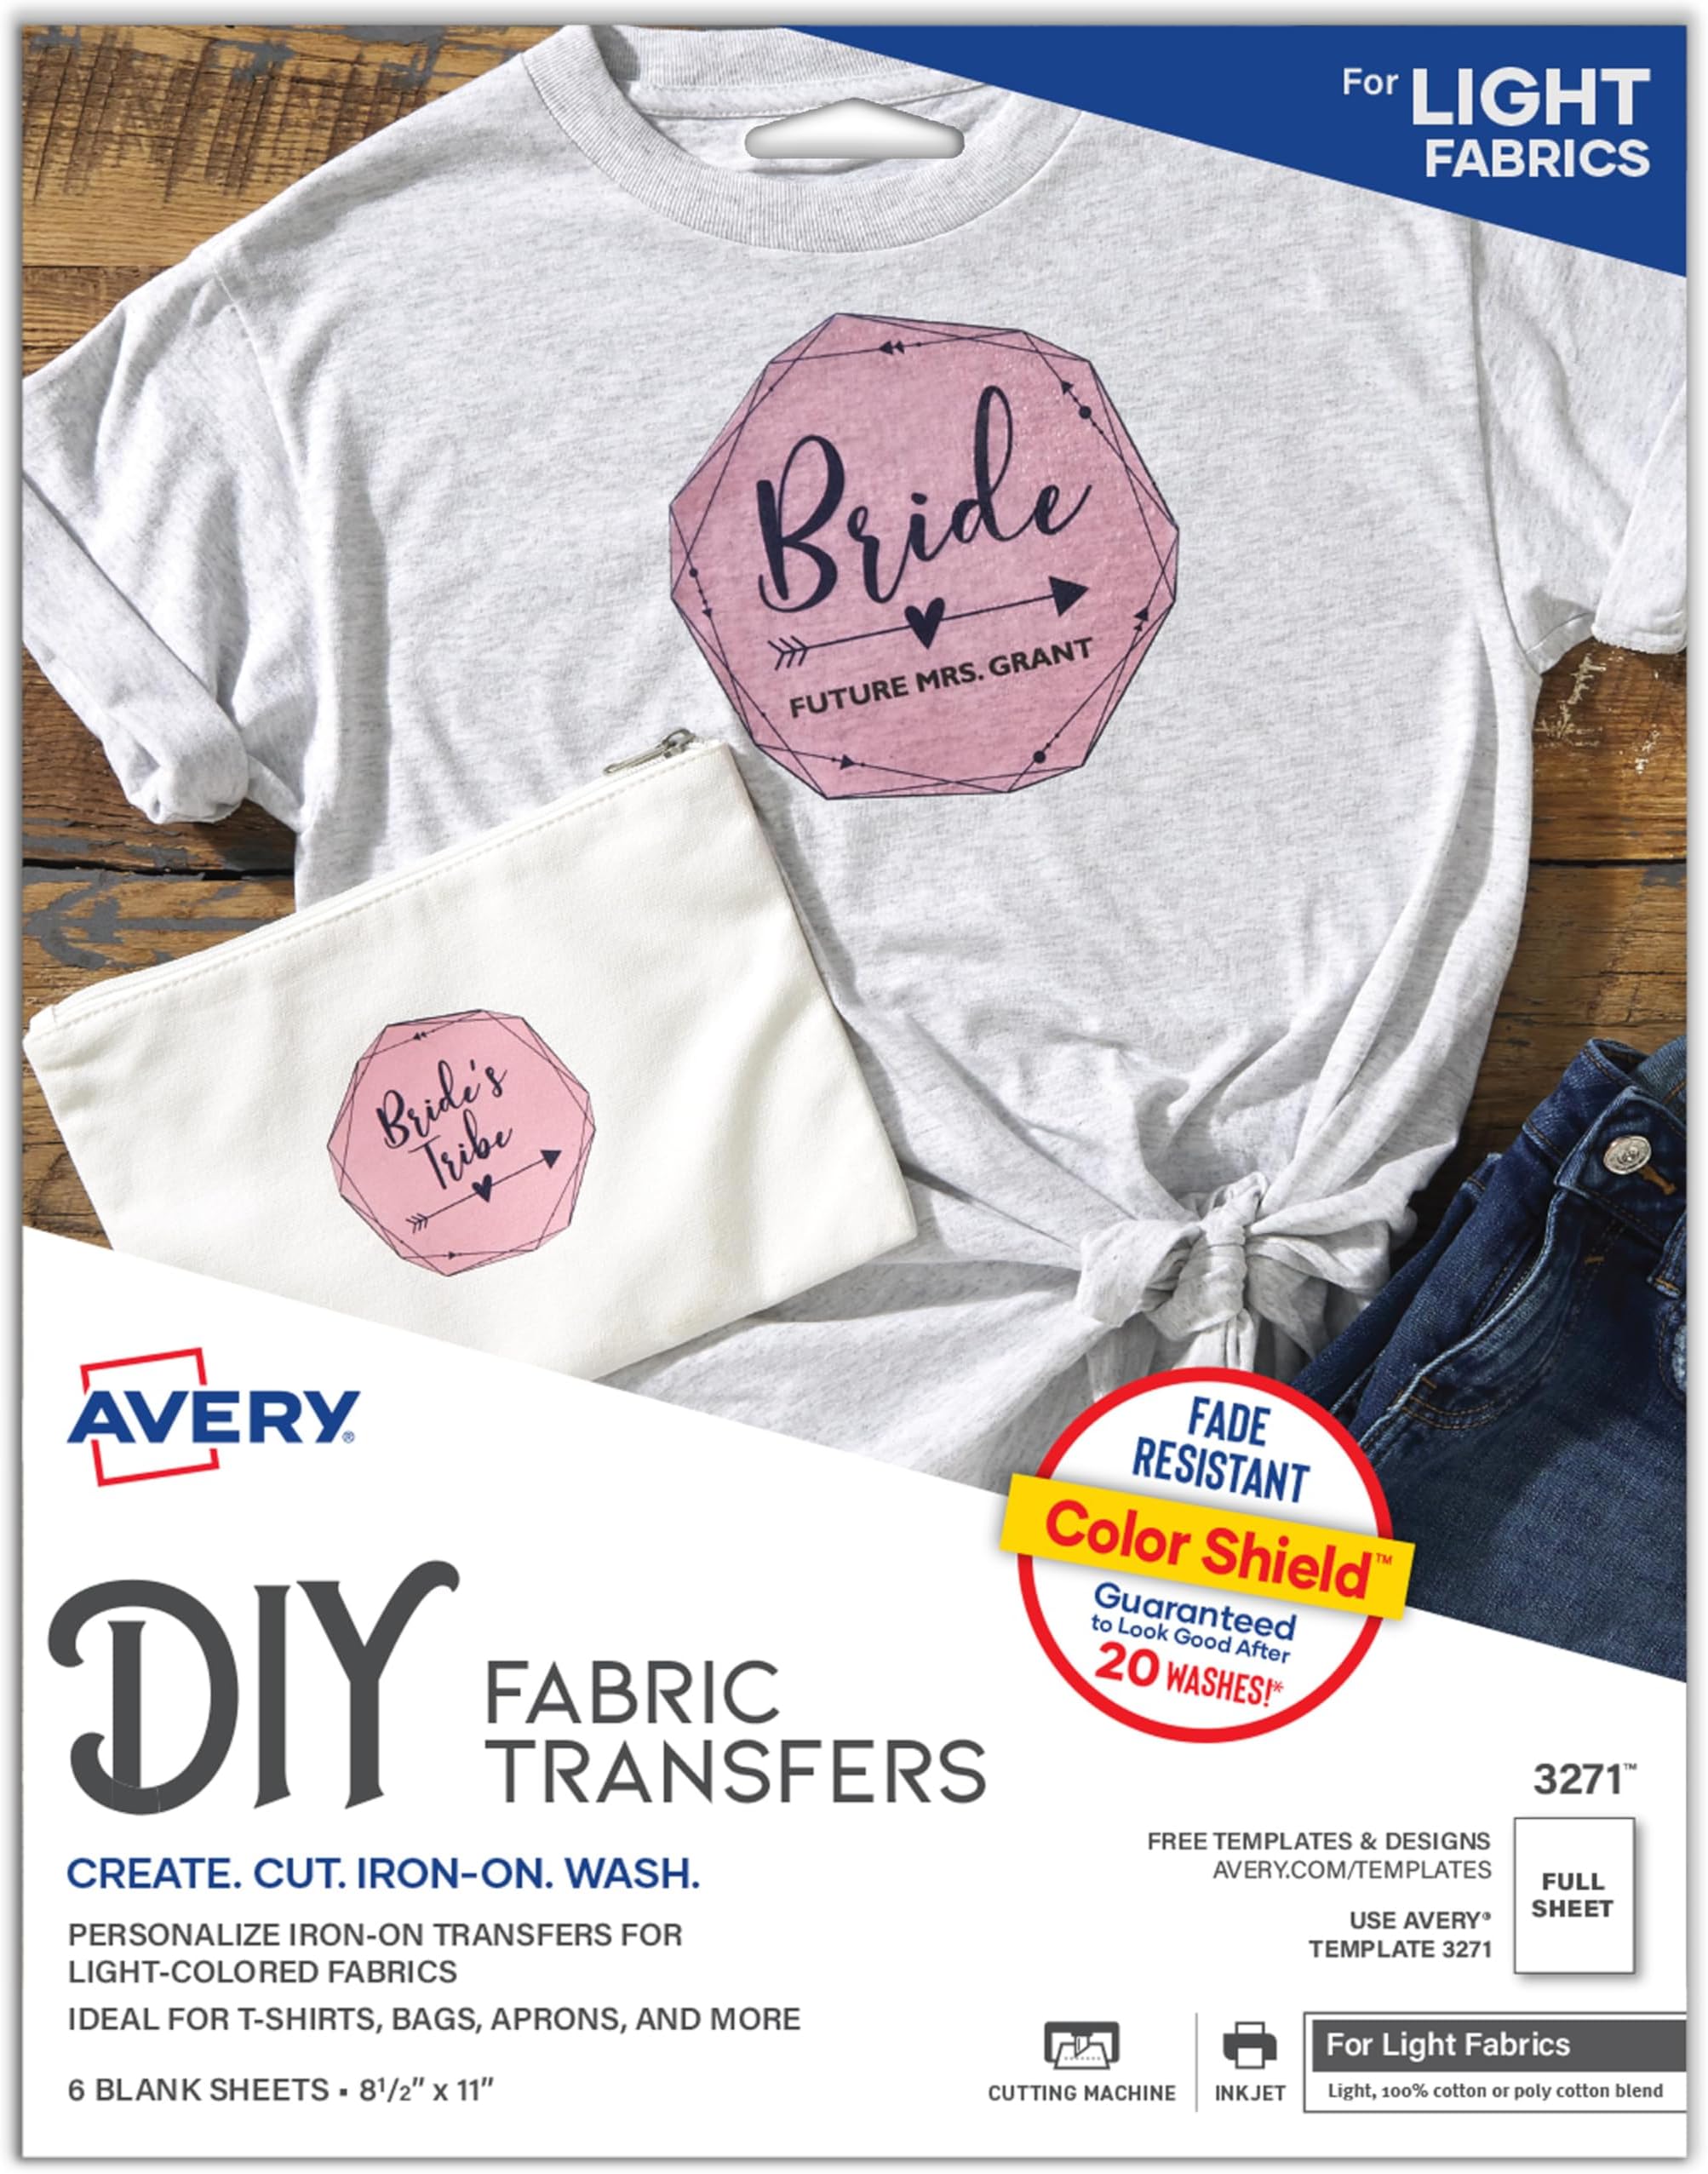
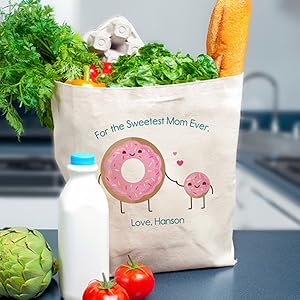
🔥 Turn your ideas into wearable art—because your style deserves to be seen!
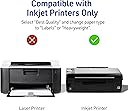
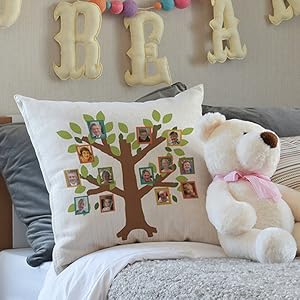
Avery Printable Heat Transfer Paper (8.5" x 11") offers 6 sheets designed for light fabrics, compatible with inkjet printers and household irons or heat presses. Featuring a Color Shield formula, it delivers vivid, fade-resistant prints that last up to 20 washes. Perfect for custom shirts, uniforms, and personalized gifts, it supports easy DIY creativity with Avery’s online design tools and works on cotton and cotton/poly blends.

| ASIN | B00006B8FS |
| Best Sellers Rank | #7,811 in Office Products ( See Top 100 in Office Products ) #83 in Laser & Inkjet Printer Labels |
| Brand | Avery |
| Brightness Rating | Light Fabric Transfers |
| Customer Reviews | 4.3 4.3 out of 5 stars (12,495) |
| Date First Available | July 7, 2004 |
| Is Discontinued By Manufacturer | No |
| Item Weight | 3.52 ounces |
| Item model number | 3271 |
| Manufacturer | Avery |
| Manufacturer Part Number | 3271 |
| Material Type | Cotton |
| Number of Items | 1 |
| Paper Finish | Matte |
| Paper Weight | 120 |
| Product Dimensions | 11.5 x 9.31 x 0.1 inches |
| Sheet Size | 8.5"x11" |
| Size | 8.5"x11" |
W**M
Forgot to order my son's birthday shirt: Avery Transfers to the rescue!
These things are pretty amazing. This is how I stumbled upon them: I dropped the ball on making a special birthday t-shirt for for my son to wear on his birthday. I spent a bunch of time designing a shirt on a website, went to check out, and then I discovered it would not have arrived in time for the big day. Then I started browsing around websites for local print design companies, but taking into account the additional fees for the rush job, I was looking at something like $40 for a customized t-shirt for my son to wear. That seemed like an awful lot of money to spend on something that he would wear for a few hours. I ended up ordering Avery iron-on transfers from Amazon. Once again, Amazon Prime to the rescue. How the iron on transfers work: You go on their website to design whatever you want on your shirt (or tote bag, pillowcase, or whatever). You can import any photo or graphic, and you have a lot of freedom as far as image and text placement, colors, etc. Then you print the image on your inkjet printer and iron it on. It was super simple, and it turned out great. Although, I have to warn you: do not do it on a wood table. Or if you do, make sure to place sufficient buffer materials between your t-shirt and the table. I have a nice rectangular mark that appears to be a mixture of glue and fabric fibers that don't appear to be going anywhere soon. But this seems more like user error than the fault of the product itself which is why I kept the rating at 5 stars. Just be careful when you make yours. The package has 12 sheets in it and cost about $12. I bought a plain white t-shirt for $5 from a local big box store. So all in, I paid about $6 for my son's birthday shirt! I think I was looking at around $22 if I had ordered online from the first store I was looking at (more from local printing shops), and this way I was able to customize the whole thing top to bottom and use any image I wanted. Overall, I was really impressed with the quality and ease of use of the transfers. The program that you use to design the graphic is really fantastic and user friendly. It only took a few minutes to figure out, and it really gives you a lot of design options. The colors came out very crisp and clear. I recommend that you read the instructions very carefully, and if you follow them exactly, you're sure to have great results.
F**E
If I can do it, so can you!
Worked perfectly! I downloaded the image to Pages (used “flip horizontally” to mirror it) and ironed onto cotton bags to make little bank bags with chocolate coins for my daughter’s Harry Potter birthday party. I found that it was the force used rather than the amount of time when ironing that helped. The first bag was extremely difficult to remove the backing paper and the image kept pulling up and I was wondering what I’d gotten myself into. But for the rest of them, I ironed (on a wooden cutting board) for about 10 seconds pushing very hard, let them cool and then repeated the iron. After letting them cool, the paper peeled away very easily and they look great!
H**!
Time tested good product.
I'm a graphic designer, coach various kid teams & always seem to be making shirts for them. I began using the Avery transfers in 2010 & have some shirts that have been through the wash countless times since then. Never had a problem & the colors seem to last amazingly well over time. Other than using only white or light grey fabric & a good quality shirt, my tips would be: 1) pre-wash the shirt (I've used cotton & 50/50) & tumble dry. 2) Plain paper final review: ALWAYS look at your design through the back of the paper (hold it up to a window or bright light) & make sure all of your text has been mirrored & the design looks good. 3) Print the final design using the best quality your printer can output. 4) Trim close to the printed parts but leave a bit of a margin - 2mm'ish. Don't cut so close that your design falls apart or warps while you are ironing. Round off points, if even a little. 5) For fine designs that have been cut to the flimsy stage, cover with a sheet of parchment paper in the beginning of the ironing to get it stuck down. The parchment can be removed to finish the ironing. Baking parchment will not stick to this stuff & can get pretty darn hot. Do not use waxed paper or regular printer paper: they do not like to get hot. 6) Follow the package ironing instructions. Simple as that. I use a cutting board on the floor so I can apply good pressure. For sleeve designs, my hubbie made me a little block of wood that fits inside. He cut a small groove on the bottom for the seam so the wood lays flat. 7) After I peel the paper off I lay a piece of parchment over the whole design & give it a final hit with the iron. This seems to really set the transfer into the fabric & gives the most natural feel. 8) If you can plan ahead, it's good to give them a final rinse with a bit of vinegar in the water to set the dye. Line dry & tumble on low to soften the whole shirt. I've never had the nerve to do the full heat dryer before the 'event' but that's my own weird thing. My worst experiences have come from using a cheap, lightweight shirt, using transfers that were too old or had been exposed to moisture (they did work though, just needed some extra tlc), or using a shirt color other than white or light grey. Love these things, just ordered 18 more. Buy them, have fun.
L**H
Easy to use
Needed to make iron on patches for a Halloween costume and this product did the trick. It started peeling off the denim jacket, but held up long enough to win best costume! Probably better on a smooth cotton.
M**O
Saved A Project Online T Shirt Printers Could Not Handle
Problem: third grader wanted to do a piano/singing tribute to Bowie, and online printers would not print the design sought due to copy right, though we had modified some of the graphics. Their position was understood. Then I discovered the Avery transfer paper. I bought both the dark and the light color transfer papers not knowing which the little guy would prefer at the end. Here is the upshot, working with both the light and dark paper: • Wash and dryer dry your t shirt/fabric first. A shrunk fabric works best • the more time you spend prepping and the closer you follow the instructions the better your end product • don't be afraid of force (pushing down) and heat • Trimming the extra paper on the light paper minimizing areas that will be clear but somewhat glossy • Trimming the extra areas on the dark paper avoids transferring the color white to the fabric • Through trial and error I figured out it is better to avoid sharp corners to make them round, reducing the risk of corners peeling off • The side of the paper you print on is the white side for both dark and light paper, so make sure you know how to load the paper in your inkjet printer • Your final print area can be larger than a sheet as you can cut images/words from the paper and space them or use them elsewhere on the shirt (for instance, arm badges can be printed in a corner of the same sheet) Trick: • To avoid damage to the reverse side graphics, if you do a front/back design, use a large cutting board or a piece of flat wood slide it in the t-shirt that way the wood sits between the front and back. This also solves the issue of both sides of the t-shirt not being perfectly flat/ironed before you start Light Color Paper: • You need to print in reverse as the image is reflected back on the fabric. I used Powerpoint and flipped the images and writing and avoided the online Avery tool for doing so • As mentioned before, you don't have to cut very precisely as you only leave behind gloss/clear where you don't trim Dark Color Paper: • You DO NOT need to print in reverse • You need peel of the printed paper BEFORE initiating transfer with an iron -I wasted one sheet not bing careful • The portion you don't trim transfer as white and you can create a border, rough or smooth, as I did with the front of the dark t shirt • Peeling the transfer portion from the t shirt before ironing is difficult....I used tweezers and eventually I managed to peel off the backing • You use an included parchment paper over the peeled paper to press the image onto the fabric Final Impressions: • Don't expect professional grade printing • Recognize these are not permanent and are intended for fun and event needs • Mistakes and rough edges on my work is my own haste getting in the way This met my needs, to have a front/back t-shirt design on both dark and white t-shirts, using the appropriate paper for each color. **** UPDATE ***** Both the white and black t shirts have been washed about 15 times each by now. And, they still look very nice.
C**R
Easy to print and apply, but lacks the durability needed for long-term wear
The Application Process: The initial experience with this Avery transfer paper is actually quite positive. The sheets feed through a standard inkjet printer without jamming, and the colors look vibrant on the paper. The "Color Shield" technology seems to work well during the transfer process, and following the ironing instructions results in a clean, professional-looking image on the fabric. The "Not as Good" Reality (Post-Wash): The product falls short once the garment is actually worn and laundered. - Cracking and Peeling: Even when following the "wash inside out" and "cold water" instructions, I noticed significant cracking in the image after just one or two washes. The transfer loses its flexibility and starts to feel stiff and brittle against the fabric. - Fading: The vibrant colors I saw after the initial press faded noticeably. The black tones turned a dull charcoal, making the shirt look "aged" much faster than expected. Texture & Feel: - Pros: It’s relatively thin compared to some heavy-duty vinyl, so it doesn't feel like a thick "plastic plate" on your chest initially. - Cons: Because it's so thin, it doesn't have the "grab" or adhesion needed for fabrics with any stretch. If the fabric pulls, the transfer tends to tear. Final Verdict: This is a decent choice for "one-time" event shirts, like a birthday party or a single-day volunteer event. However, for clothing you intend to keep and wash regularly, the durability simply isn't there. It’s a fun DIY project tool, but don’t expect professional, long-lasting results.
B**B
Easy to use and good quality! Just 6 sheets though...
I was very impressed with how these came out! I bought this transfer paper to make customized tank tops for my friend's bachelorette party. I used 95% cotton 5% spandex plain white cami tanks from F21 (make sure not to get any ribbed fabric, not sure how those would turn out but I wasn't gonna risk it). I used an HP C3100 series inkjet printer on the highest quality print setting and used the photo paper setting (in my experience this prints more cleanly). I made a logo with text in Word and then, to get a mirror image (so that the iron-on was flipped correctly) I checked the "flip horizantally" box from the print menu--no other software required! The transfer paper instructions say to place a pillowcase between the iron and the fabric, but I didn't have a spare so I just used a different tank as my protective layer. I used the cotton setting on my iron and it took probably 2 minutes to transfer a 1/4 sized page, because initially I wasn't applying enough pressure and the corner had not transferred (I actually ripped it a little trying to peel it off)--so I just pressed it down again and kept ironing. I was amazed at how well I was able to recover from my mistake. You couldn't see a tear anywhere. The results honestly looked professionally done. The image transfers a little bit lighter than it looks on your screen, but not drastically enough to make me want to go back and change anything. I was also very impressed with how legible my text was. My logo had white block lettering text with a light blue outline in size 18 font and it was crisp and legible. One thing I would recommend is to trim as close to your image as possible. I was transferring a circular logo but just cut out a square, thinking the blank parts would not show up. However, blank parts of paper will still transfer onto your fabric as a kind of "clear" paint--the change in texture is subtle but noticible. So anything that you did not intend to be part of your image, trim with scissors! Also, I wish it came with more than 6 sheets. I think I would buy these again though. Easy and fun!
R**E
These are either defective or straight up don't work as advertised I am SO aggravated
Wasted $$$$$. I think this package contained 6 sheets, I used all 6 trying to get a clean transfer. Followed ALL the instructions. Only ONE transfer peeled correctly and worked. All the others either stuck in the corner when I was trying to peel, or yellowed, or didn't come off at all. This paper is defective- it doesn't peel off!! All were ironed on in precisely the same manner. Ruined my 100% cotton aprons. What a waste. I attempted to contact Avery directly, but I was in a loop of "customer disservice" on their website. I would love to get a refund on this if possible. The only Plus was it arrived as promised next day. See photo on the peeling when removing the backing. I saved this one by re-ironing that corner, but it's not perfect.
ترست بايلوت
منذ أسبوعين
منذ أسبوعين